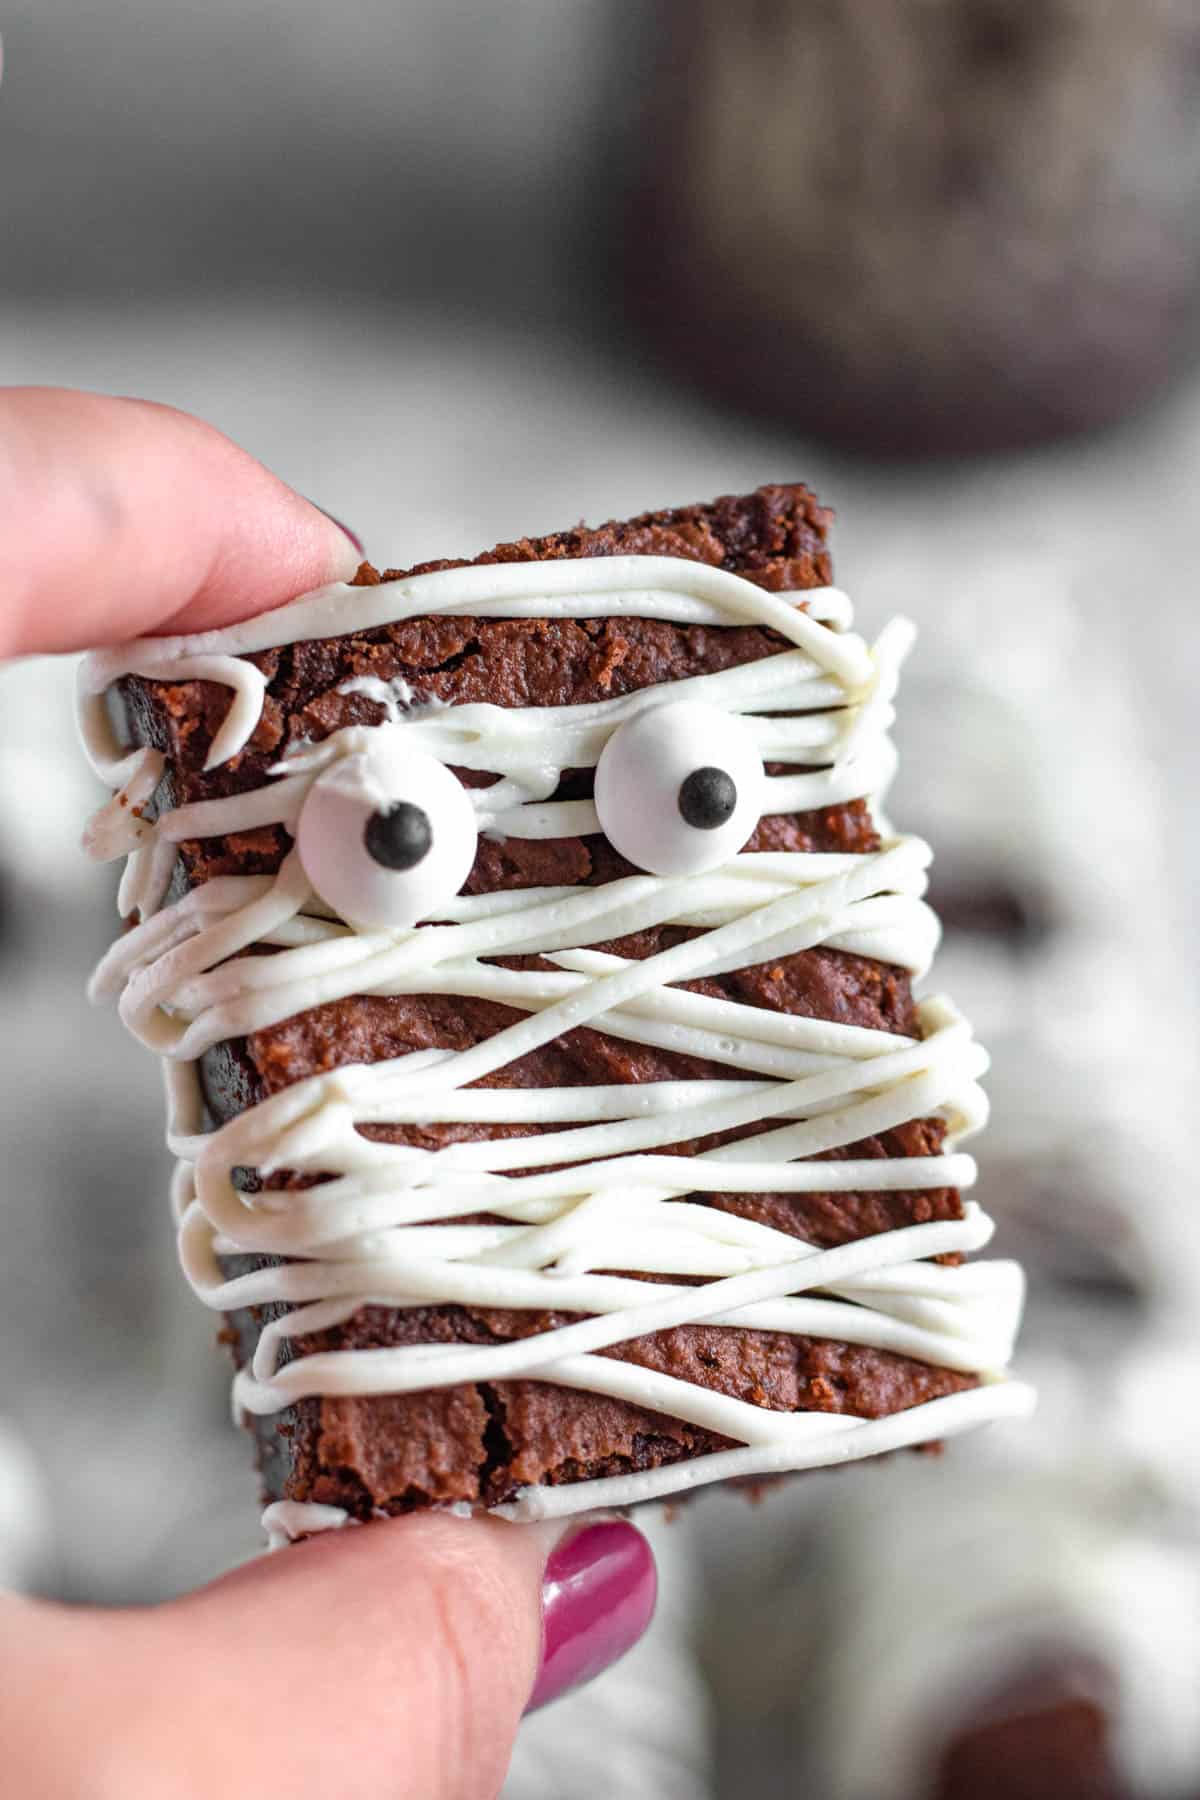
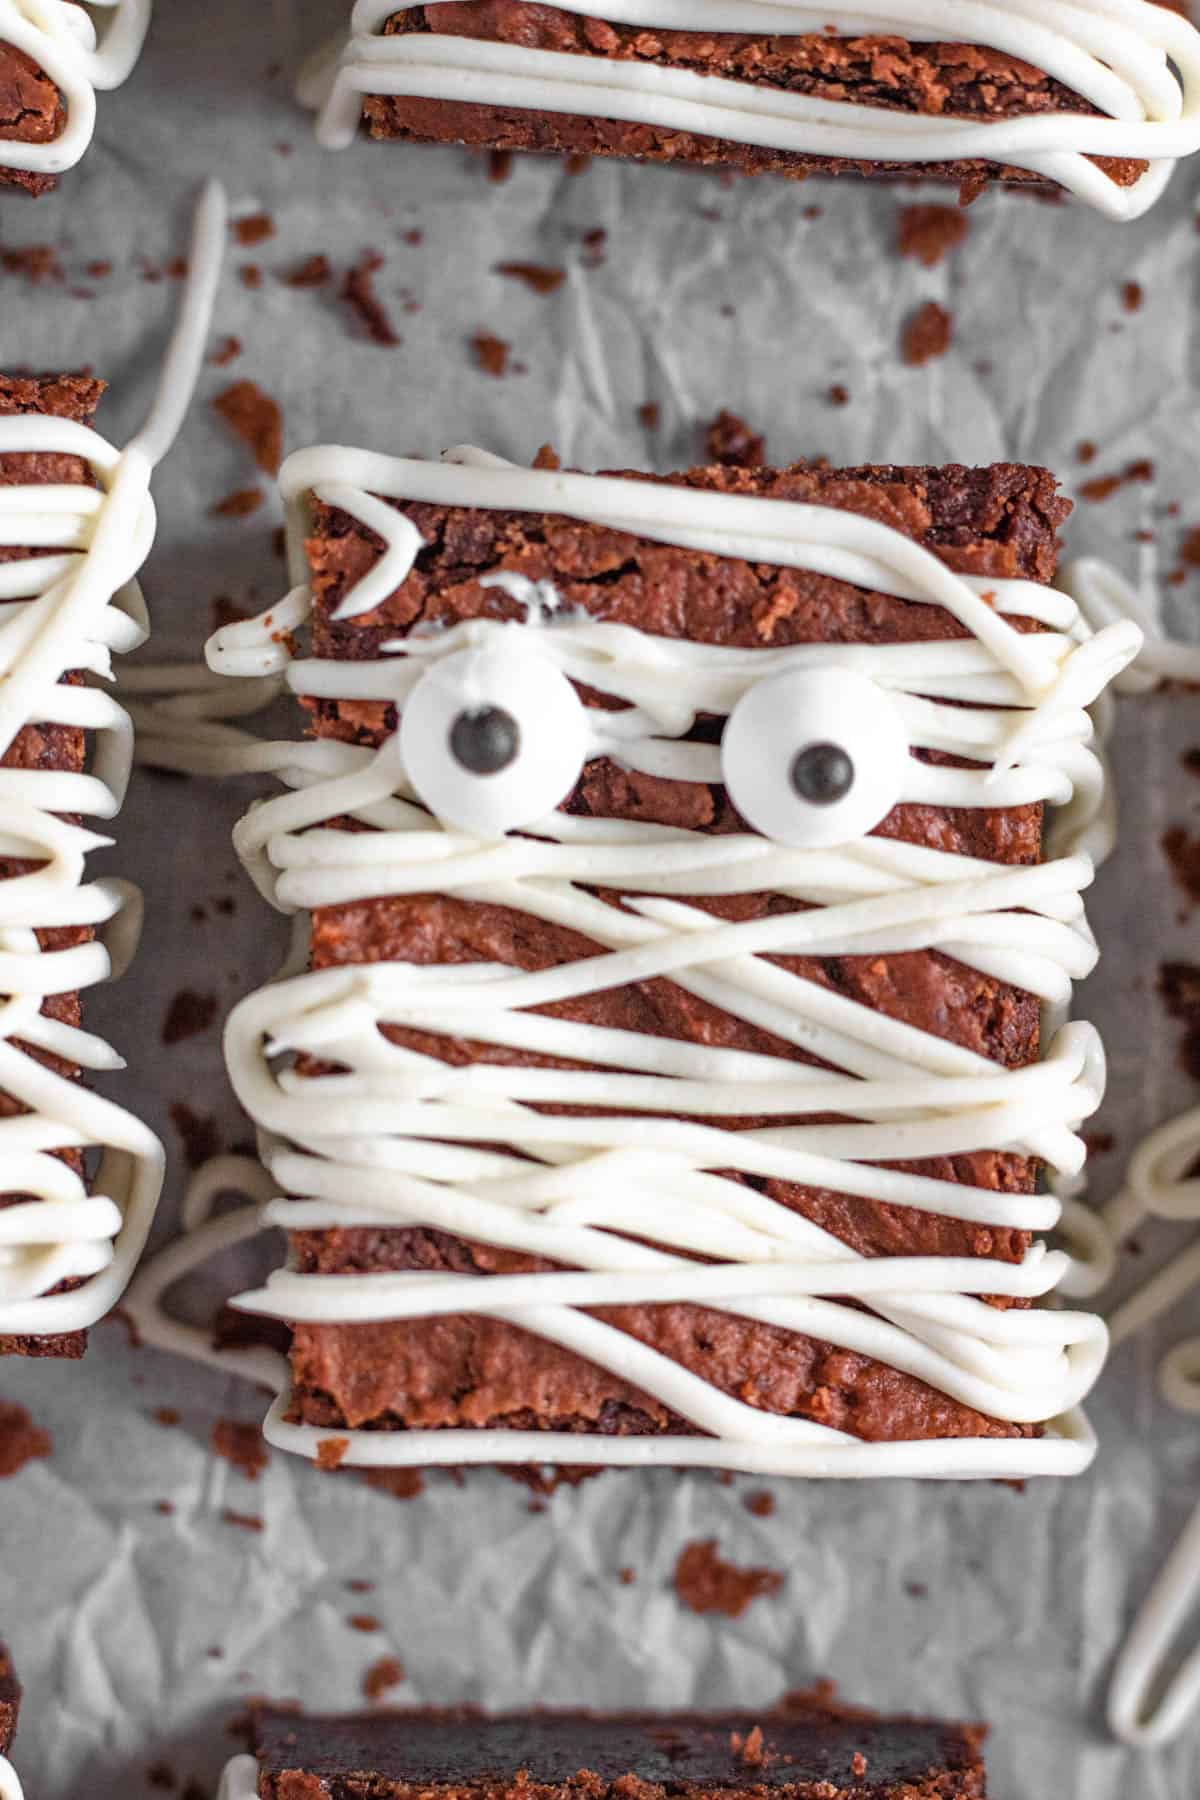
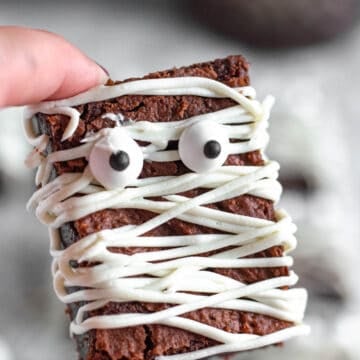
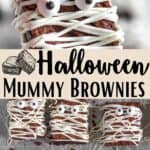
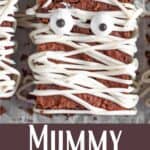
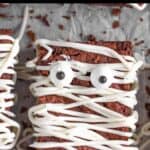
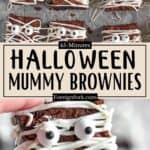
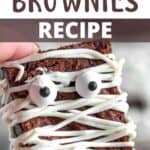
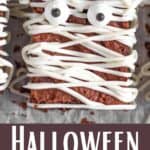
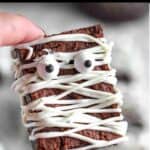
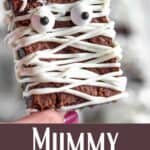
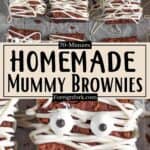
Use a delicious fudgy brownie recipe, frosting, and candy eyes to make these adorable Halloween Brownies in the shape of a mummy! These are perfect for a festive, tasty, and fun dessert for your Halloween celebration.
Do you want a fun recipe to make Halloween feel so much more special? This recipe for Mummy Halloween Brownies is the perfect solution (as is this Halloween Charcuterie Board!)
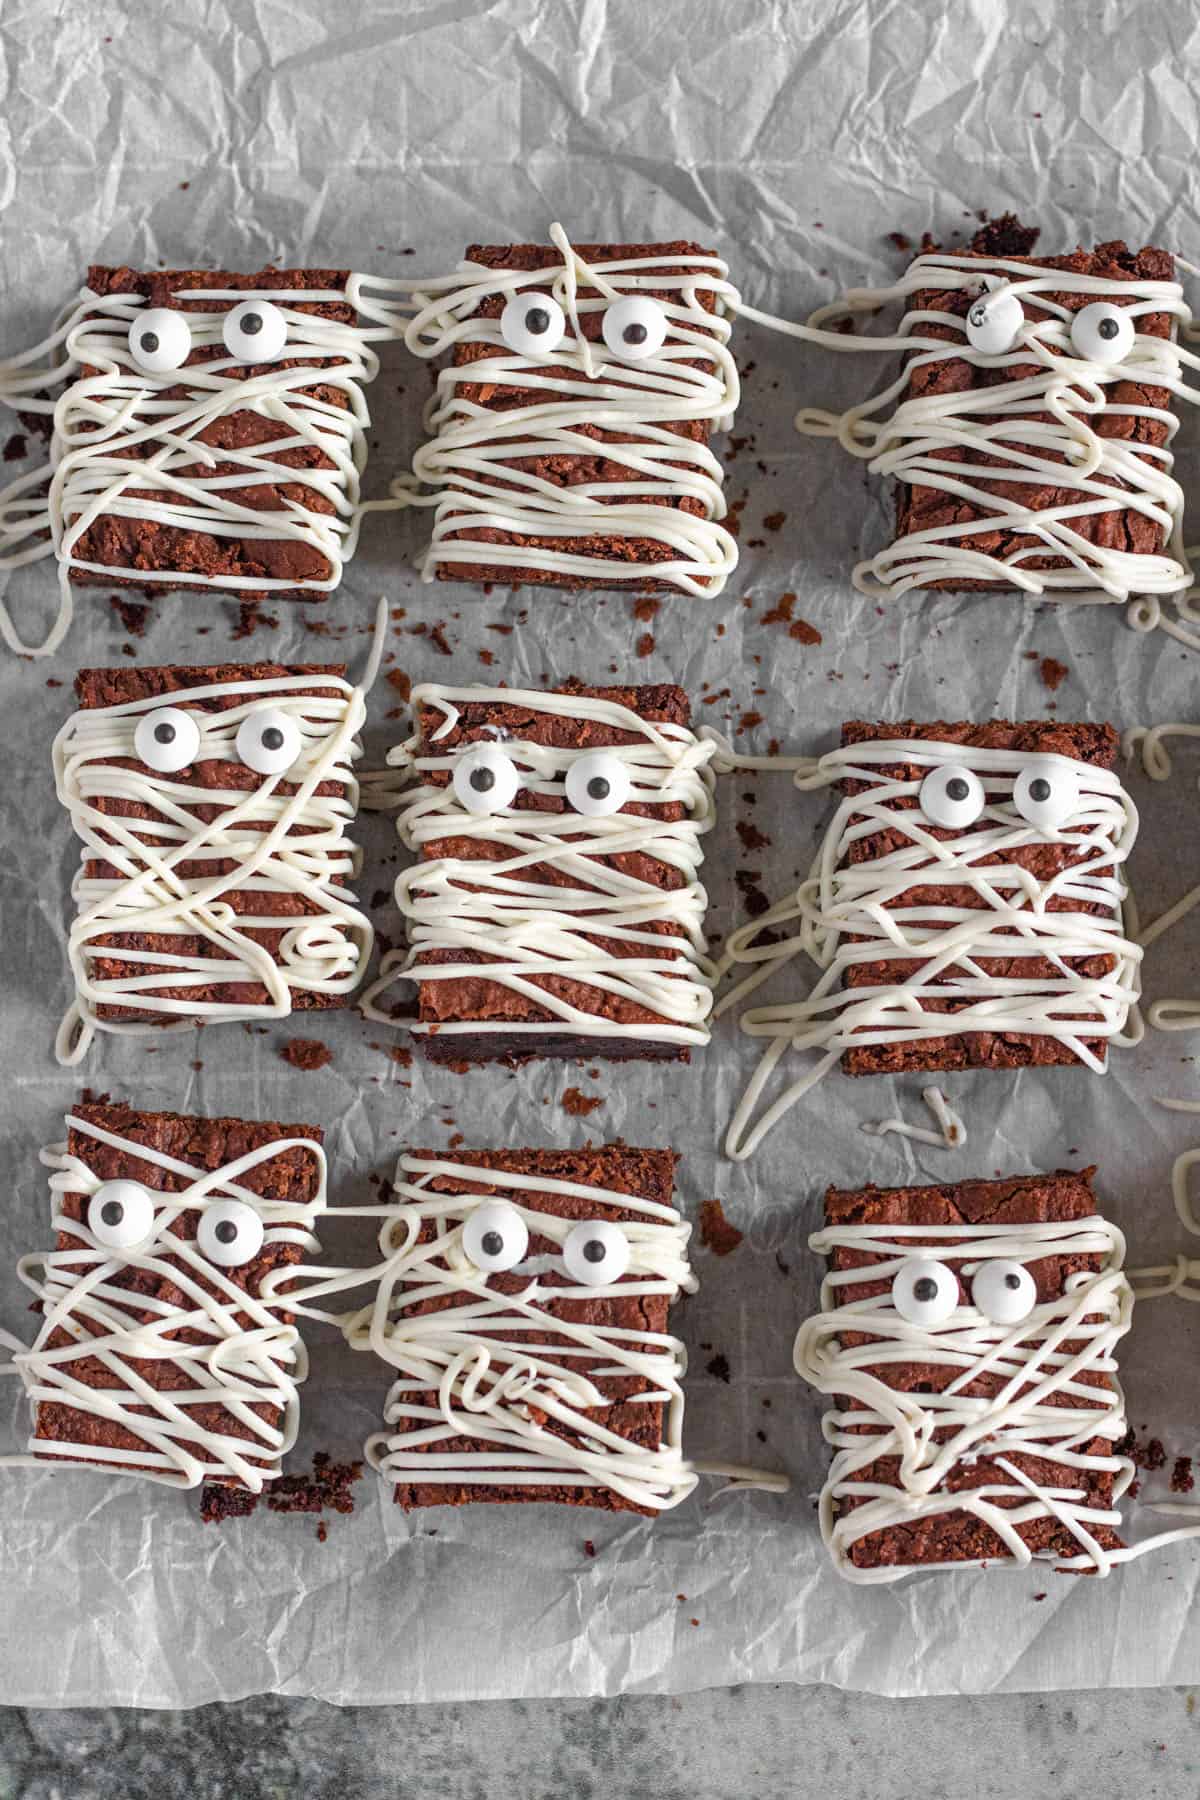
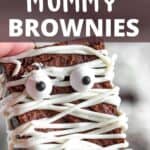
I adapted my Fudgy Brownie Recipe to include some decoration and (candy) eyeballs to make these super cute little Halloween Brownies in the shape of a mummy!
My fudgy brownies are a huge hit on the blog, so I know you’re going to love the brownie underneath. Add some adorable decorations and you’ve got yourself a smash hit Halloween dessert! If you’re looking for another super simple dessert and baking isn’t your forte, try these Pillsbury Halloween Cookies.
Why Make this Recipe
- Festive: These Halloween Brownies would be great for a Halloween-themed classroom party, an October birthday party, or even a treat before a night of trick-or-treating.
- Simple: We all want to be fun and festive for the holidays, but sometimes it’s a lot of work! These brownies are a great way to celebrate Halloween without too much of a hassle.
- Delicious: Brownies and frosting… Need I say more?
What Do I Need to Make this Recipe?
Ingredients
Here is a visual overview of the ingredients in the recipe. Scroll down to the recipe at the bottom for quantities.
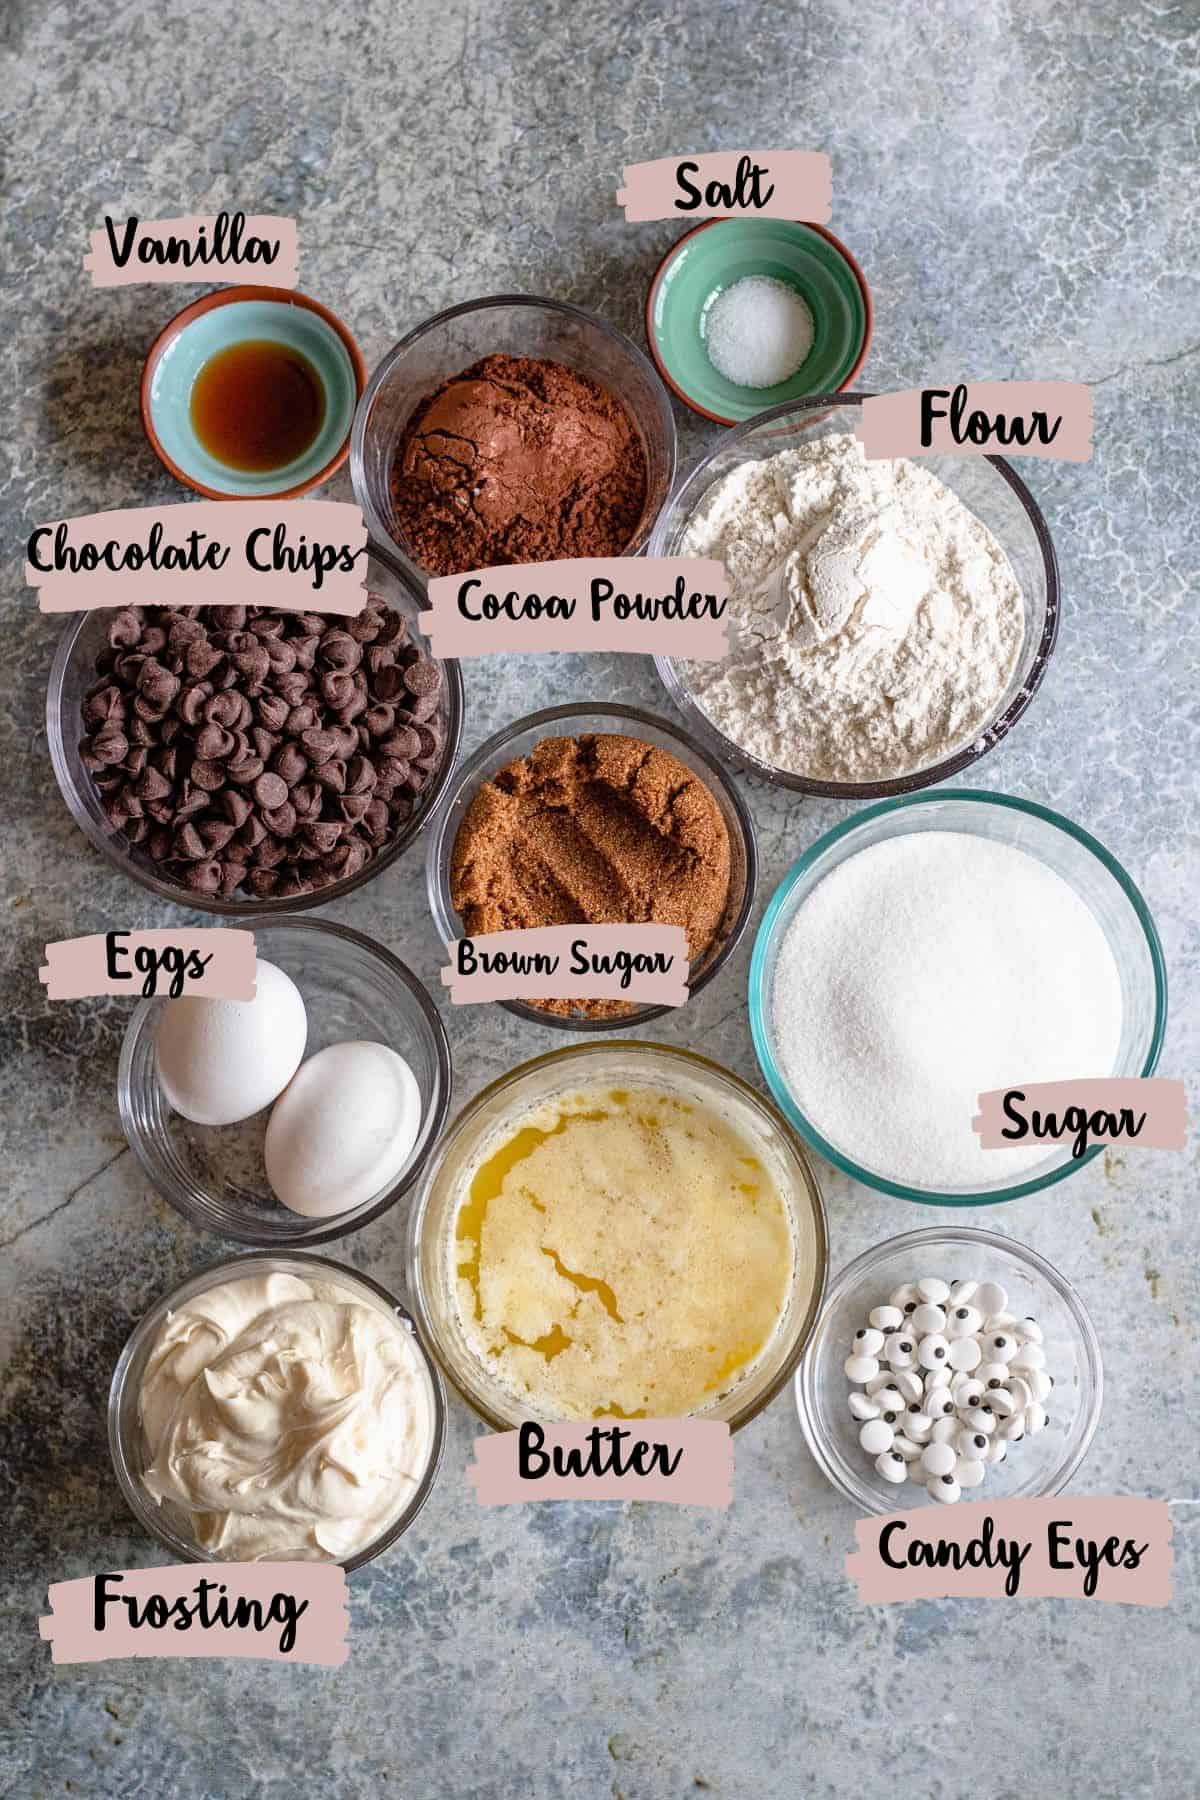
- Brown Sugar: You can use light or dark brown sugar, but I prefer light.
- Cocoa Powder: You can use Dutch unsweetened or just normal unsweetened. They both turn out delicious. I would stay away from dark chocolate cocoa powder.
- Frosting: You can use store bought frosting or make some at home! I love this recipe for Honey Cream Cheese Frosting.
- Candy Eyeballs: I thought that these would be so much more difficult to find, but they were actually in the sprinkles section (baking aisle) of my local Kroger! If you can’t find them in your grocery store, you can also buy them online.
Tools
- Mixing Bowl
- Electric Hand Mixer
- Rubber Spatula
- Sifter
- 8×8 Glass Pan
- Plastic Sandwich Bag
How to Make this Recipe
[adthrive-in-post-video-player video-id=”zHXxGxpp” upload-date=”2021-10-09T22:28:06.000Z” name=”Halloween Brownies” description=”Use a delicious fudgy brownie recipe, frosting, and candy eyes to make these adorable Halloween Brownies in the shape of a mummy! These are perfect for a festive, tasty, and fun dessert for your Halloween celebration. ” player-type=”default” override-embed=”default”]
Step 1: Make the Batter
Preheat your oven to 350 degrees Fahrenheit.
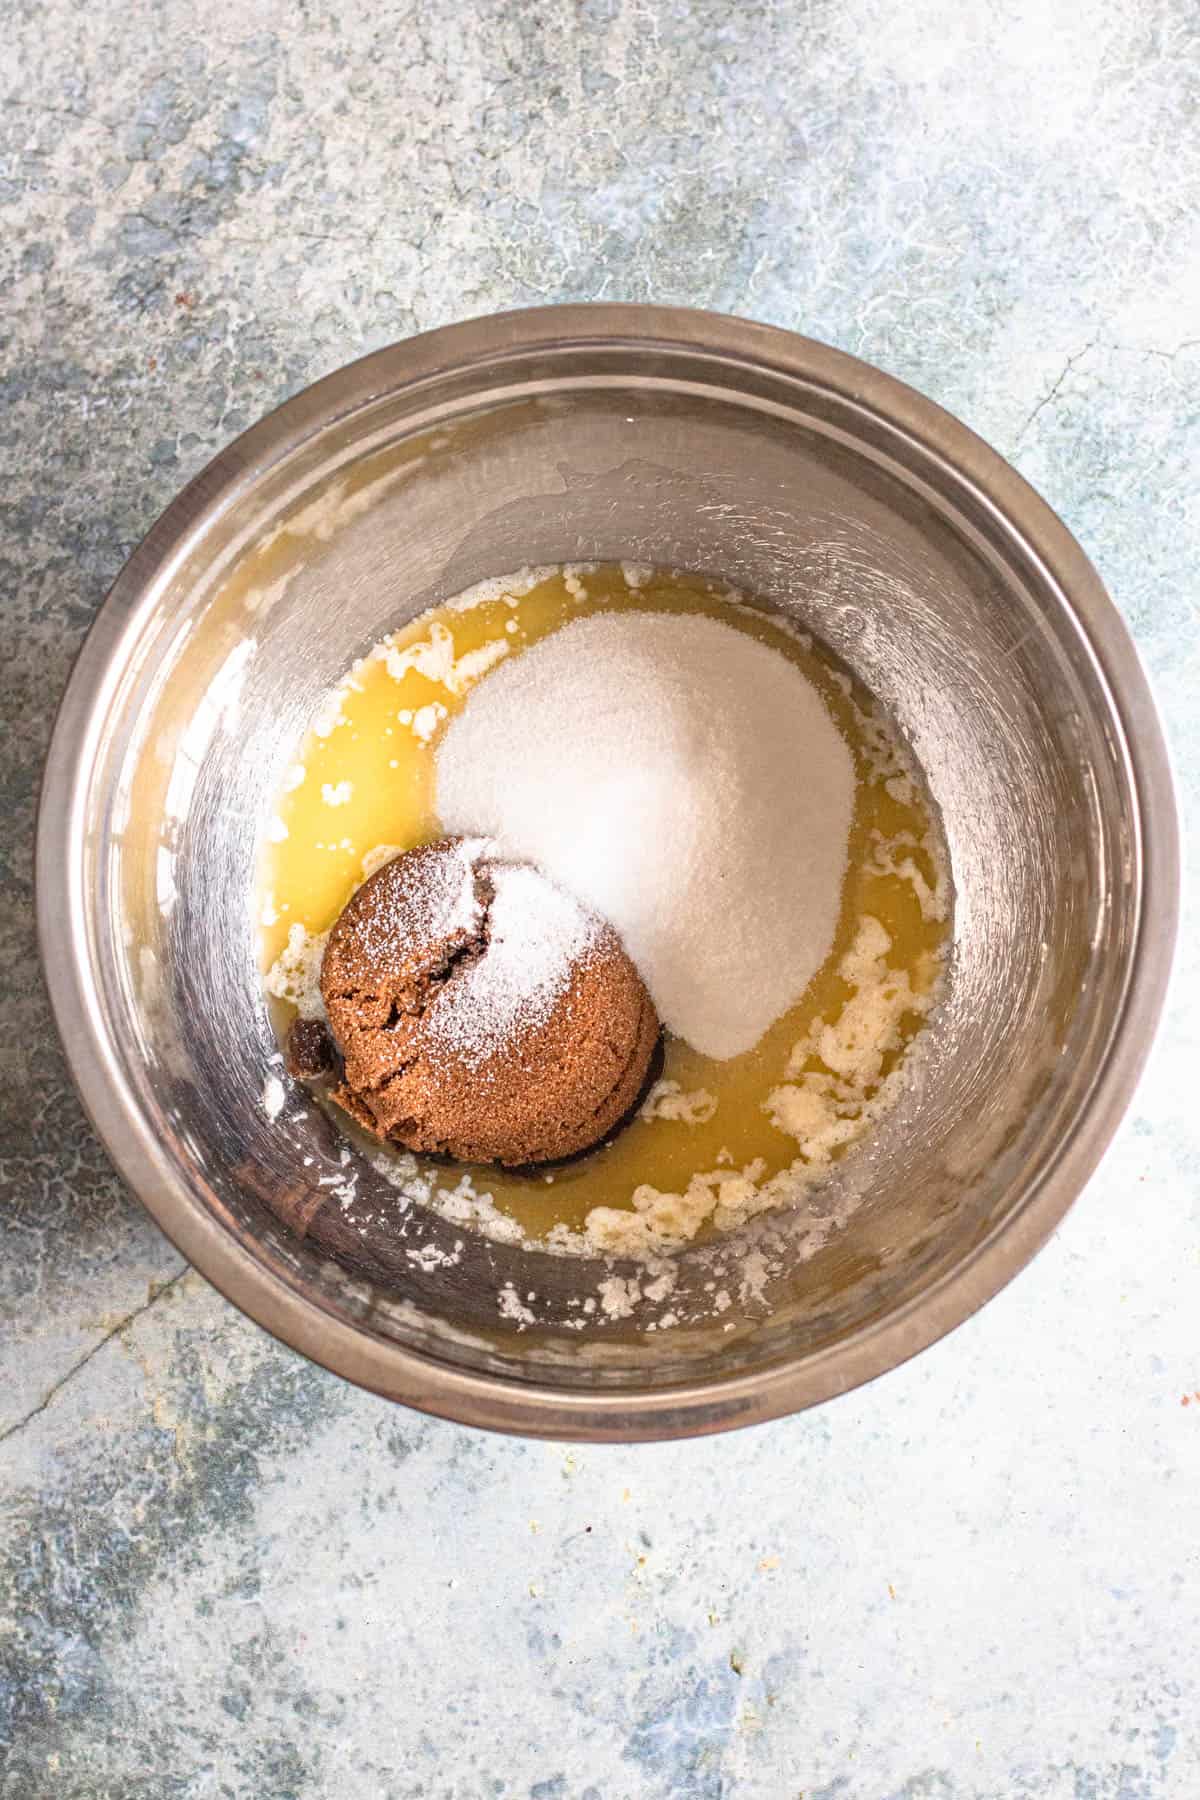
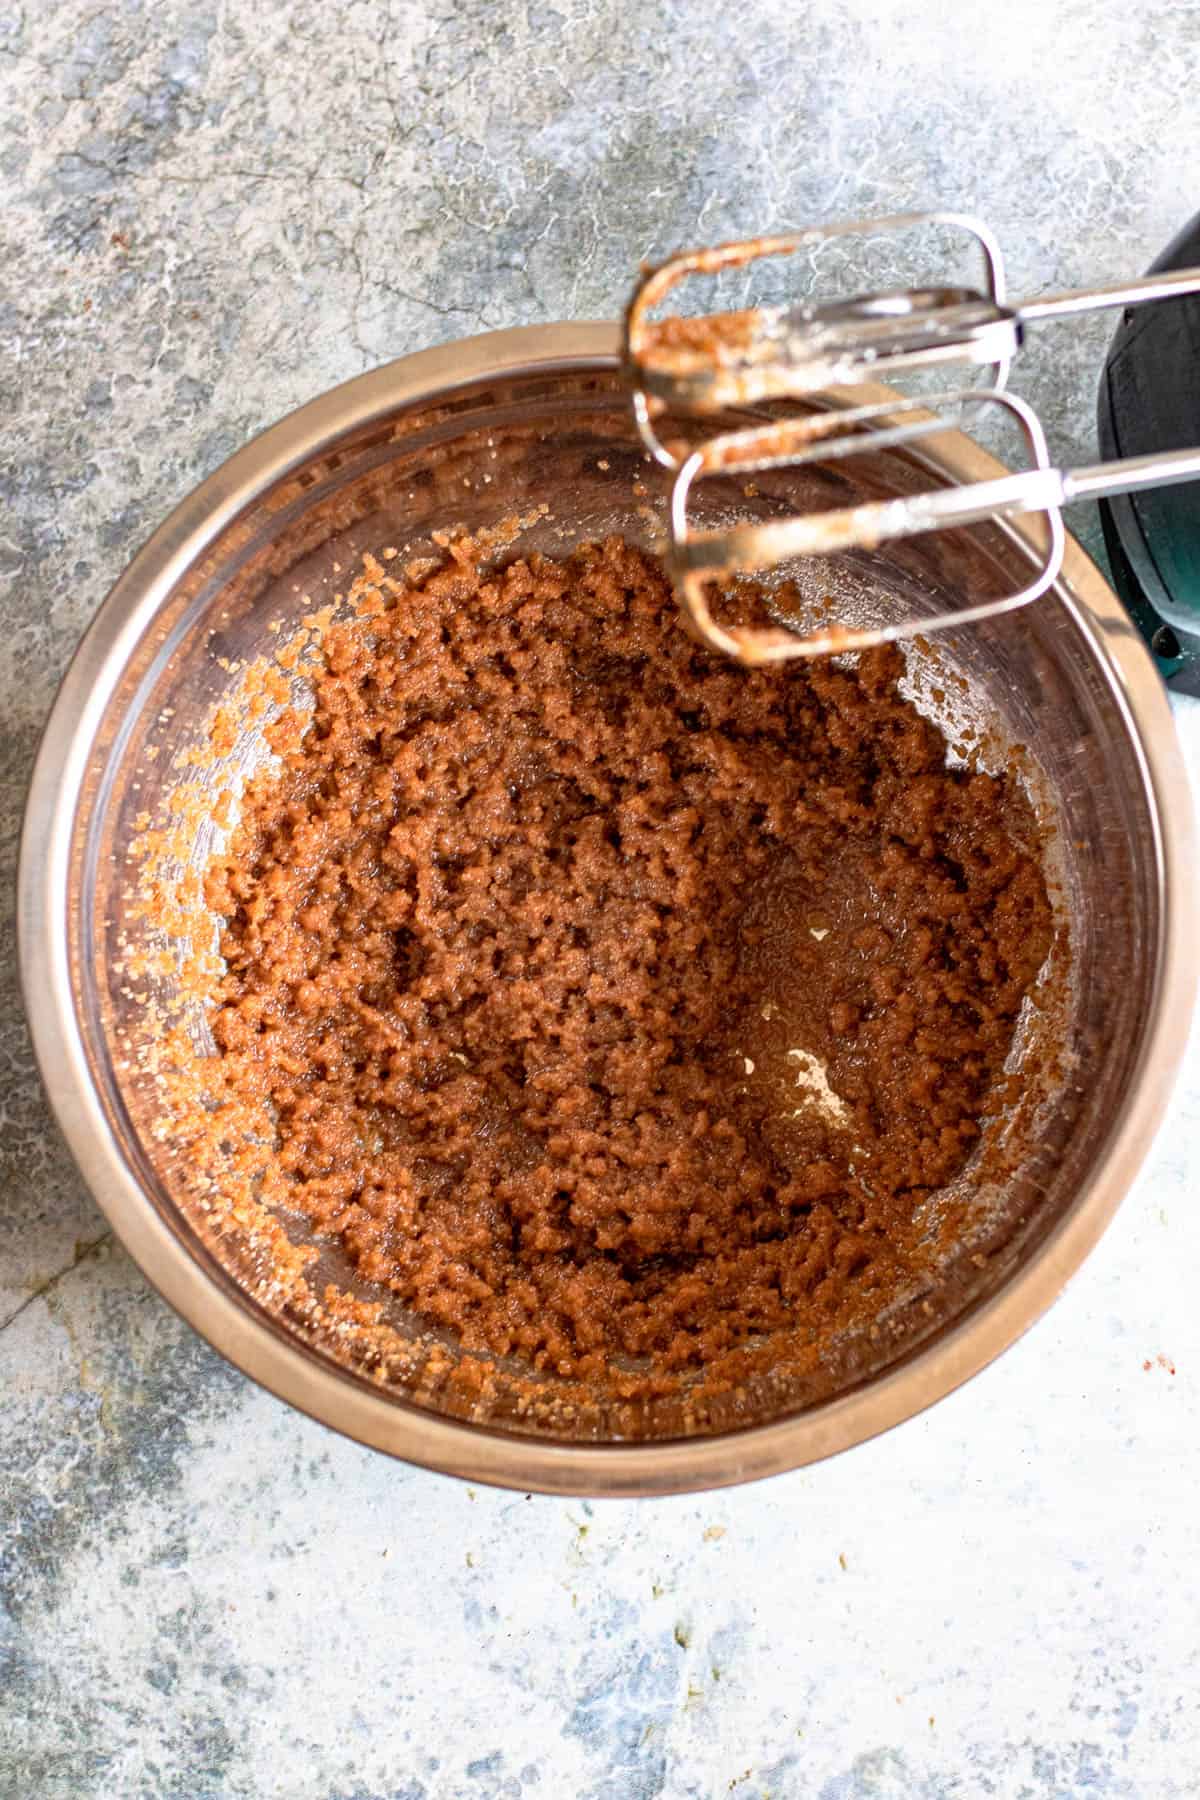
Put the melted butter in a bowl with the granulated sugar and the brown sugar. Use an electric hand mixer to combine.
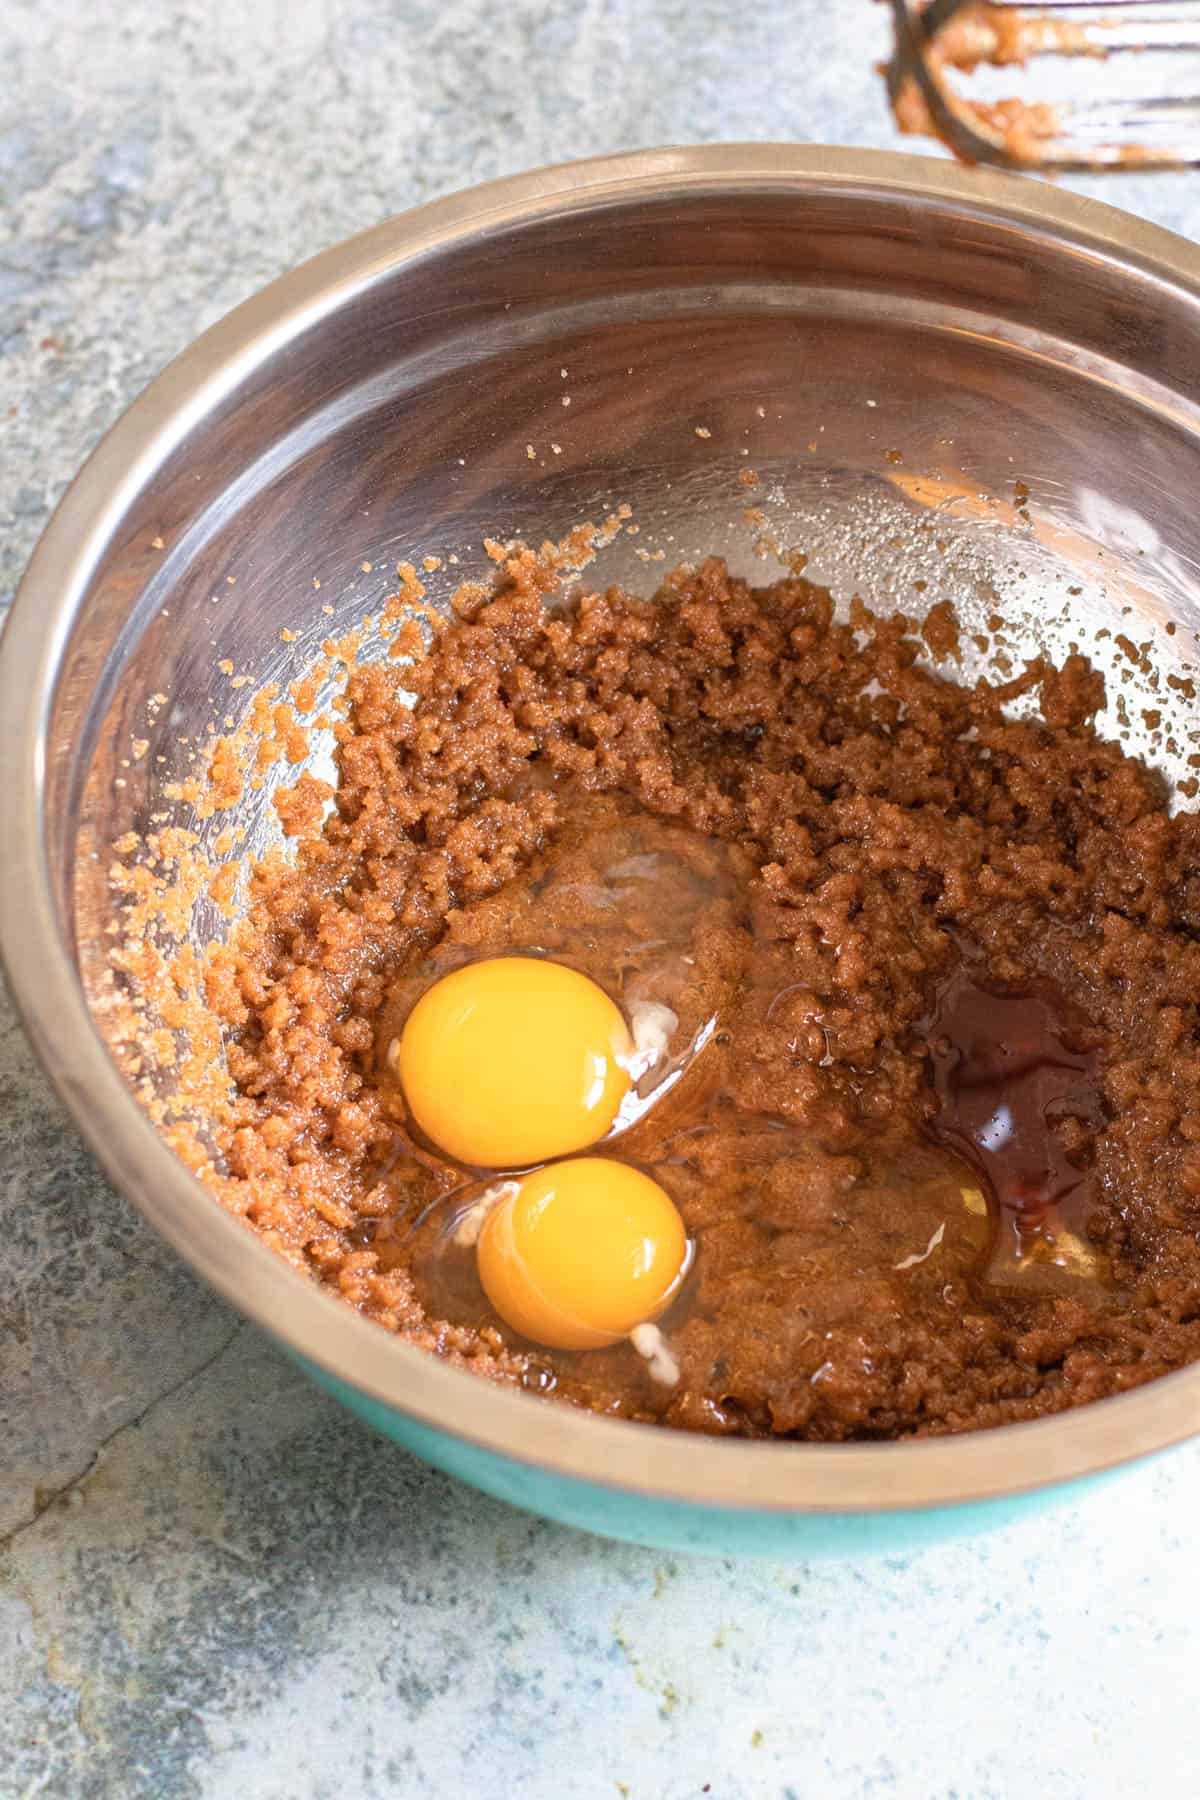
Add the eggs and vanilla and mix to combine.
Put your chocolate chips in a microwave-safe bowl. Microwave in 20 second increments, mixing between each round. Microwave until fully melted, normally 3-4 rounds in total.
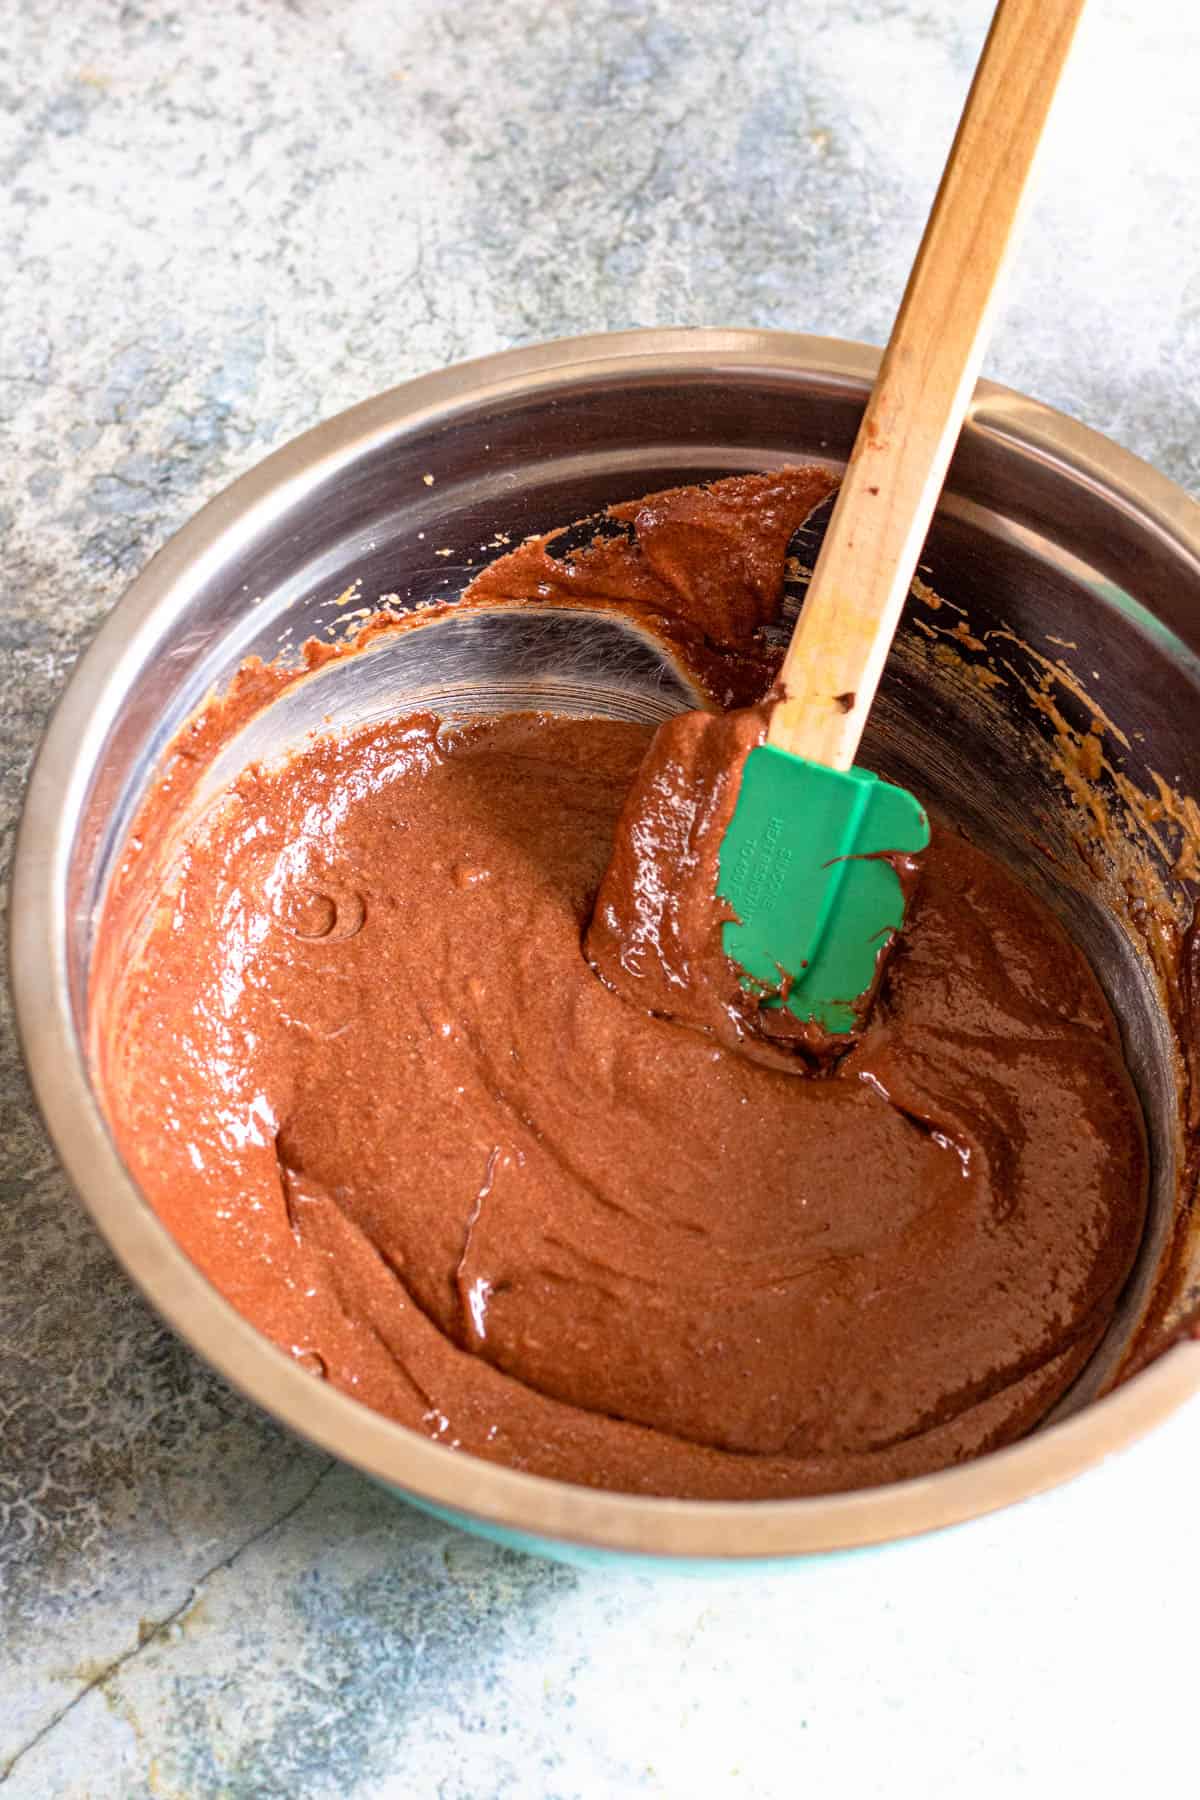
Add the melted chocolate into the butter/sugar combination. Use a rubber spatula to combine.
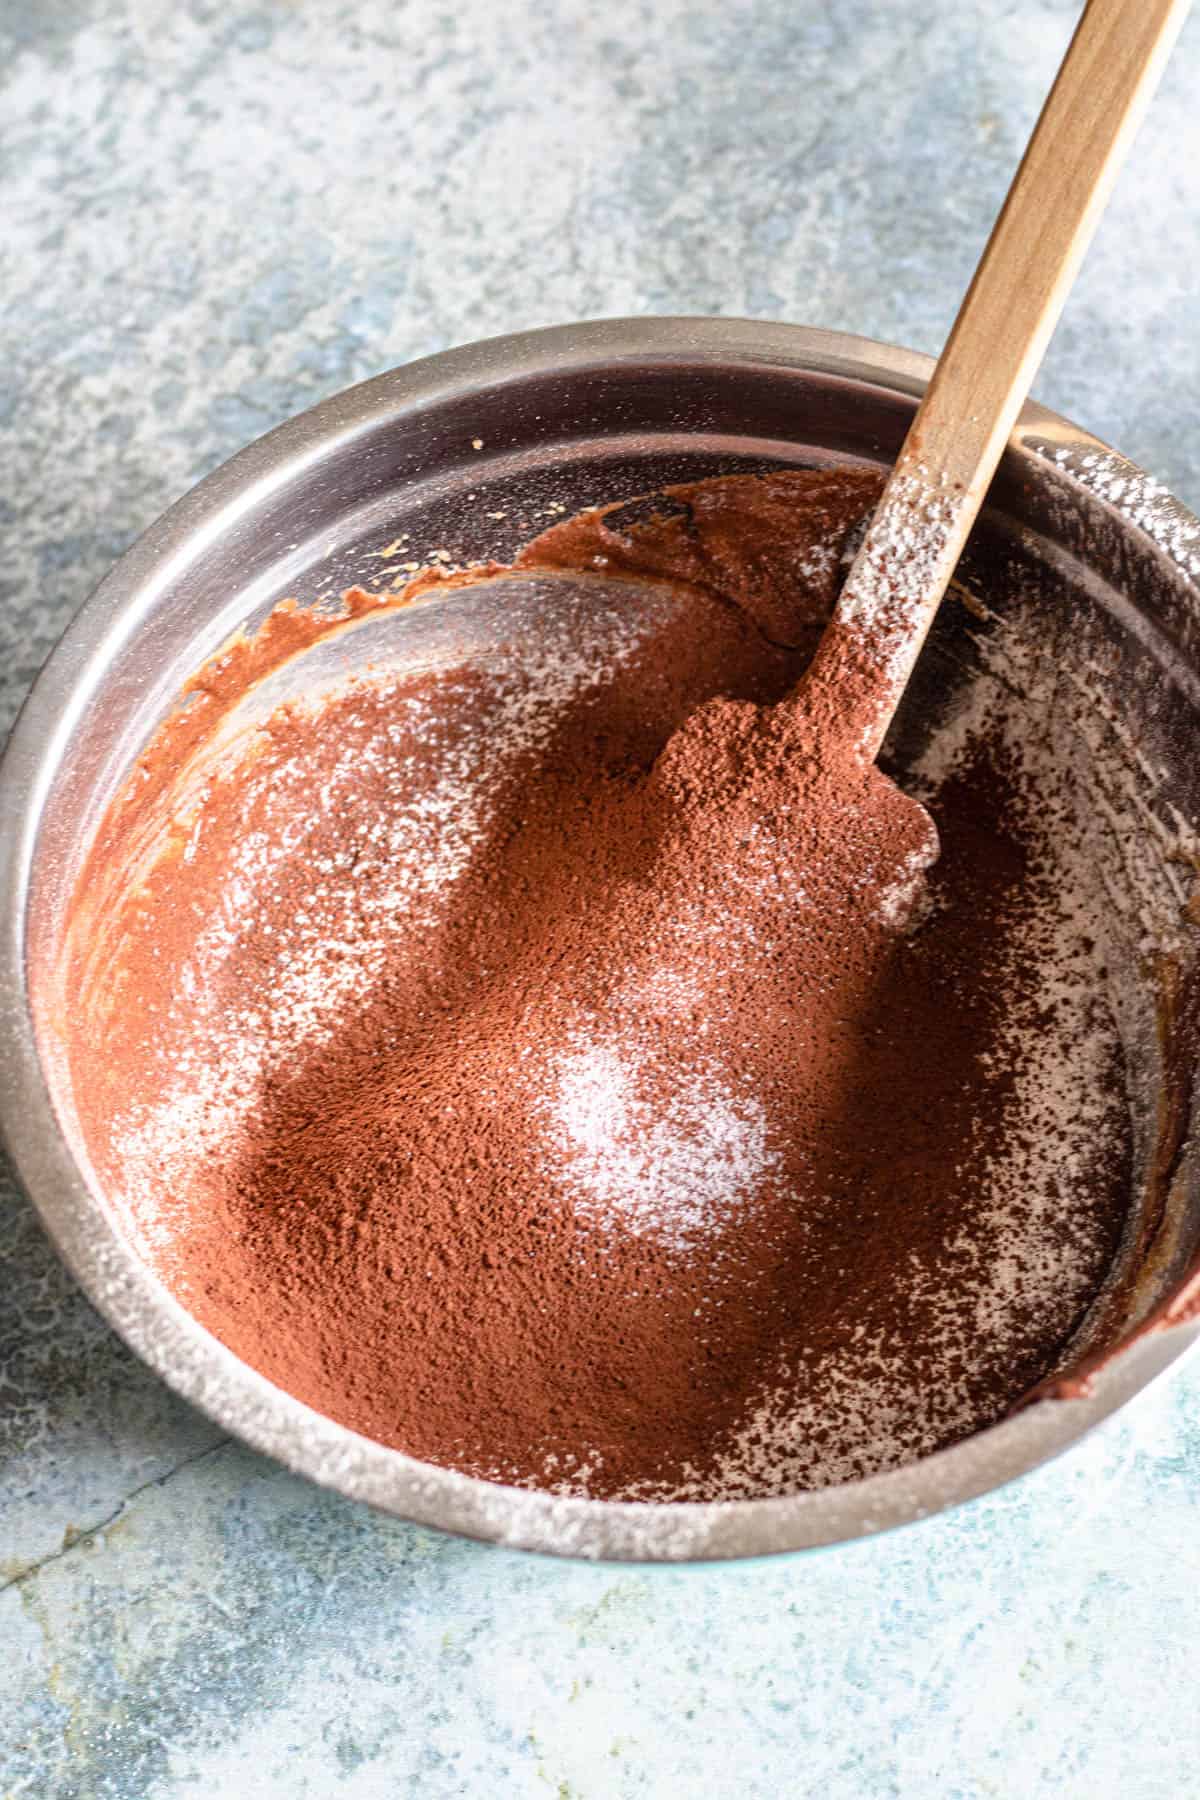
Sift in flour, cocoa powder, and salt. Use your rubber spatula to mix until combined.
Step 2: Bake
Grease an 8×8 glass pan with nonstick spray.
Add the brownie batter to the pan.
Cook for about 45 minutes depending on desired doneness. Your Halloween brownies are done when a toothpick inserted in the middle comes out clean. I like my brownies slightly fudgy without hard edges, so I normally take them out when there’s still a teeny amount of batter on the toothpick 😉
Step 3: Decorate
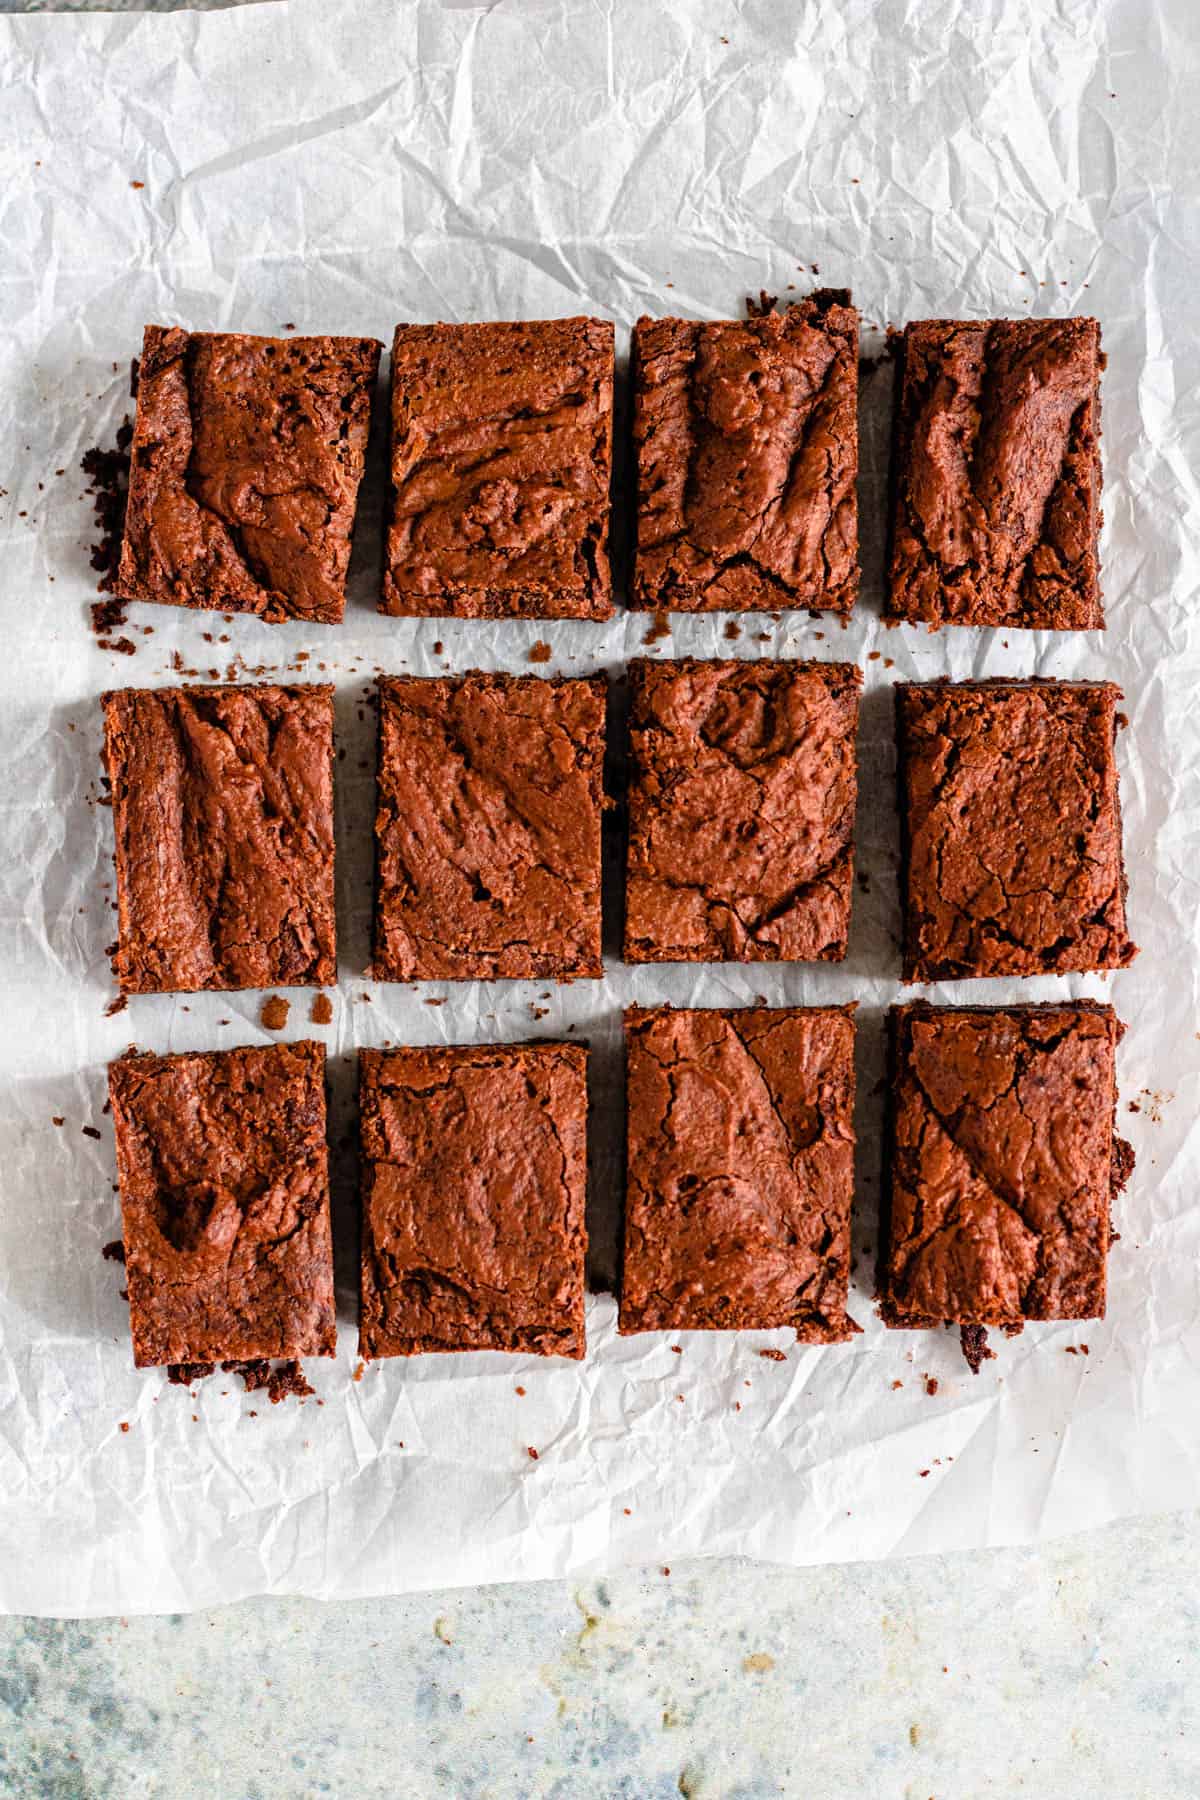
Allow the brownies to cool completely. When cooled, remove them from the pan.
Use a knife to cut the edges off of the brownies to make a perfect square. Cut the brownies into 12 identical pieces, a little bit longer then they are wide.
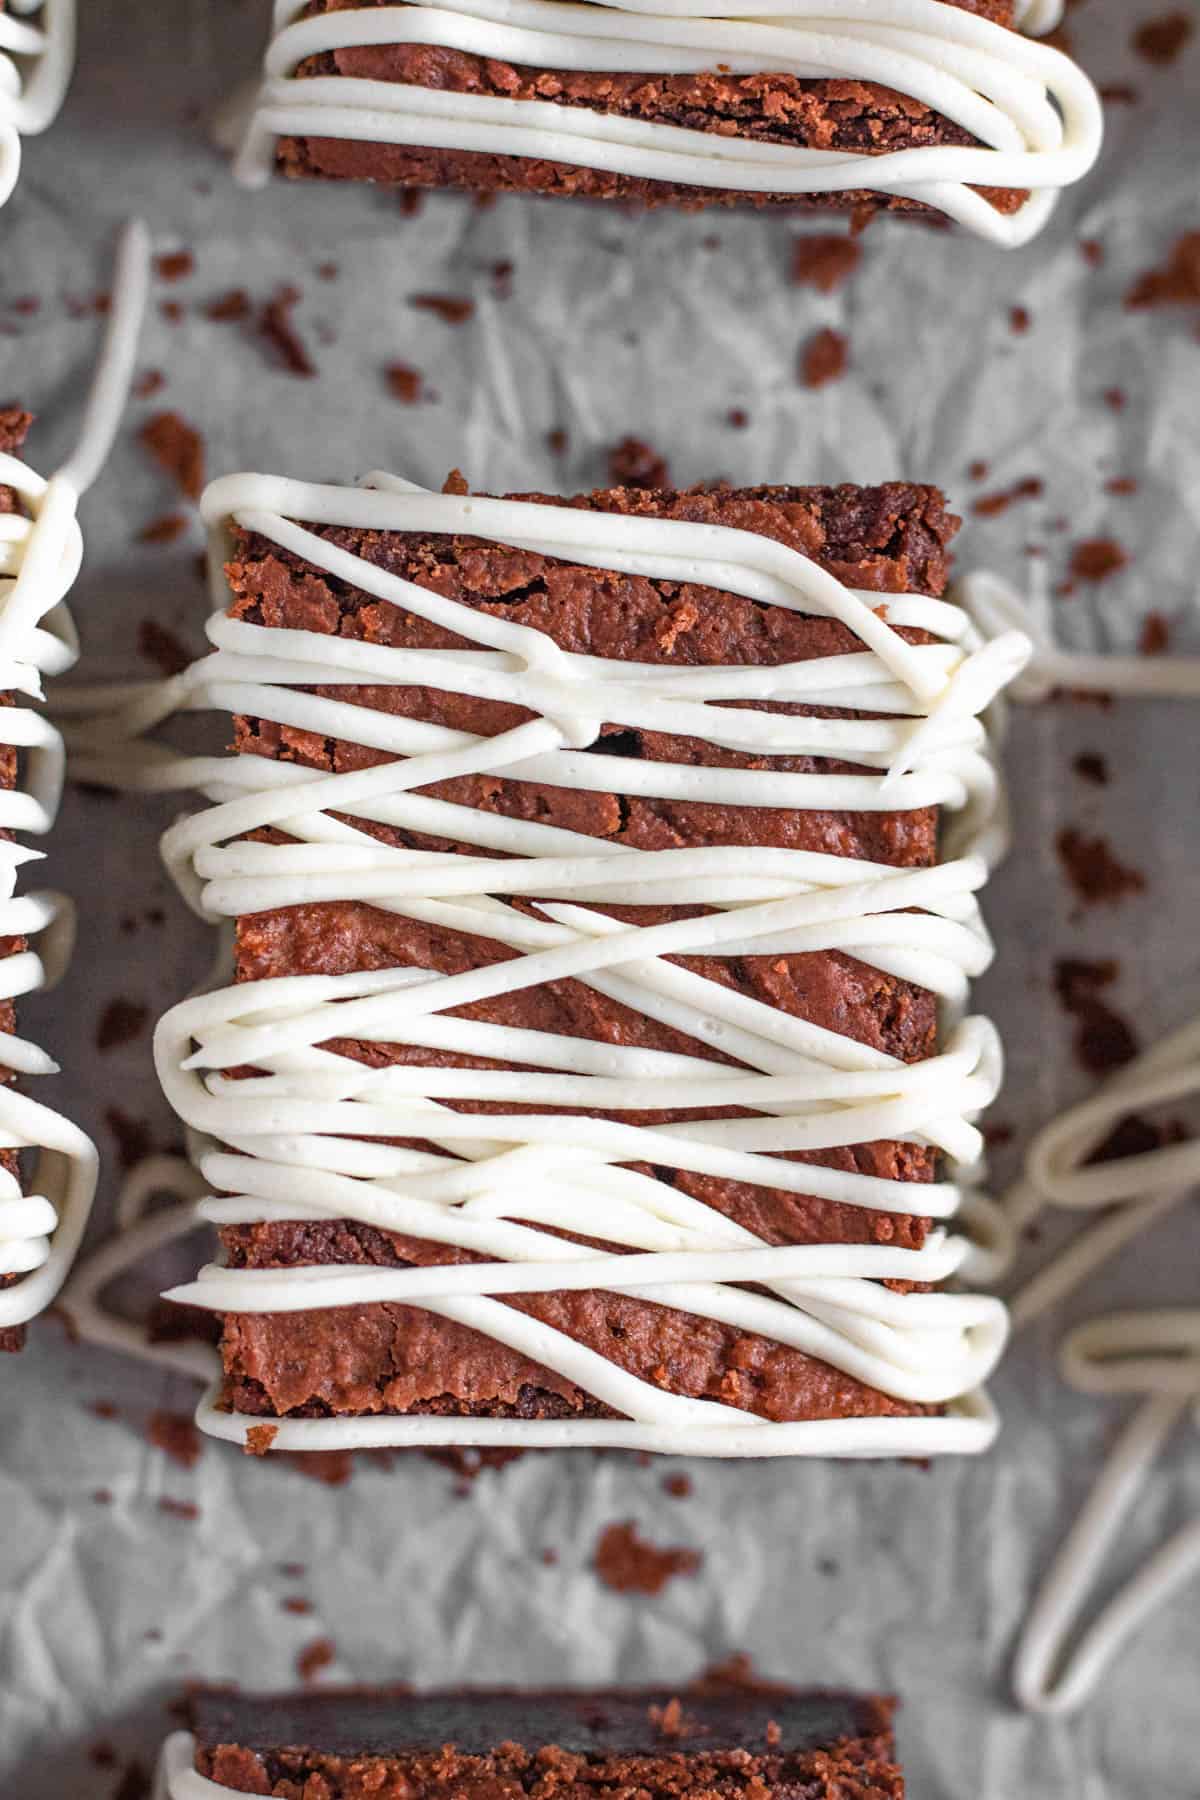
Put the frosting in a plastic bag and use scissors to cut a small corner off of the sandwich bag. Cut the tiniest little amount, because you want the frosting to come out as thin as possible.
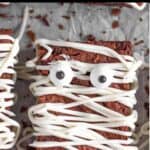
Quickly and randomly pipe the frosting back and forth across the brownies.
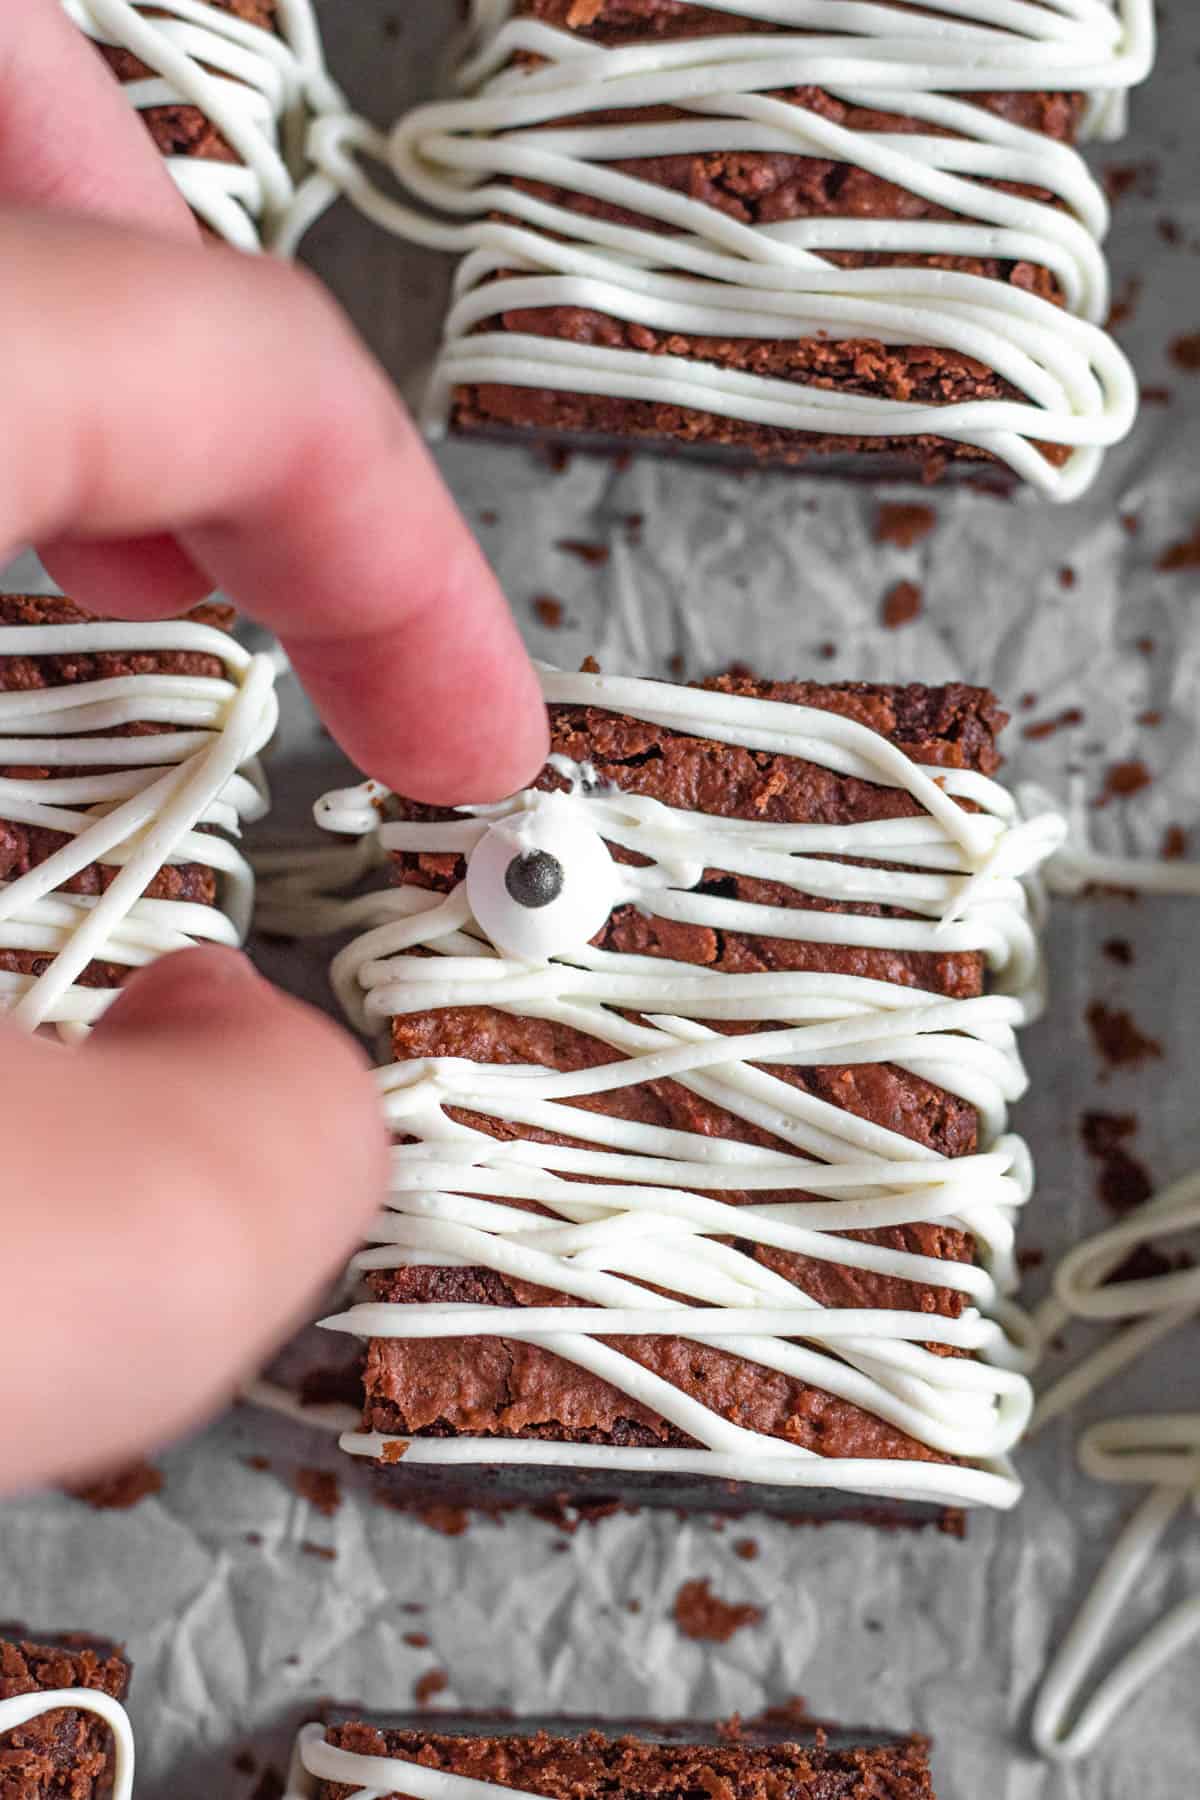
Add the eyes about ¼ of the way down from the Halloween brownie. Enjoy!
Expert Tips
- The texture of this brownie batter is pretty thick, a lot thicker than you get when making boxed brownies. This just leads to more fudginess, so don’t stress! It’s a good mixture between cookie dough and brownie batter.
- If you want an even easier Halloween treat, you can use boxed brownies and just follow the decoration instructions below. I won’t tell 😉
- I cut off the edges of the brownie for a better shape and also bc these brownie edges tend to be too hard for my preference. If you LOVE brownie edges, you can keep them on.
Changing the Color of Your Mummies
Obviously mummy wraps are normally white, but who says you need to stick with normal?! These are Halloween brownies for goodness sake!
You can easily change the color of the mummy wraps by doing either the following:
- Buying different kinds of frosting! Lemon frosting will get you yellow wraps, strawberry will give you pink wraps, salted caramel will give you brown wraps, etc. Some frosting brands also sell colored vanilla frosting.
- Adding food coloring to your white frosting. Put scoops of frosting in a small bowl with a drop or two of food coloring. Mix well. Then use your newly colored frosting to pipe.
I personally like the white wraps the best because they’re easy to identify as mummies. But if you want to change it up, purple and orange would be great choices and those are stereotypical Halloween colors!
Recipe FAQs
This seems like it should be a simple task, but it’s actually a little difficult if you don’t know the right technique!
The best thing to do is to put a short drinking glass on your counter. Open a sandwich bag and put it inside the glass, but fold the edges of the bag around the edge of the glass so that the glass is holding the bag open.
Then use a rubber spatula to drop dollops of frosting into the bag while the cup holds it open. Once a sufficient amount of frosting is in the bag, unfold the edges from around the cup and twist the bag closed.
Cut off a tiny corner from the bag and squeeze the frosting out onto the Halloween brownies.
To know when the brownies are done, insert a toothpick into the center of the pan. If the toothpick comes out clean, the brownies are cooked all the way through.
I do like to remove my brownies from the oven when the toothpick comes out with some slight residual chocolate for the ultimate fudgy brownie texture. A good test to make sure they’re done enough:
Make sure that the edges on the brownie are set. Then jiggle the brownie pan.
If the batter jiggles, your brownies are not cooked enough. If the brownie doesn’t jiggle but a toothpick still comes out with chocolate on it, you will have very fudgy brownies.
Fully cooked or slightly chewy, either way they’ll be yummy. This is up to your personal preference.
Did you like this recipe for Halloween Brownies? If so, make sure to check out these other recipes I picked out just for you:
- S’mores Brownies
- Fast and Easy Maple Cookies
- Dessert Egg Rolls
- Oreo Truffles with Raspberry Filling
- How to Make Candied Nuts at Home
Mummy Halloween Brownies
Equipment
- Electric Hand Mixer
- Mixing Bowl(s)
- Rubber Spatula
- Sifter
- 8×8 Glass Dish
- Knife/Knives
- Plastic Bag
- Nonstick Spray
- Pastry Bag and Tips
- Oven Mitt
- Plastic Bag
- Toothpicks
Ingredients
- 8 tbsp butter, unsalted
- ¾ cup granulated sugar
- ½ cup brown sugar, light or dark
- 2 eggs
- 8 oz about 1 cup chocolate chips, can also use chocolate block
- 1 tsp vanilla
- ¾ cup all purpose flour
- ¼ cup cocoa powder, unsweetened
- ½ tsp salt
- ½ cup white frosting
- 24 candy eyeballs
Instructions
- Preheat your oven to 350 degrees Fahrenheit.
- Put 8 tbsp melted butter in a bowl with ¾ cup granulated sugar and ½ cup brown sugar. Use an electric hand mixer to combine.
- Add 2 eggs and 1 tsp vanilla and mix to combine.
- Put 8 oz (about 1 cup) chocolate chips in a microwave-safe bowl. Microwave in 20 second increments, mixing between each round. Microwave until fully melted, normally 3-4 rounds in total.
- Add the melted chocolate into the butter/sugar combination. Use a rubber spatula to combine.
- Sift in ¾ cup all-purpose flour, ¼ cup cocoa powder, and ½ tsp salt. Use your rubber spatula to mix until combined.
- Grease an 8×8 glass pan with nonstick spray. Add the brownie batter to the pan.
- Cook for about 45 minutes depending on desired doneness. Your brownies are done when a toothpick inserted in the middle comes out clean. I like my brownies slightly fudgy without hard edges, so I normally take them out when there’s still a teeny amount of batter on the toothpick 😉
- Allow the brownies to cool completely. When cooled, remove them from the pan.
- Use a knife to cut the edges off of the brownies to make a perfect square. Cut the brownies into 12 identical pieces, a little bit longer then they are wide.
- Put ½ cup frosting in a plastic bag and use scissors to cut a small corner off of the sandwich bag. Cut the tiniest little amount, because you want the frosting to come out as thin as possible.
- Quickly and randomly pipe the frosting back and forth across the brownies. Add the candy eyes about ¼ of the way down from the brownie. Enjoy!
Notes
- Brown Sugar: You can use light or dark brown sugar, but I prefer light.
- Cocoa Powder: You can use Dutch unsweetened or just normal unsweetened. They both turn out delicious. I would stay away from dark chocolate cocoa powder.
- Frosting: You can use store bought frosting or make some at home!
- Candy Eyeballs: I thought that these would be so much more difficult to find, but they were actually in the sprinkles section (baking aisle) of my local Kroger! If you can’t find them in your grocery store, you can also buy them online.
- The texture of this brownie batter is pretty thick, a lot thicker than you get when making boxed brownies. This just leads to more fudginess, so don’t stress! It’s a good mixture between cookie dough and brownie batter.
- If you want an even easier Halloween treat, you can use boxed brownies and just follow the decoration instructions below. I won’t tell 😉
- I cut off the edges of the brownie for a better shape and also bc these brownie edges tend to be too hard for my preference. If you LOVE brownie edges, you can keep them on.


Jeff says
Great recipe! We really miss seeing you on YouTube!!!
– Everyone who has ever watched you on YouTube
The Foreign Fork says
Thanks Jeff! I’m taking a bit of a break from YouTube right now, but I’m sure I will be back 🙂 Thanks for the kind message!!