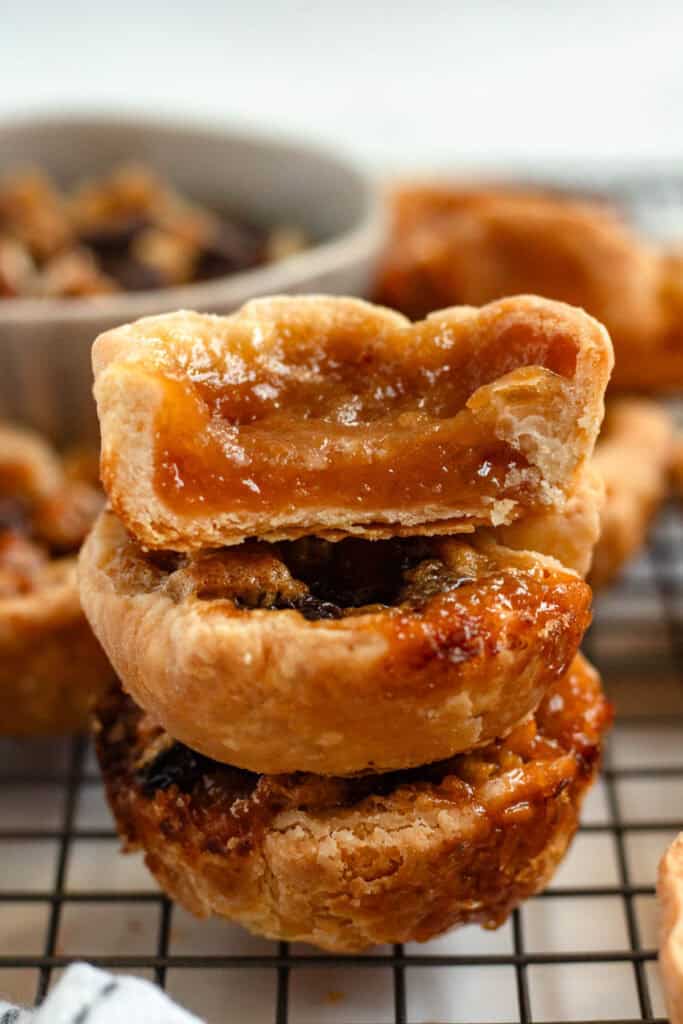
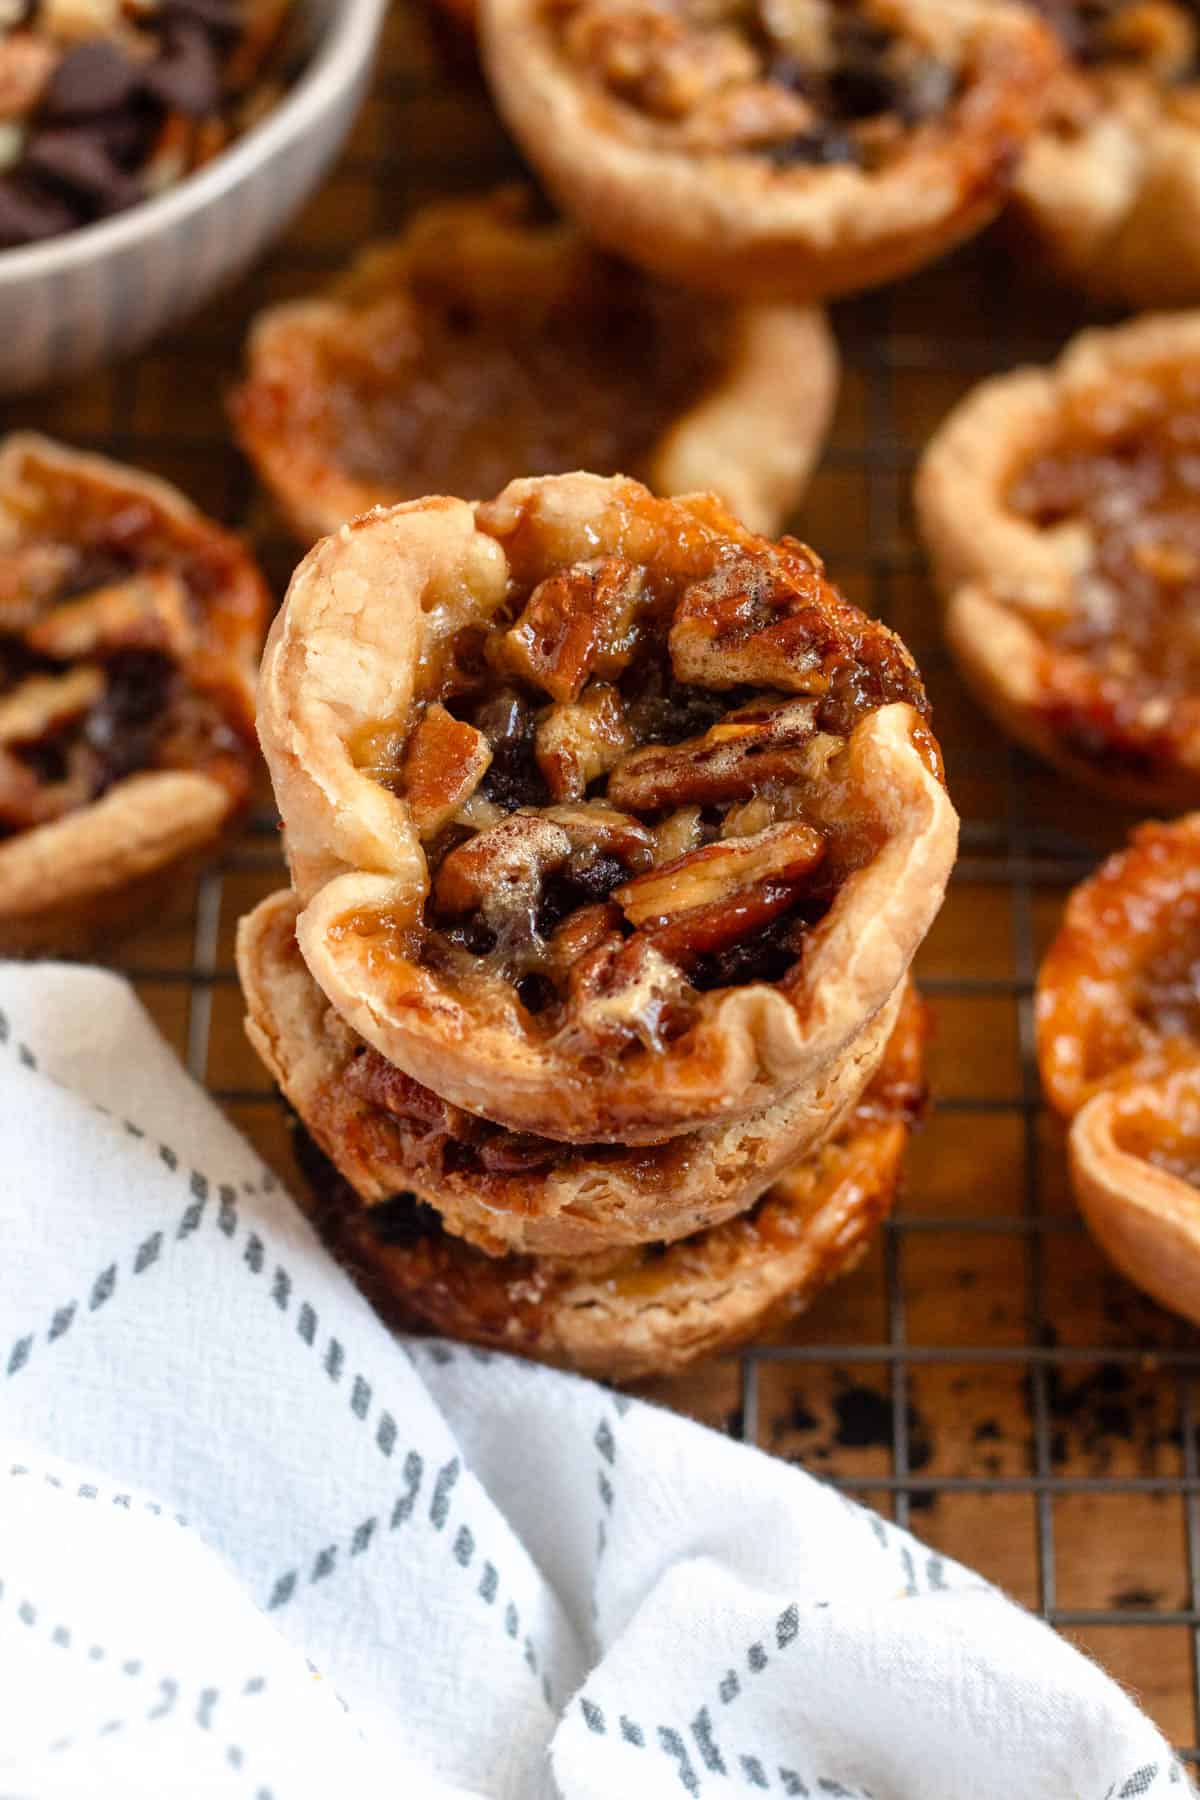
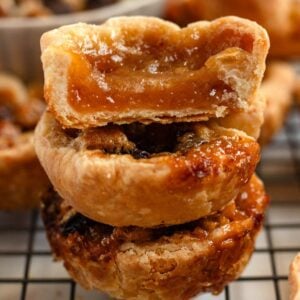
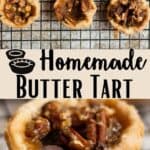
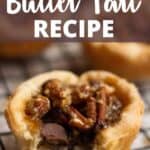
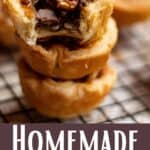
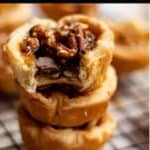
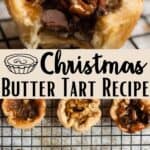
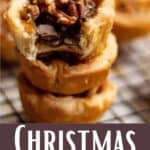
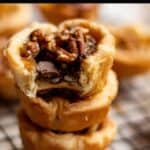
Butter Tarts are a quintessential Canadian dessert that vaguely resemble the interior of pecan pie. They are made individually, and can be enjoyed plain or with walnuts, raisins, or chocolate chips. This recipe is a family secret from my Canadian aunt that I am sharing with you!
Hello Reader! I try my hardest to research recipes as best as I can before posting to ensure I am representing each culture correctly. If this recipe is from your country and I have made a mistake or you have suggestions for how to make it more authentic, I would love to hear! Please leave a comment below letting me know what should be different, and I will rework the recipe. It is always my intention to pay homage and respect to each cultural dish that I cook. Thanks for reading!
When I was talking to my Aunt Lori (a Canadian) about the best Canadian food that I should make for my cook-the-world journey, her immediate response was “butter tarts.” Butter tarts, according to every Canadian I’ve ever talked to, are a Canadian obsession. They rest in the windows of most bakeries in Canada.
Today my Aunt Lori was kind enough to share her go-to butter tart recipe with us, a beautiful homage to her familial ancestry. The crust recipe comes from one grandmother while the filling recipe comes from her other grandmother. Can you imagine a recipe better than one that comes from two grandmothers?
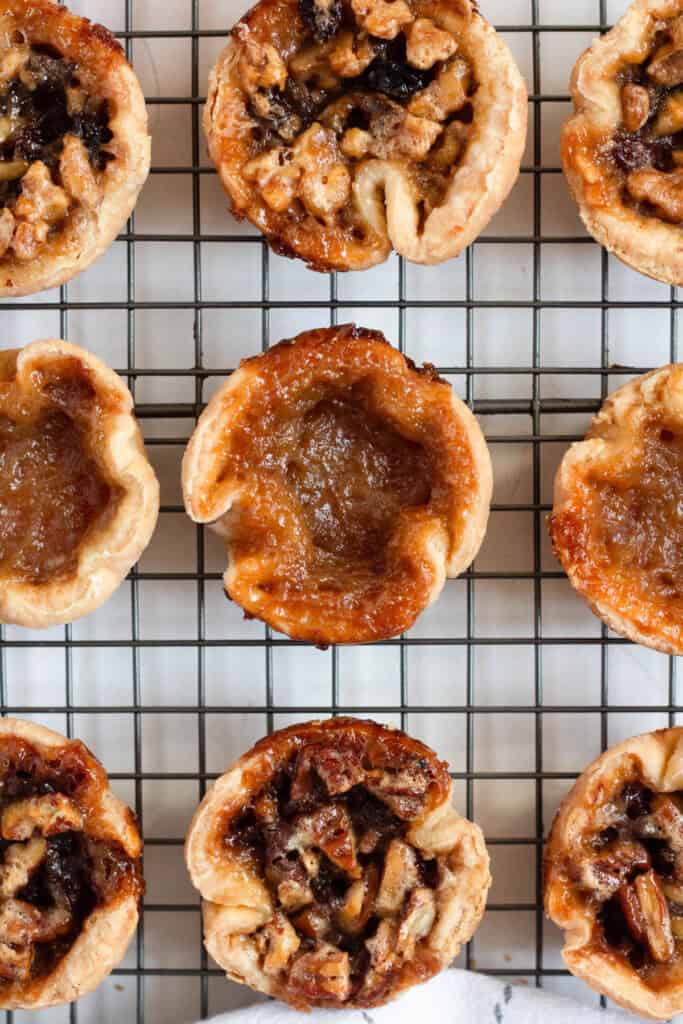
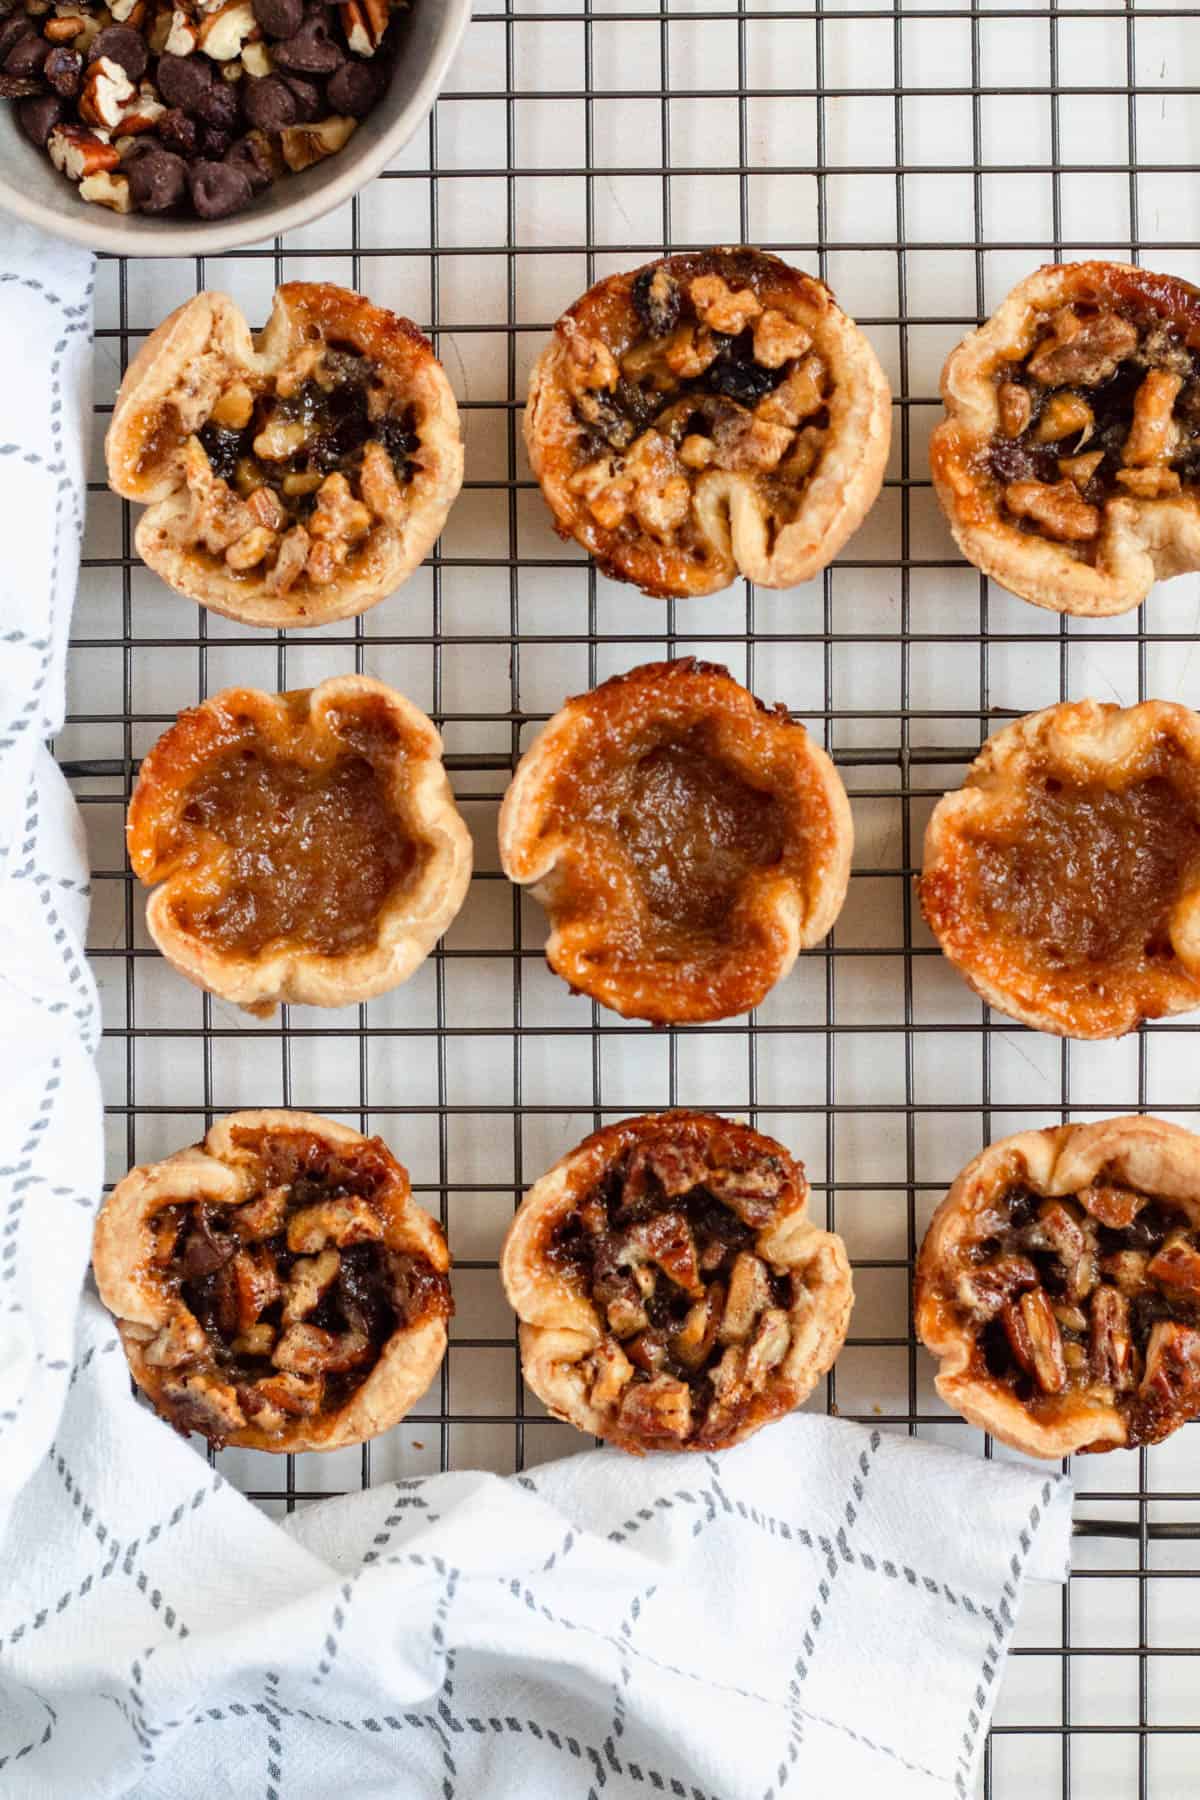
The best part about this butter tart recipe is that it can be customized however you’d like. From raisins, to walnuts, to plain, to pecan/chocolate chip, we are making all kinds of butter tarts on the blog today! Keep reading for more information on how to make these delicious treats!
Make this Recipe Alongside Me & Aunt Lori!

Recipe Origins
Butter tarts are Canadian in origin. In the 1660s, 800 young women moved from France to Quebec, Canada. It is often thought that the butter tart originated from this move….
These women most likely tried to replicate one of their recipes from home: sugar pie. Of course, not all ingredients from France were accessible in Canada, so a variation of sugar pie, AKA the butter tart recipe, was born!
Butter tarts have caused many debates amongst Canadians about the proper way to make them. Should butter tarts have raisins? What about chocolate chips? Some say it’s better to just keep them plain. What about the crust? Some love a crispy crust, and some Canadians prefer flaky!
Each family has their own strong opinions about what makes the ultimate butter tart, but today I will show you one perfect version. This is how to make my aunt’s recipe for the best Butter Tarts in Canada!
Key Ingredients for this Butter Tart Recipe
Here is a visual overview of the ingredients in the recipe. Scroll down to the recipe at the bottom for quantities.

- Butter and Lard: The key to making a perfect butter tart crust is to have cold ingredients to make a flaky pastry. Make sure that your butter and lard are fresh out of the fridge, and haven’t been sitting out. You want there to be chunks of butter/lard in your pastry.
- Ice Water: You only need to use extra water if your pastry requires it, but this one usually does. Aunt Lori likes to add ice cubes to the bowl of water to make it as cold as possible before adding it to the pastry.
- Corn Syrup: This creates the gooey filling in the center of the tarts. We use light corn syrup, as it makes for a sweeter, more traditional flavor! Dark corn syrup will add a molasses flavor that is not as traditional. Some recipes call for maple syrup instead, but this recipe hasn’t been tested with that swap.
- Lemon Juice: This is meant to cut the sweetness from the tarts. I like using fresh lemon juice!
- Fillings: Filling options include walnuts, raisins, chocolate chips, or pecans. You can use them in any combination to make fillings, but I will go through some common filling combinations below.
How to Make this Recipe
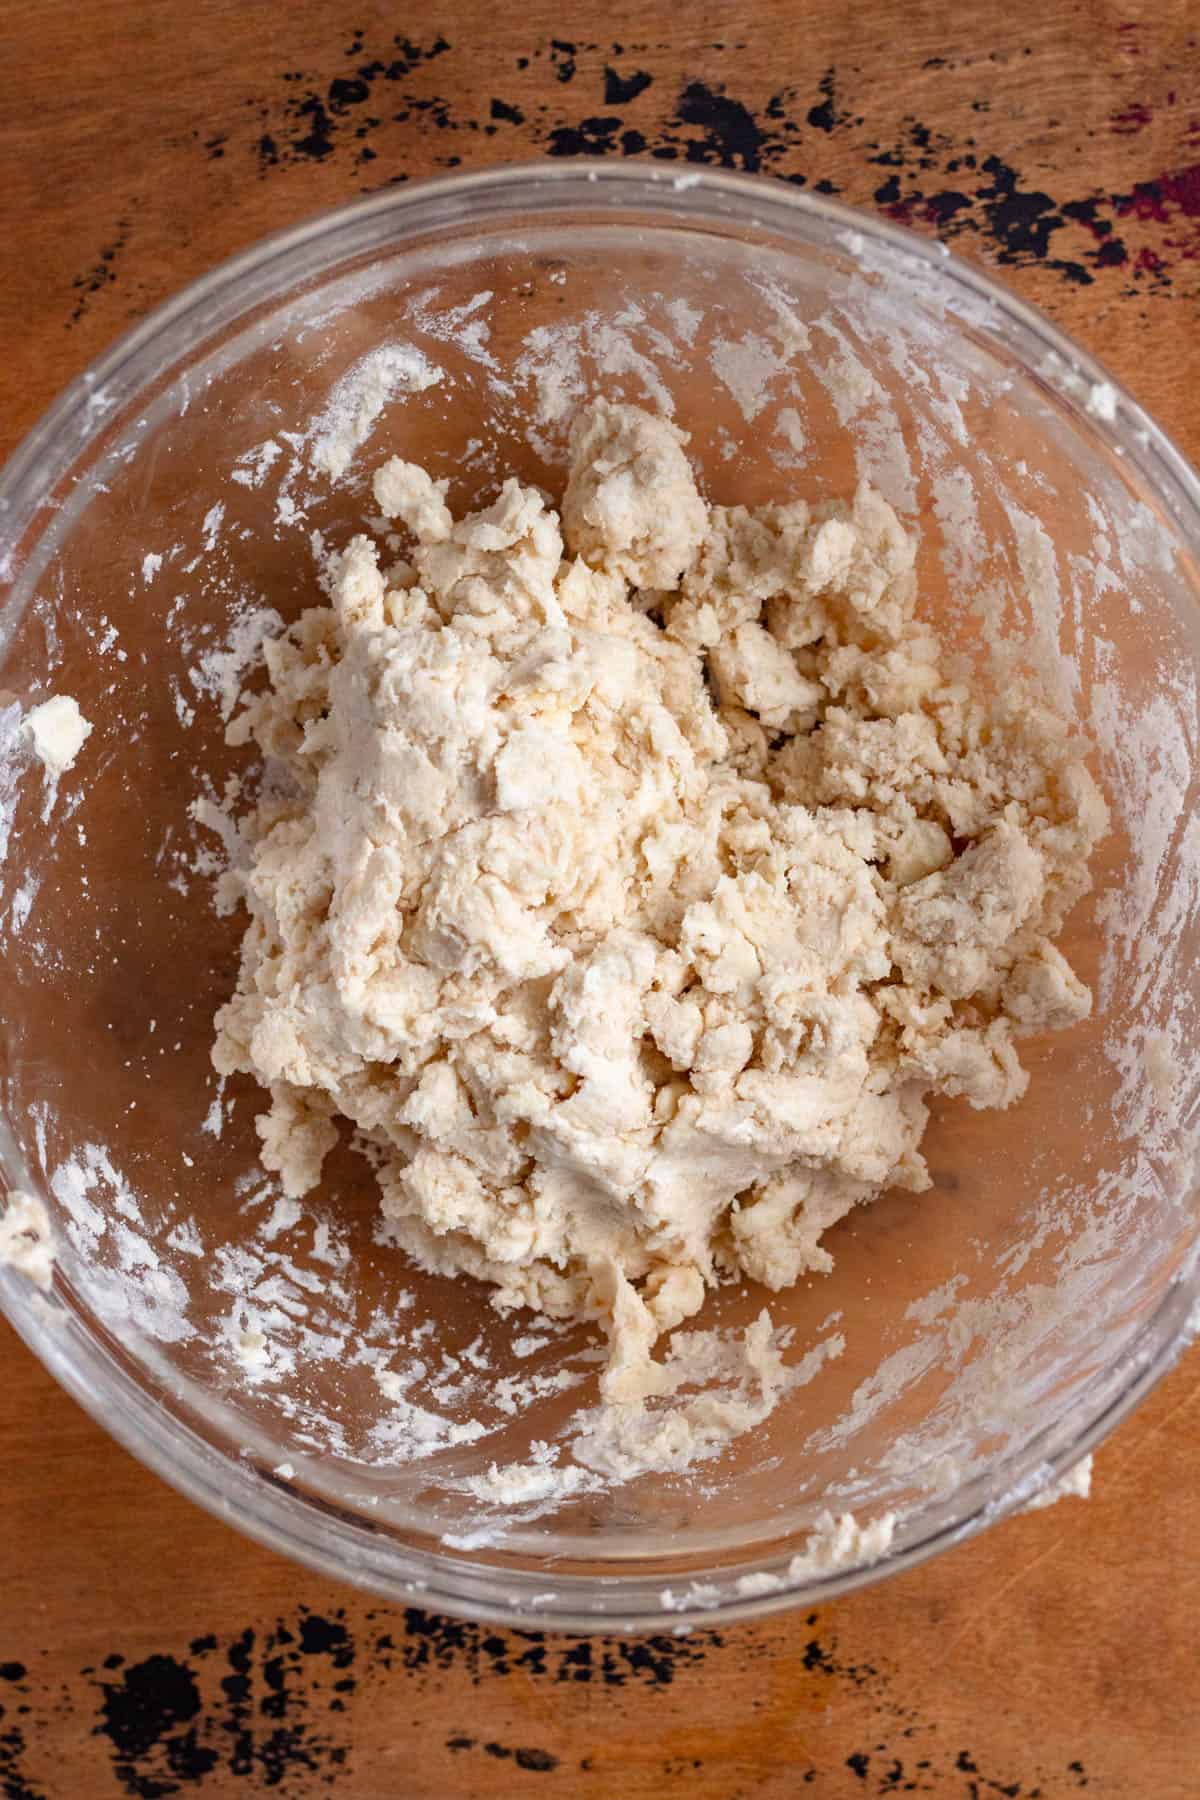
Step 1: Whisk together flour and salt, then cut cold butter and lard into the dry ingredients. Add the ice water and sour cream and mix until a shaggy dough forms.
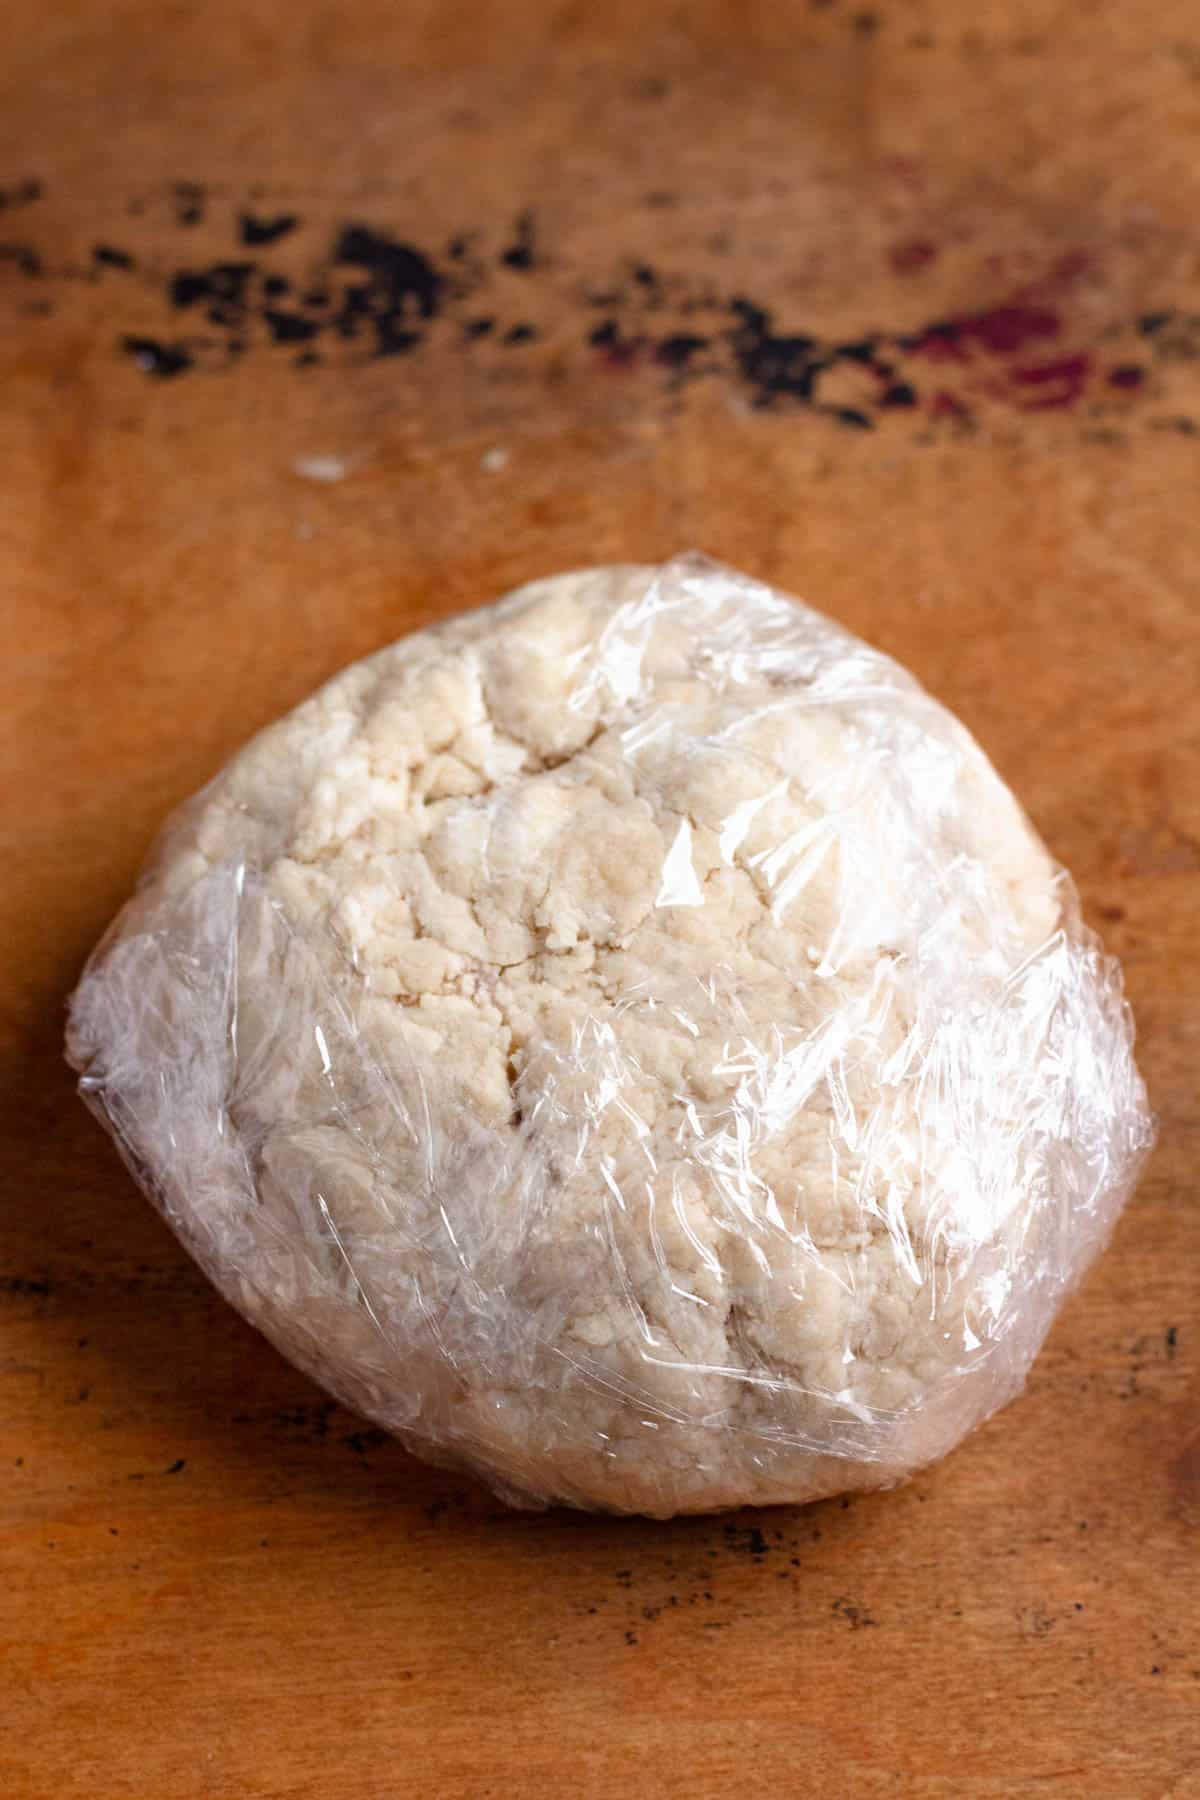
Step 2: Wrap up the dough and let it rest in the refrigerator for 30-60 minutes.
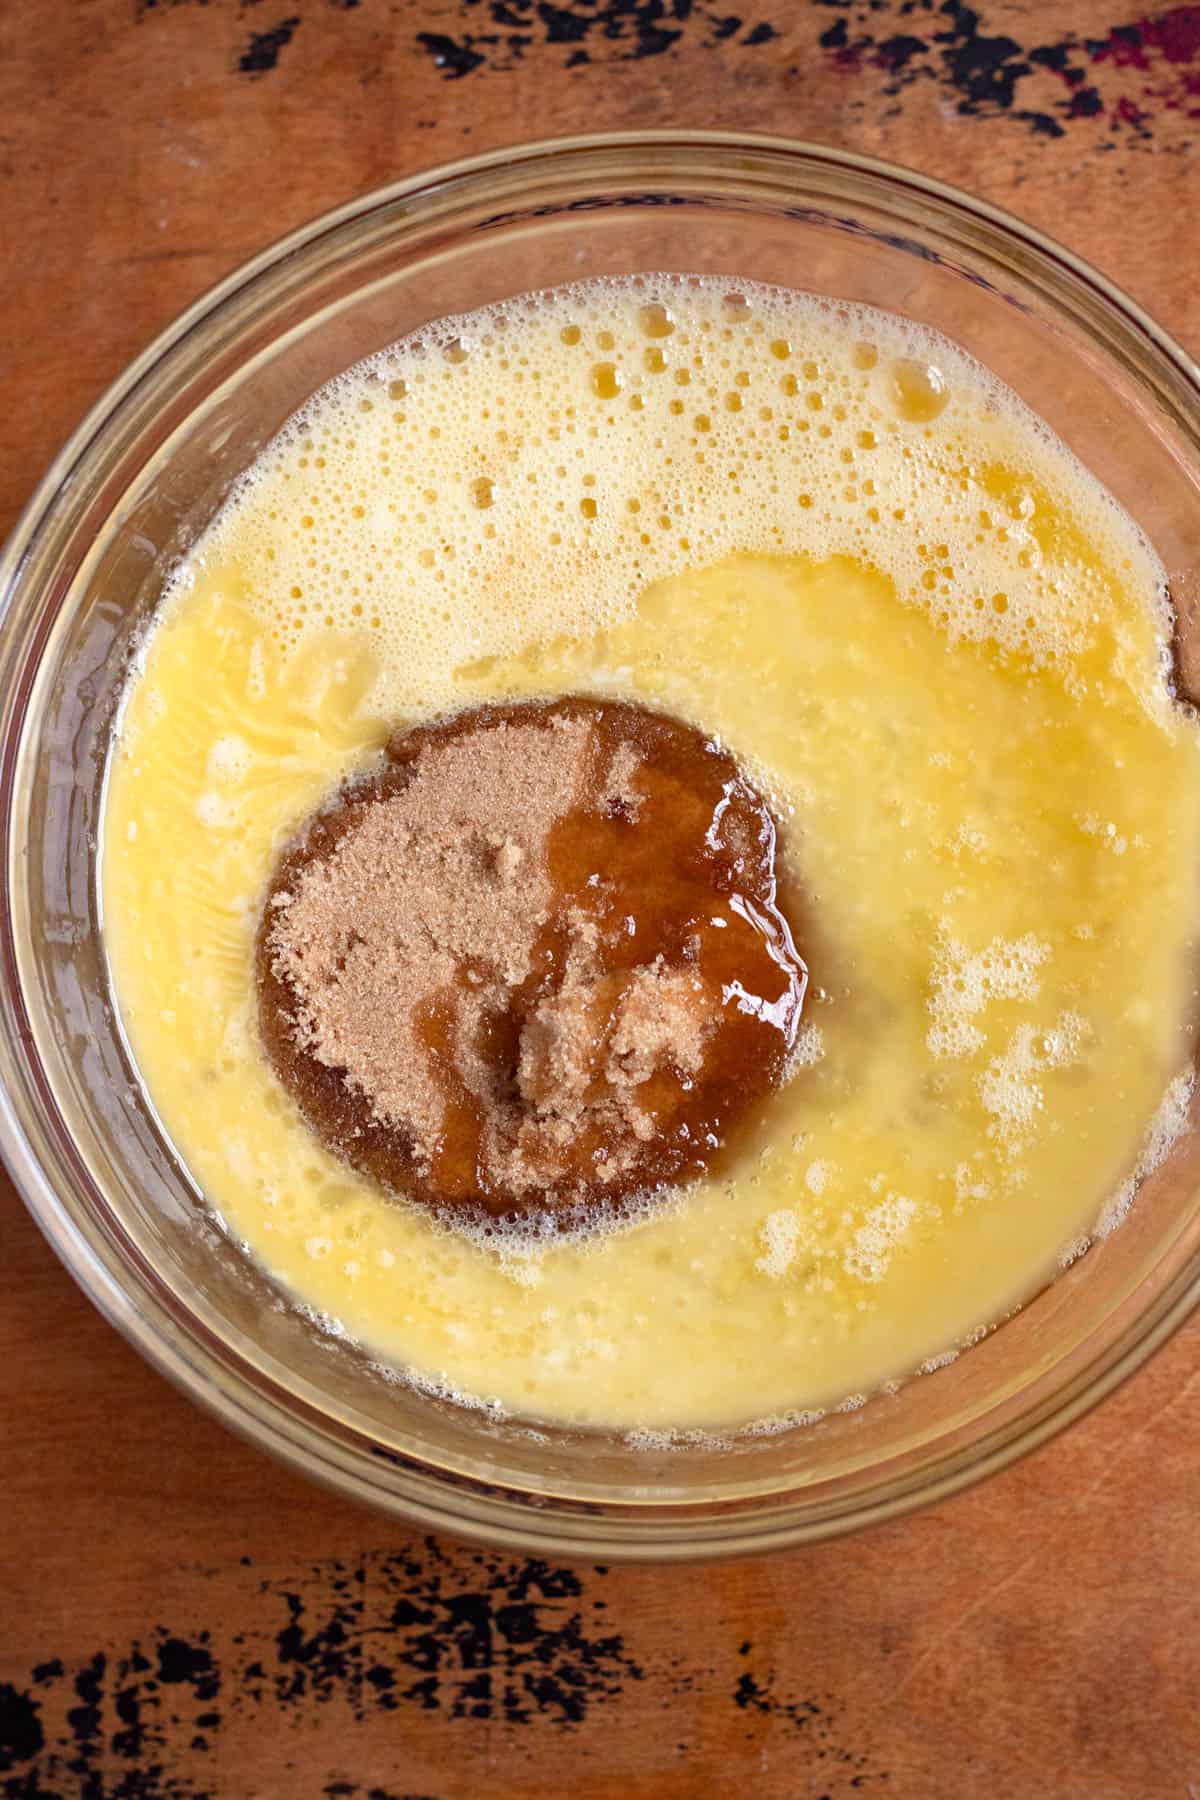
Step 3: Make the filling by whisking the eggs then adding brown sugar and corn syrup. Drizzle melted butter into the mixture along with vanilla and lemon juice and whisk again. Set aside.
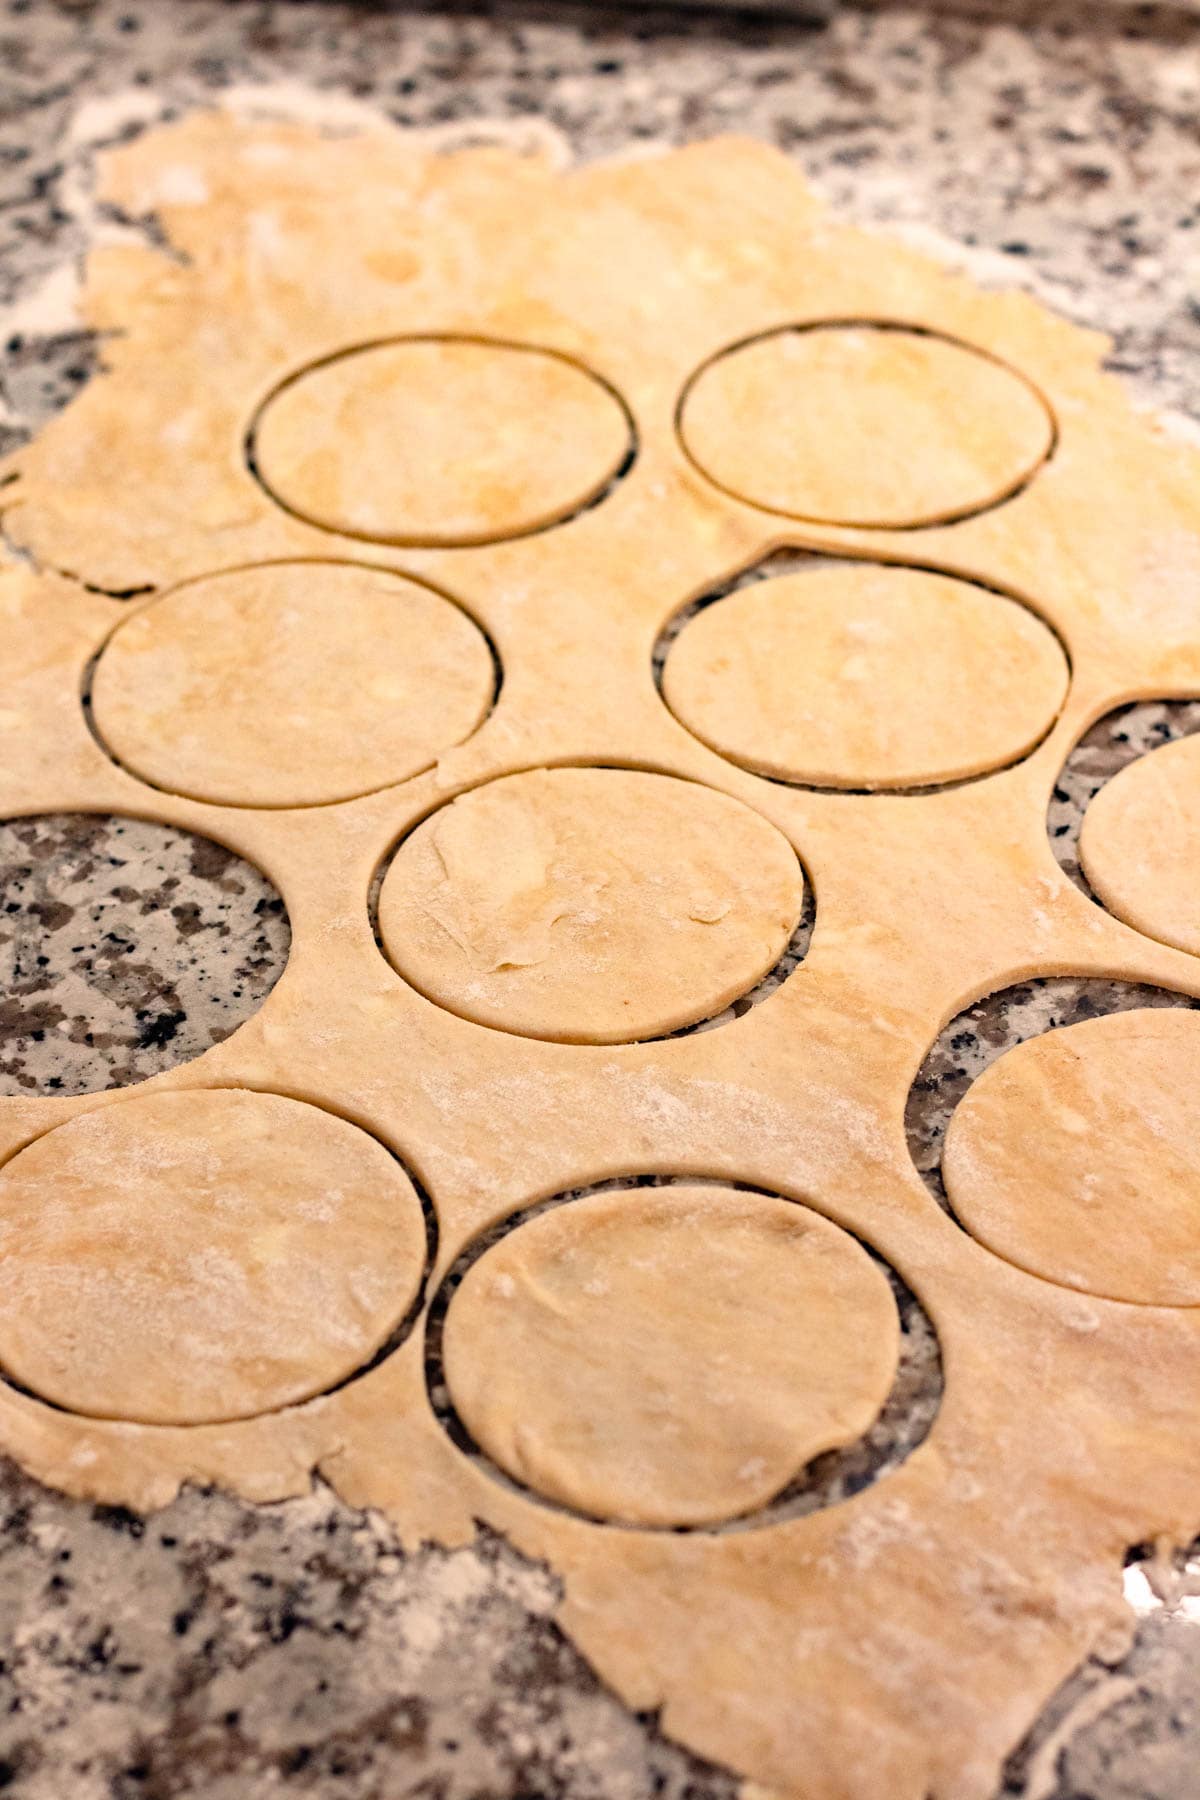
Step 4: Roll out the dough to ⅛” thick, then use a 4” cookie cutter to cut 12 circles.
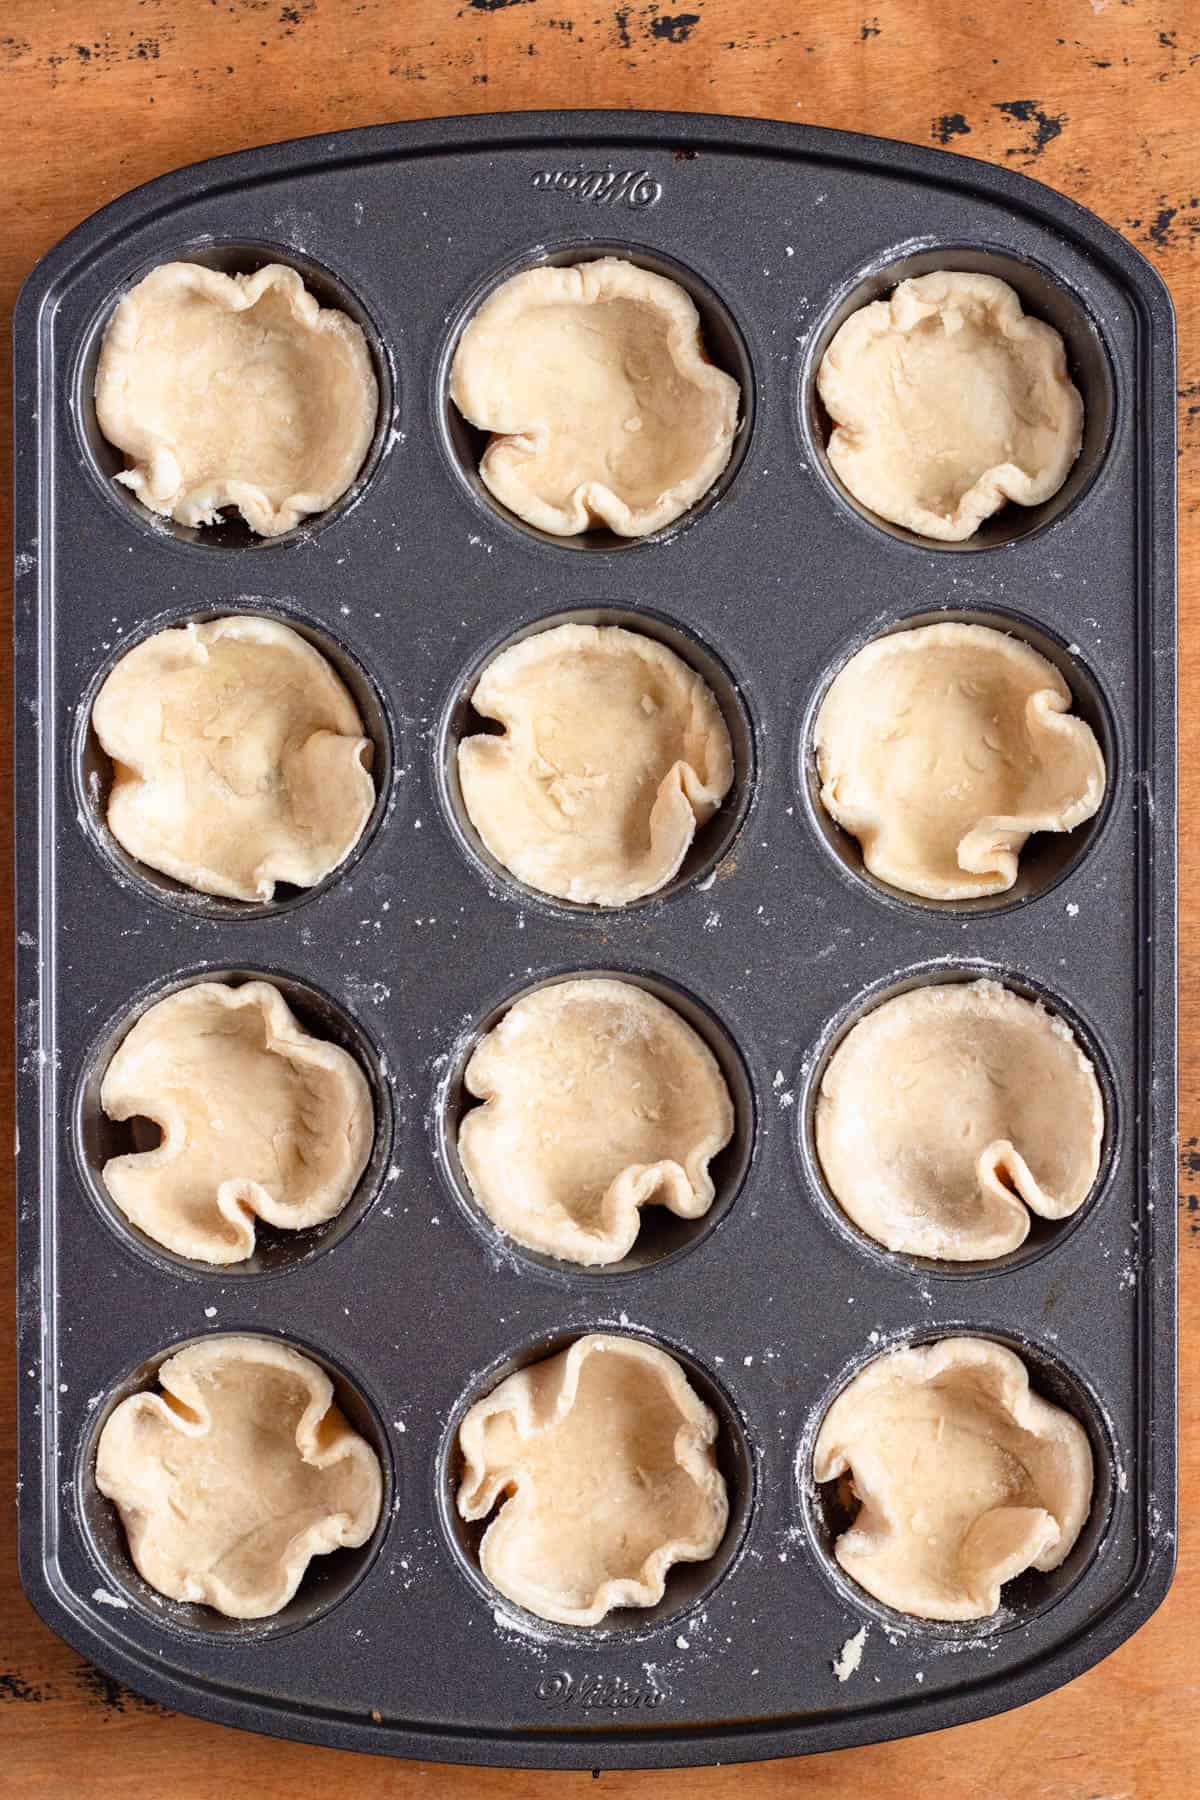
Step 5: Place the dough in a muffin pan, and place in the fridge for another 30 minutes.
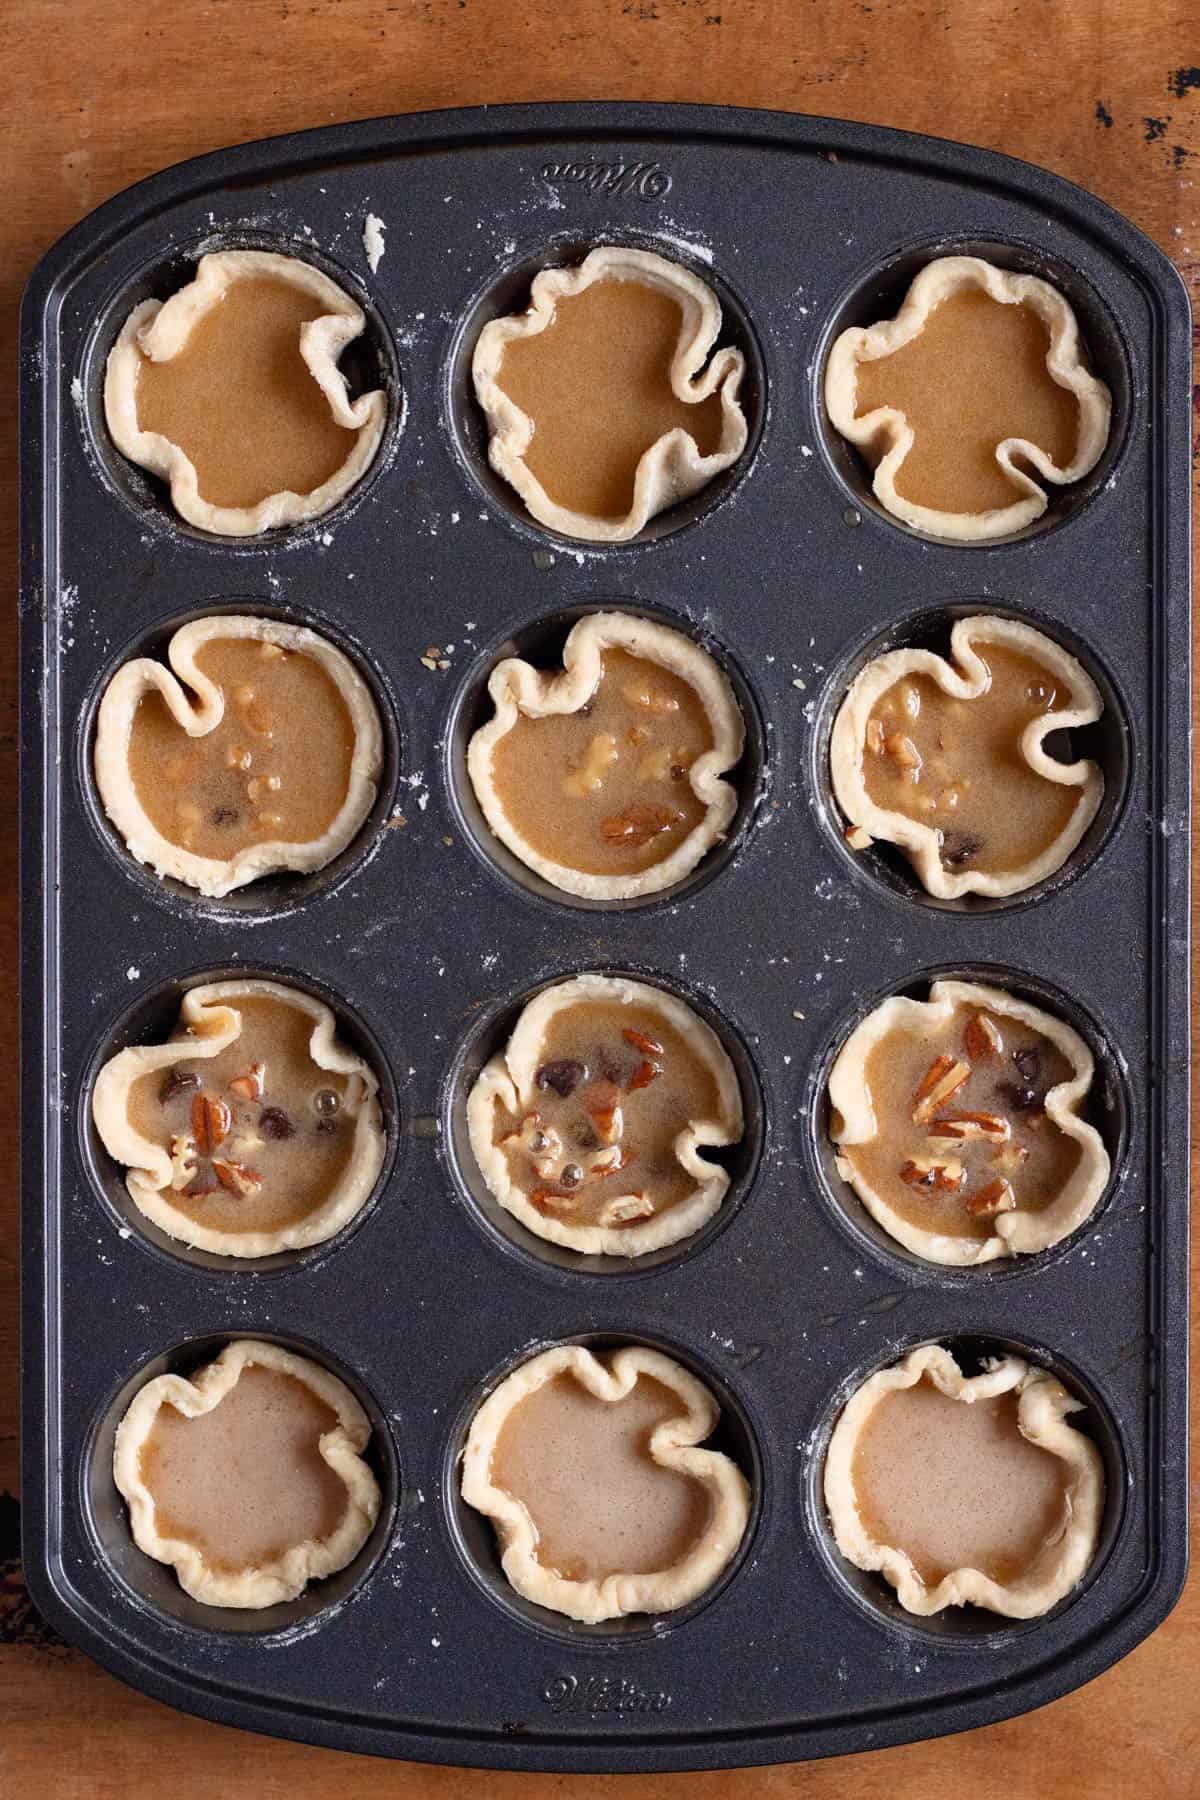
Step 6: Remove the dough from the fridge, and place any add-ins to the pastry cups. Then portion the liquid filling into each pastry shell.
Step 7: Bake for 25-35 minutes until they are fully cooled, then remove them from the pan. Enjoy!
How to Get Your Butter Tarts Out Of The Pan
There are some very specific instructions for making sure that your butter tarts come out of the pan alright:
- Place the Crust Properly: First of all, be proactive in your approach. Don’t press the center of the dough circle to get the crust into the muffin tin. Instead, lay the dough across the muffin tin and gently push the sides in.
- Pour your Filling Carefully: Secondly, be very careful not to get any filling between the crust and the muffin tin when baking. This will adhere the tart to the pan. Instead of pouring the filling into each, use a spoon, or even a baster, to fill each tin carefully!
- Use a Knife When They Are Still Hot: The most important tip for getting the tart out of the pan is to run a thin knife around the perimeter of the tart before attempting to remove it from the pan. Make sure that the tarts are hot out of the oven when you do this, because the longer you wait, the more the filling will harden and will plaster the crust to the side of the muffin tin. Once the tart starts to spin around in the pan as you move the knife, it is released and ready to cool the rest of the way before being pulled out!
Common Filling Pairings
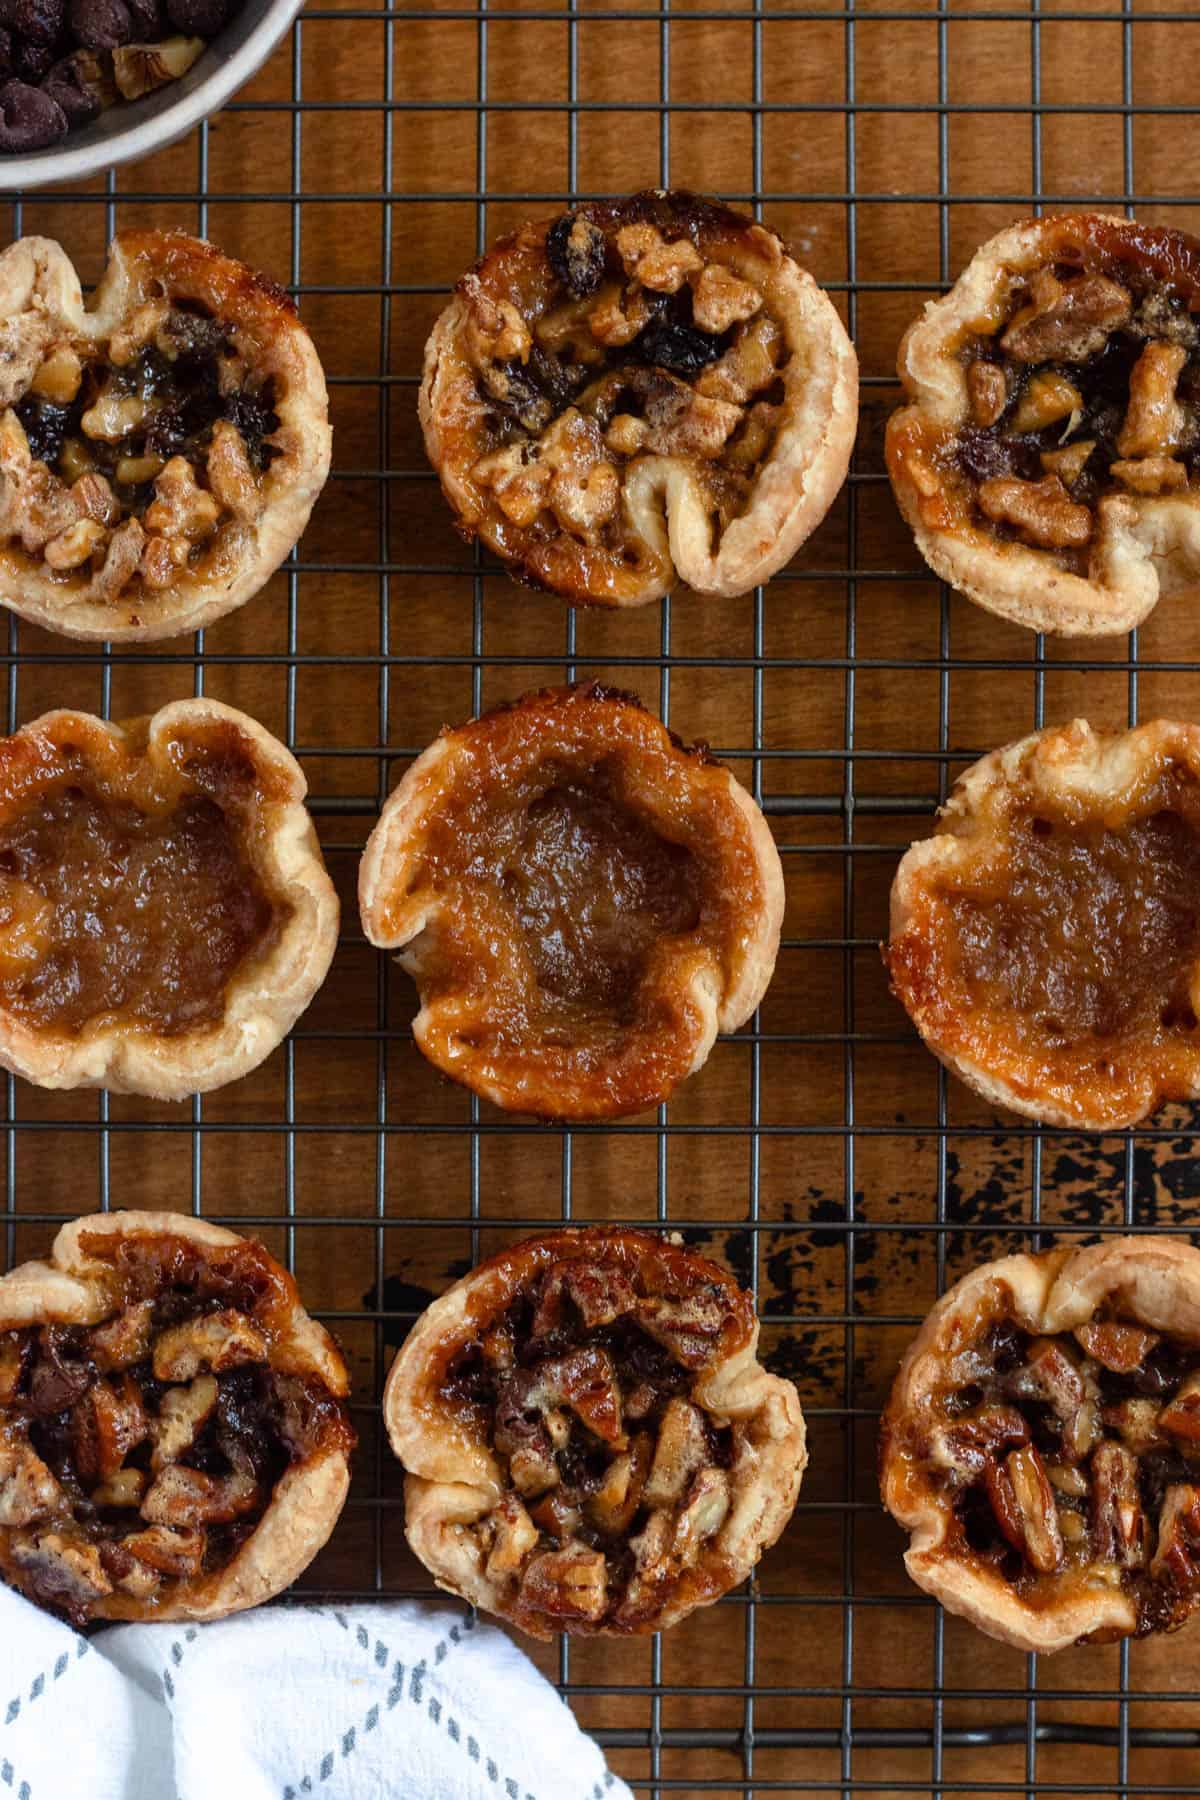
This recipe calls for a few different ingredients so that you can customize the fillings of your butter tarts. Here are some options you can try!
- Plain: For this, add nothing into the pastry cups except for the filling. This is the purest, most traditional version of butter tarts.
- Pecan: Place chopped pecans into the pastry cups.
- Walnut and Raisin: This is another traditional option. Chop walnuts and add them to the pastry cups along with a few raisins.
- Pecan and Chocolate Chips: This is more of a contemporary version of butter tarts. It’s not traditional, but it is my favorite!
Expert Tips
- Using an electric hand mixer instead of a whisk will change the color and texture of the filling. Whisk by hand for the correct result.
- When forming the dough, use a pastry cutter and cut the dough on the side of the bowl until the butter forms into pea-sized pieces. You could instead choose to use two forks, but a pastry cutter is easier.
- When making the filling, ensure that your butter is not too hot so that it doesn’t scramble the egg that is in the filling!
- Using a 4” cookie cutter is our preferred method, but the tarts/filling will be shallow. 5” cookie cutter will create deeper tarts with more filling, though you may need to bake them for longer and will not get as many tarts.
- Butter tarts are a sweet treat, so they are traditionally eaten with a cup of tea. Earl Grey tea or a dark breakfast tea are good options to serve with your tarts!
Recipe FAQs
The pastry can be prepared ahead of time if you’d like! Simply make it, wrap it in plastic wrap, and keep it in the fridge for up to 3 days.
You can leave your butter tarts in an airtight container on the counter for about three days. If they are still around for longer than that, place them in the fridge. They will last for about 5 days total!
You can keep your tarts in the freezer for about 6 months. Wrap them individually, then take them out of the freezer a few hours before you want to eat so that they can naturally come to room temperature before enjoying.
That’s all! If you have any more questions for me about this butter tart recipe, drop them in the comments below. And if you loved this recipe, make sure to check out these other articles I picked out just for you:
- Canadian Poutine Recipe
- Canadian Christmas Fruit Cake
- Peameal Bacon Sandwich
- Split Pea Soup
- Maple Cookies Recipe
If you tried this Butter Tarts Recipe or any other recipe on my website, please leave a 🌟 star rating and let me know how it went in the 📝 comments below!
Butter Tarts
Equipment
- Whisk
- Cooling Rack
- Oven Mitt
- Plastic Wrap
- Mixing Bowl(s)
Ingredients
Pastry Ingredients
- 1 ¼ cups all-purpose flour
- ¼ tsp salt
- ¼ cup cold unsalted butter, cut into cubes
- ¼ cup cold lard, cut into cubes
- ¼ cup regular sour cream
- 2 tbsp ice water, plus more if necessary
Filling Ingredients
- 1 egg
- ½ cup light or dark brown sugar
- ½ cup light corn syrup
- 2 tbsp melted butter
- 1 tsp lemon juice
- ½ tsp vanilla
- chopped walnuts, optional
- chopped pecans, optional
- chocolate chips, optional
- raisins, optional
Instructions
Pastry Instructions
- In a large bowl, whisk together 1 ¼ cups all-purpose flour and ¼ tsp salt. Then add ¼ cup cold unsalted butter and ¼ cup cold lard into the bowl.
- Use a pastry cutter to cut the mixture into fine crumbs. The butter should be about the size of a pea, and will be very floury, and that’s okay.
- In a small bowl, whisk together 2 tbsp ice water and ¼ cup regular sour cream until smooth. Add the smooth mixture to the pastry while stirring with a fork.
- Add 2 tsp extra ice water to the pastry and work the dough with your hands to form a “ragged” dough ball.
- Place the ball on saran wrap and press into a flat disc shape. Cover completely with saran wrap and refrigerate for 30 minutes. You can refrigerate this dough for up to three days.
Filling Instructions
- In a medium bowl, whisk 1 egg thoroughly. Then add ½ cup light or dark brown sugar and ½ cup light corn syrup, and whisk again.
- Drizzle 2 tbsp melted butter into the mixture, whisking as you do so.
- Add ½ tsp vanilla and 1 tsp lemon juice and whisk again. Set aside.
Assembly Instructions
- Remove the disk from the refrigerator. On a lightly floured surface, roll out the pastry to ⅛” thickness. Lightly flour the pin as needed.
- Using a 4” or 5” cutter, cut the dough into 12 circles. Do not be afraid to reroll scraps to cut all 12 circles. Fit into 12 muffin cup tins. Refrigerate this tin for 30 more minutes.
- Preheat your oven to 325 degrees Fahrenheit.
- Remove the tart tin from the refrigerator after 30 minutes. Add the add-ins to pastry cups if desired (any combination of pecans, walnuts, chocolate chips, or raisins). Spoon the filling into each tart until each tart is ½-¾ full.
- Bake the tarts for 25-35 minutes until the filling is set and the pastry is a little golden brown.
- Remove the pan from the oven and place the tart pan on an elevated wire cooling rack. Before the tarts cool, run a thin knife around the edges to release the tart from the side of the pan.
- Allow the tarts to completely cool (approximately 30 minutes) before removing them from the tin. Serve and enjoy!
Notes
- Ice Water: You only need to use extra water if your pastry requires it, but this one usually does.
- Corn Syrup: We use light corn syrup, as it makes for a sweeter, more traditional flavor! Dark corn syrup will add a molasses flavor that is not as traditional. Some recipes call for maple syrup instead, but this recipe hasn’t been tested with that swap.
- Fillings: Filling options include walnuts, raisins, chocolate chips, or pecans. You can use them in any combination to make fillings. I go through some common filling combinations above.
- Using an electric hand mixer instead of a whisk will change the color and texture of the filling. Whisk by hand for the correct result.
- When forming the dough, use a pastry cutter and cut the dough on the side of the bowl until the butter forms into pea-sized pieces. You could instead choose to use two forks, but a pastry cutter is easier.
- When making the filling, ensure that your butter is not too hot so that it doesn’t scramble the egg that is in the filling!
- Using a 4” cookie cutter is our preferred method, but the tarts/filling will be shallow. 5” cookie cutter will create deeper tarts with more filling, though you may need to bake them for longer and will not get as many tarts.
- Butter tarts are a sweet treat, so they are traditionally eaten with a cup of tea. Earl Grey tea or a dark breakfast tea are good options to serve with your tarts!


Chris Meadows says
Chocolate chips? In butter tarts? Never!! That sounds suspiciously American! Lol
Leslie says
Being Canadian, I can very safely say I have not seen, heard or eaten butter tarts with chocolate chips. Not sure where you got that info. Also, being Canadian you omitted one dessert recipe that has been around for years, Nanaimo Bars. The original recipe with the custard powder filling and not the peanut butter or other fillings.
The Foreign Fork says
The beginning of the article states that I got that information from my aunt, who was born and raised in Canada. She adds chocolate chips, so I did too. But you don’t have to! I am not able to cook every recipe from every country, but maybe one day I will get to Nanaimo bars!
Janice P says
Wow didn’t know all this about Canada. (Nor that they had recipes specific to them) Lol. I plan to make these butter tarts for an open house I’m having later this month. Thanks
Alexandria Drzazgowski says
haha! There are actually a few recipes specific to Canada that I’m so excited to post! I can’t wait for you to make them… if you do, take a photo and share it with me, I would love to see! 🙂