The KitchenAid Pasta Attachment has changed my life, so I wanted to give you my pure, unsponsored opinion as to why. Hopefully this can help you in your buying process!
I have been making homemade pasta for my entire life. Every Christmas Eve, my big Italian Family makes homemade pasta for 30 people. Then, I moved to Italy, and I made pasta constantly while learning from some real Italian professionals! Once I moved home, I started teaching pasta-making classes, where I visit groups of 20 or so people and teach them how to make pasta in their own home. I guess you could call me a pasta making expert.
Up until about a year ago, I did all of this by hand. We made pasta for 30 people with a hand crank pasta maker…. one so old that we had to clamp it to the counter because it would fall apart otherwise. We spent hours upon hours upon hours cranking that pasta maker until our arms wanted to fall off.
It was fun, but it was tedious. And it took forever to make such a simple dish!
Last Christmas I received the KitchenAid Pasta Attachment, and suddenly, everything got so much easier. I love the nostalgia, the tradition of my grandmother’s hand crank pasta maker, and I don’t know if I’ll ever fully transition away from it.
But gosh, whipping up a quick dinner or teaching a cooking class with my pasta attachment has really enhanced the pasta-making game for me. I wanted to give you my honest (UNSPONSORED) review of the KitchenAid Pasta Attachment so that you could decide for yourself if it’s worth it to buy one.
How Does the KitchenAid Pasta Attachment Work?

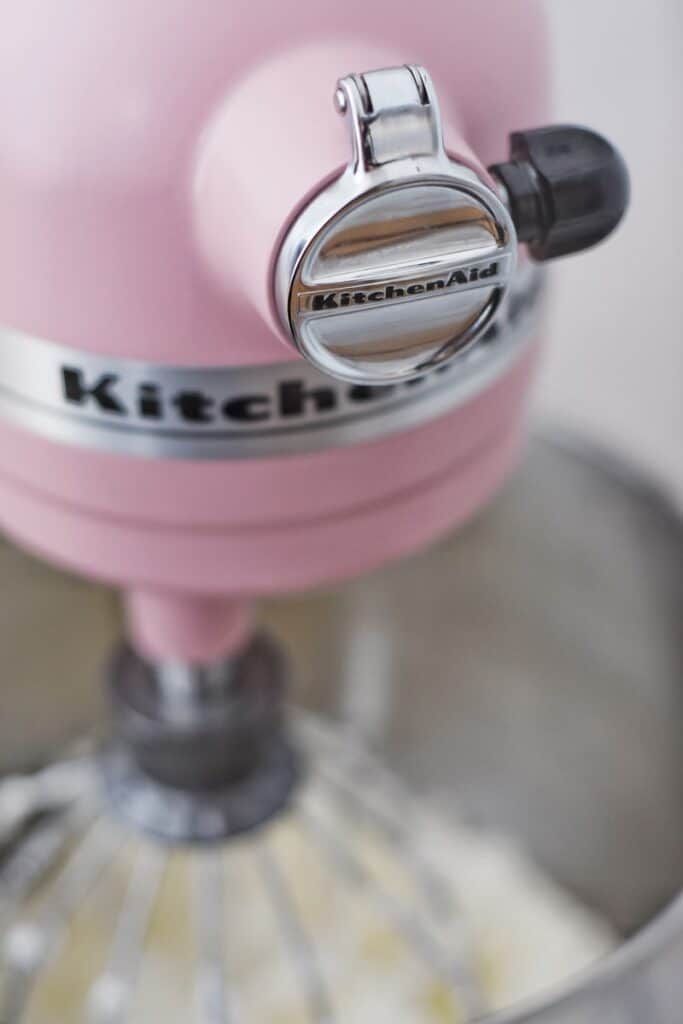
The KitchenAid Pasta Making Attachment isn’t just one attachment. It’s actually a combination of three attachments that come in a box. All three attachments plug into your KitchenAid at the top, and run on the electricity that powers the mixing attachments below.
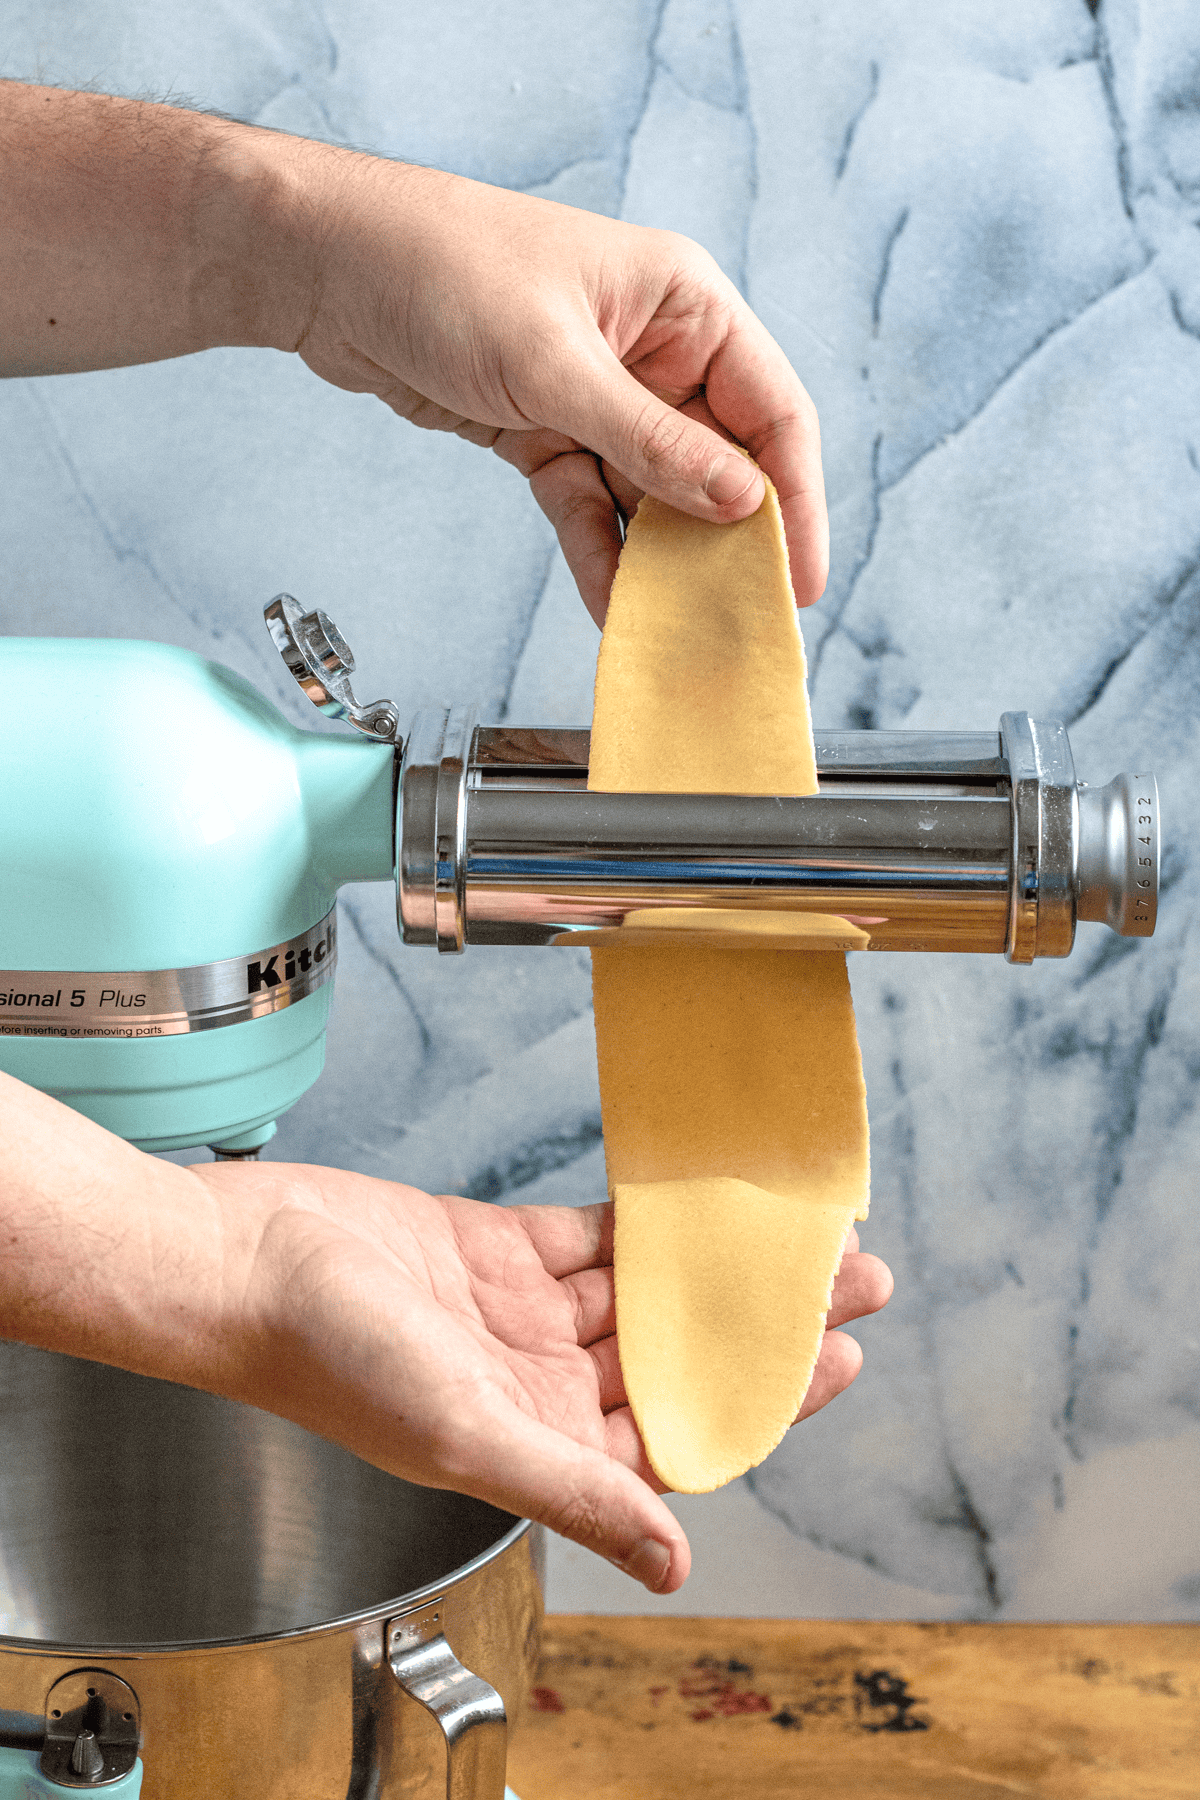
The first tool is the rolling attachment. These are two flat rollers, that you roll your pasta dough through to flatten it. This attachment is for when you’ve first made your dough and are ready to start rolling it out into sheets. These sheets can then be used to make ravioli or simply cut them into fettuccine noodles.
The other two attachments are the Fettuccine and the Angel Hair Cutting attachments. Both of these attach to your KitchenAid the same way that your rolling attachment does. They do the same thing, but simply cut the dough into different sized noodles. If you want thick noodles, use the larger fettuccine roller. If you want very thin noodles (width-wise), use the angel hair roller.
How to Use the Pasta-Rolling Attachment
After you’ve made your pasta dough, it’s time to roll it into sheets. There are 8 settings on the pasta roller. The smaller the number, the thicker the pasta. The larger the number, the thinner the pasta. To change the settings, grab the knob and pull out, then turn the dial, and place it on the number you would like.
When I make pasta, I typically run the sheets through the 1 setting, then switch it to 3, then switch it to 5. You cannot start rolling your pasta on a large number right off the bat, or it will rip and tear. Instead, start running it through a small number, then gradually increase the numbers. This will allow the elasticity in your pasta to activate so that it doesn’t tear at a thinner thickness.
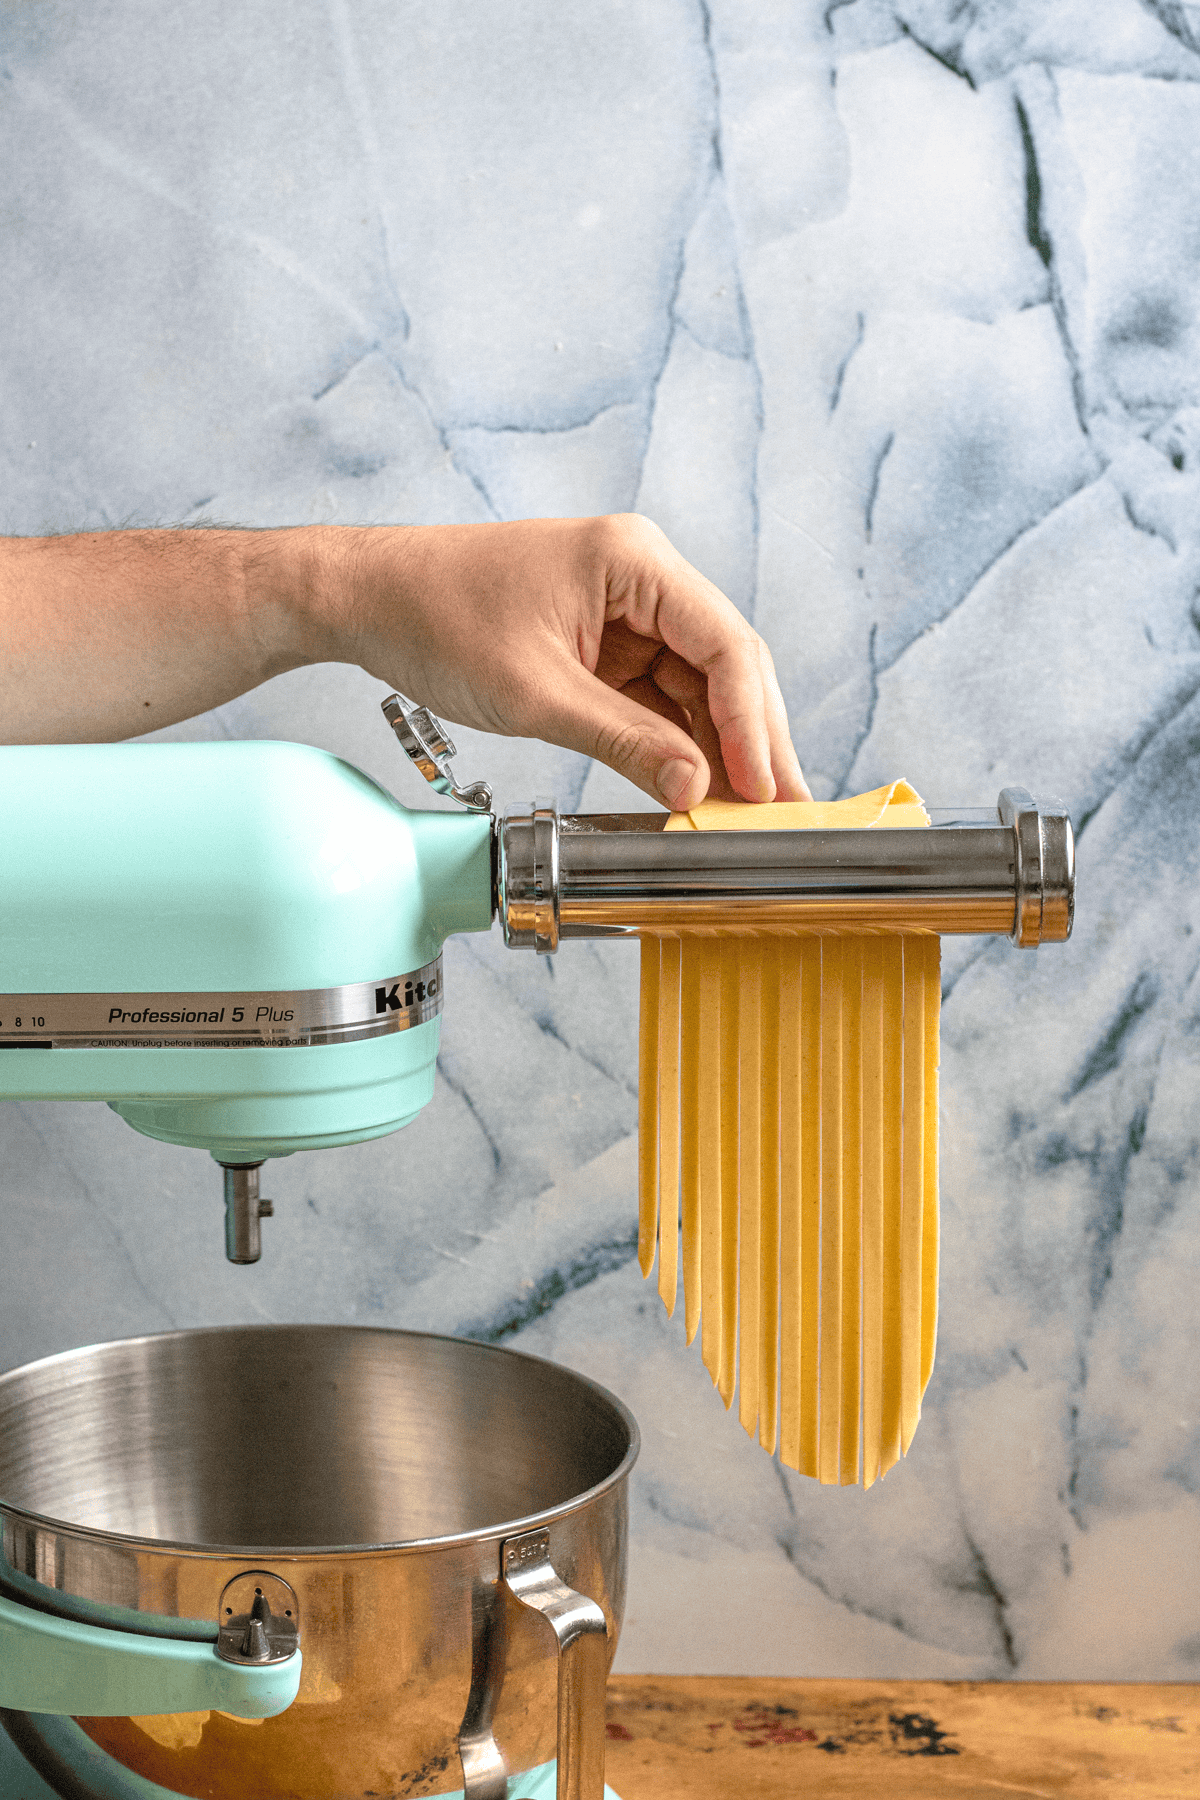
How to Use the Fettuccine/Angel Hair Cutting Attachment
After you’ve rolled your pasta into sheets, it’s time to cut it. Remove the sheet roller and instead, attach either the fettuccine cutter or the angel hair cutter depending on which type of noodle you want.
Run your thin sheets through the pasta cutter once and, voilà, you’re done! Then you can use this 3 ingredient tomato sauce or this cacio e pepe recipe to enjoy your creation!
Is the KitchenAid Pasta Attachment Easy to Use?
A resounding YES. I think that this technology is so simple once you get the hang of it! Most of my students in my cooking classes learn how to use the attachment while in class. By the end of my classes, they are looking up how to buy their own, and they are confident that they will know how to use it.
Cleaning Your Attachment
If you’re worried about cleaning your pasta attachment, don’t be. First of all, you should remove the attachment from your KitchenAid and allow it to air dry for about an hour.
KitchenAid provides a brush that you can use to remove any excess dough that you find. If you can’t remove the dough, use a toothpick to clean out the interior of your cutters. Do not run your attachment under water and do not use a sharp object, like a knife, to clean it out. For more instructions and best practices, visit KitchenAid’s website.
Does the Attachment Work with All KitchenAids?
Yes! If you have any model or age of KitchenAid brand stand mixer, the pasta attachment will fit it. Make sure to plug the end of the attachment into the power hub on the front of your stand mixer.
The attachment also works with some off-brand stand mixers as well. Before purchasing it, make sure that your stand mixer brand boasts compatibility with KitchenAid products.
Is the KitchenAid Pasta Attachment Worth the Money?
I have found the attachment to be anywhere from $120-$200 depending on what store I visit at what time of year.
For me, it absolutely is worth the money. I might have a unique situation, because I run a business that relies on my ability to make pasta. Still though, the key to success here is efficiency, which the attachment really helps with.
If you make pasta once or twice a year and already have a hand crank, I may not say that this is worth your investment. However, if you’re making pasta more than a few times a year, I would push you to buy this attachment.
If you value your time, and want to spend as little time as possible making quick, but still very high quality recipes, this should be a go-to tool for you!
Pro Tip: I found the attachment for very cheap at Best Buy on Black Friday.
Who This Is/Isn’t For
While I have spent this article detailing the reasons why I love my pasta attachment, it might not be the right move for everybody. Here are some clues for if the pasta attachment is right for you or not:
Who the Attachment is Best For:
- People who already have a KitchenAid Stand Mixer.
- Anyone who makes fresh pasta more than 2-3 times a year.
- Home cooks that want a speedier solution while still wanting a traditional recipe/results.
Who Should Skip Purchasing:
- People who do not already have a KitchenAid Stand Mixer.
- Home cooks that only make homemade pasta a few times a year.
- Anyone who loves the hands-on ritual of using an old school pasta crank and doesn’t mind that it takes more time.
I hope that this post was helpful for you as you decide if you want to purchase your own KitchenAid Pasta Attachment! Please let me know in the comments if you have any questions whatsoever.


Caroline says
Thank you, Alexandria. I too found this really helpful! If you decide to try the other pasta attachments, like the one that makes ravioli, please do an update. I’d love your opinion.
Alexandria Drzazgowski says
Hey Caroline, so glad it was helpful!! I definitely will keep that request in mind 🙂
Trish Gaudio says
I just purchased the attachment online for $30.00…its just the press one…not the cutters.
It’s not made by KitchenAid, but it does attach to my KitchenAid.
For cutting, I bought a peculiar looking rolling pin with a track that cuts the pasta into strips.
This item was $11.00.
Saved a lot of money all around.
I do have a question though,. I read so much about so many who swear by so many different flours.
What’s the best one for pasta?
The Foreign Fork says
Hey Trish! Sounds like you were very economical, that’s awesome! As for flour… I always use all purpose flour because it’s easy to have on hand. If you want to get a little fancier, semolina flour is a great choice 🙂
Mele says
My husband got me the other attachment. What do you think of that? It makes 5 different types of pasta. But no sheets.
The Foreign Fork says
Hi Mele! Unfortunately, I have never tried the other attachment… it sounds like a lot of fun, though, so I’d love to hear your thoughts on it if you try it!
Yvette says
I have had difficulty with the pasta attachments coming loose during operation and I end up with dough wrapped around the attachment while I catch it before it falls on the floor. I’m cranking the accessory retention knob as far as possible and making sure the shaft is fully engaged before tightening the knob but I still have this problem. Do you have any suggestions based on your experience using the pasta accessories set? They do a good job, until they vibrate loose.
The Foreign Fork says
Hi Yvette! I actually have never had this problem with my pasta attachment, but I’m sorry that’s happening to you! From what I can tell, it sounds like maybe the Accessory Retention Knob is the problem and maybe not the pasta attachment? I’m also wondering if maybe there is something stuck in the hole where you put the pasta attachment. So sorry I can’t be of more help, but that’s where I would start looking.
Bethany says
This was so helpful. Thank you.
The Foreign Fork says
I’m glad you thought so! My pleasure