Today I’m going to teach you how to make homemade pasta. And, perhaps surprisingly, it’s so much easier than you think! I learned the pasta-making technique from years of making pasta with my family, and I perfected the ingredients ratios while living in Italy. Take a peek at my step-by-step photos to make the process a little easier!
Hello Reader! I try my hardest to research recipes as best as I can before posting to ensure I am representing each culture correctly. If this recipe is from your country and I have made a mistake or you have suggestions for how to make it more authentic, I would love to hear! Please leave a comment below letting me know what should be different, and I will rework the recipe. It is always my intention to pay homage and respect to each cultural dish that I cook. Thanks for reading!
Unpopular opinion: Knowing how to make homemade pasta is a skill everyone should have.
You may not agree. It’s easy, after all, to run to your local grocery store and grab a package of dried noodles in any form you could desire.
But honestly, there is something special about fresh, homemade pasta, especially if it was made by your own two hands. It’s chewy, light, bouncy and delicious. There is also something beautiful about the Italian tradition of making pasta by hand as a family.
If you have always been intimidated about making your own noodles at home, it is much easier than you think. You’ll know How Long To Cook Homemade Pasta and more. I have been making pasta with my family for years but I learned even more tips and tricks when I studied in Italy. Follow these steps and you will never want to go back to store-bought noodles again!
Recipe Origins
Pasta has been around in many forms for centuries. It may have even been enjoyed anciently in China and Greece.
However, when most people think of fresh pasta, their mind undoubtedly goes to Italy. Fresh, delicious pasta is a staple of Italian cuisine and the art of making homemade noodles is shared widely among families.
We had a recipe that we worked with for a while in my family, but we always had trouble getting it just right. Sometimes it would be too sticky, and sometimes it would be far too floury. One year, we even had to throw out all of our pasta and start over because after two days of drying it we realized that the dough had been too wet, and the pasta was starting to mold.
Luckily for you, I’ve done the hard work! Once I moved to Italy, I spent the time learning and perfecting the perfect pasta recipe and I’m ready to share all my tricks with you.
Why Make This Recipe?
- Earn Bragging Rights: Because dried pasta is so readily available in most grocery stores, making your own pasta from scratch is getting a little fancy. It’s a skill not many people have, but if you enjoy cooking, it’s worth learning! It’s like perfecting homemade bread but even easier. It’s also a lot of fun to share your pasta-making skills.
- Know Your Ingredients: Pasta is made from such simple ingredients, but if you use store-bought noodles, the ingredients are difficult to recognize. Making it yourself lets you know exactly what you are eating!
- Authentic Italian Food: This recipe is tried and true and as authentic as it gets. Enjoy these delicious noodles with your favorite sauce!
What Do You Need To Make This Recipe?
Ingredients
Here is a visual overview of the ingredients in the recipe. Scroll down to the recipe at the bottom for quantities.
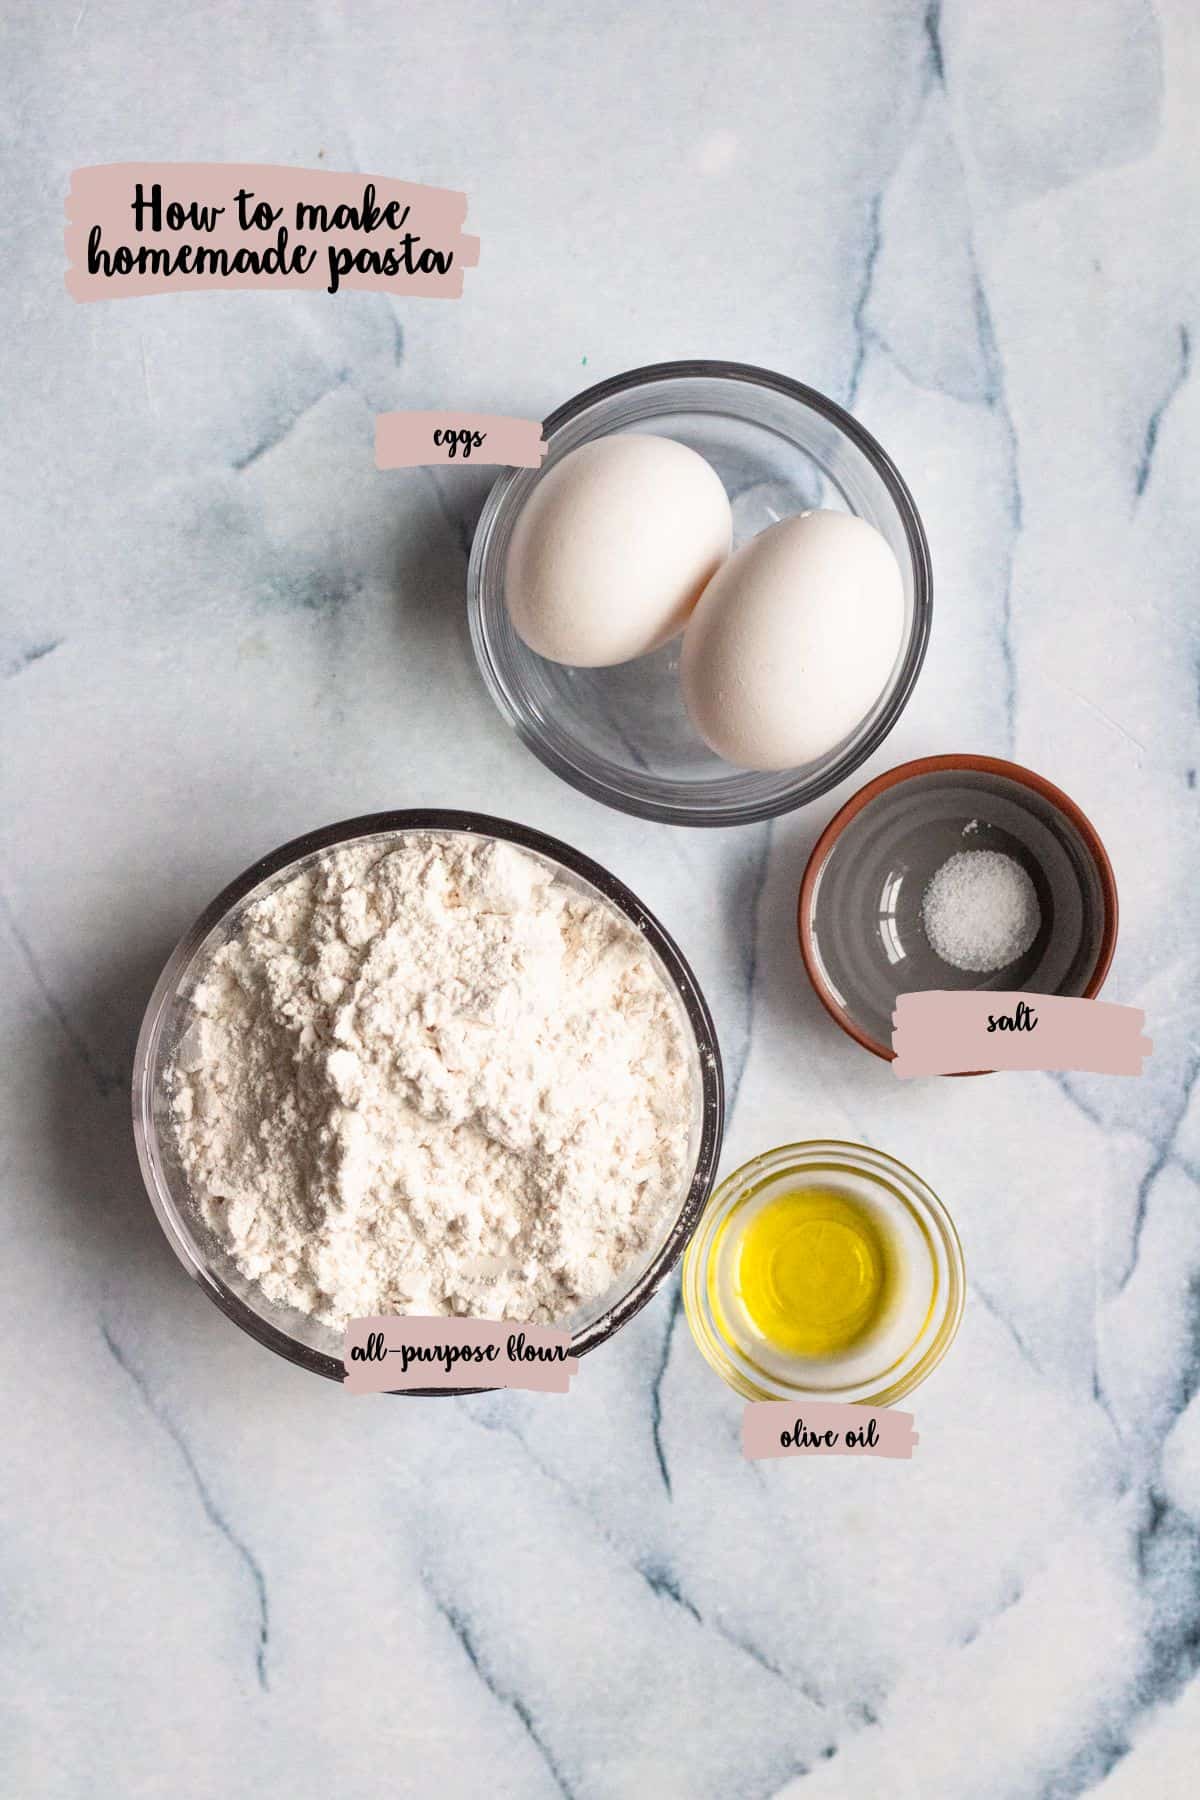
- Flour: Use all-purpose, unbleached flour
- Salt: Table Salt
- Olive Oil
- Egg(s): Extra Large
That’s it.
Tools
- Rolling Pin: It is possible to roll your pasta dough and cut it by hand, but the most efficient way to make pasta that is a consistent thickness and shape is with a pasta maker.
- Pasta Maker: There are several different kinds of pasta makers you can purchase. You can find a hand-cranked pasta maker online but I personally love the convenience and efficiency of the Kitchenaid Pasta Attachment. The pasta roller attachment is easy to use and easy to clean. It’s a great tool to have around!
- Digital Food Scale: This isn’t a necessity, but it was a game changer for me and helps me get perfect results every time. When I started measuring ingredients my dough became much more consistent. This particular scale is not an affiliate link, it’s just one that I have and use.
How to Make Homemade Pasta
Step 1: Mix your dough.
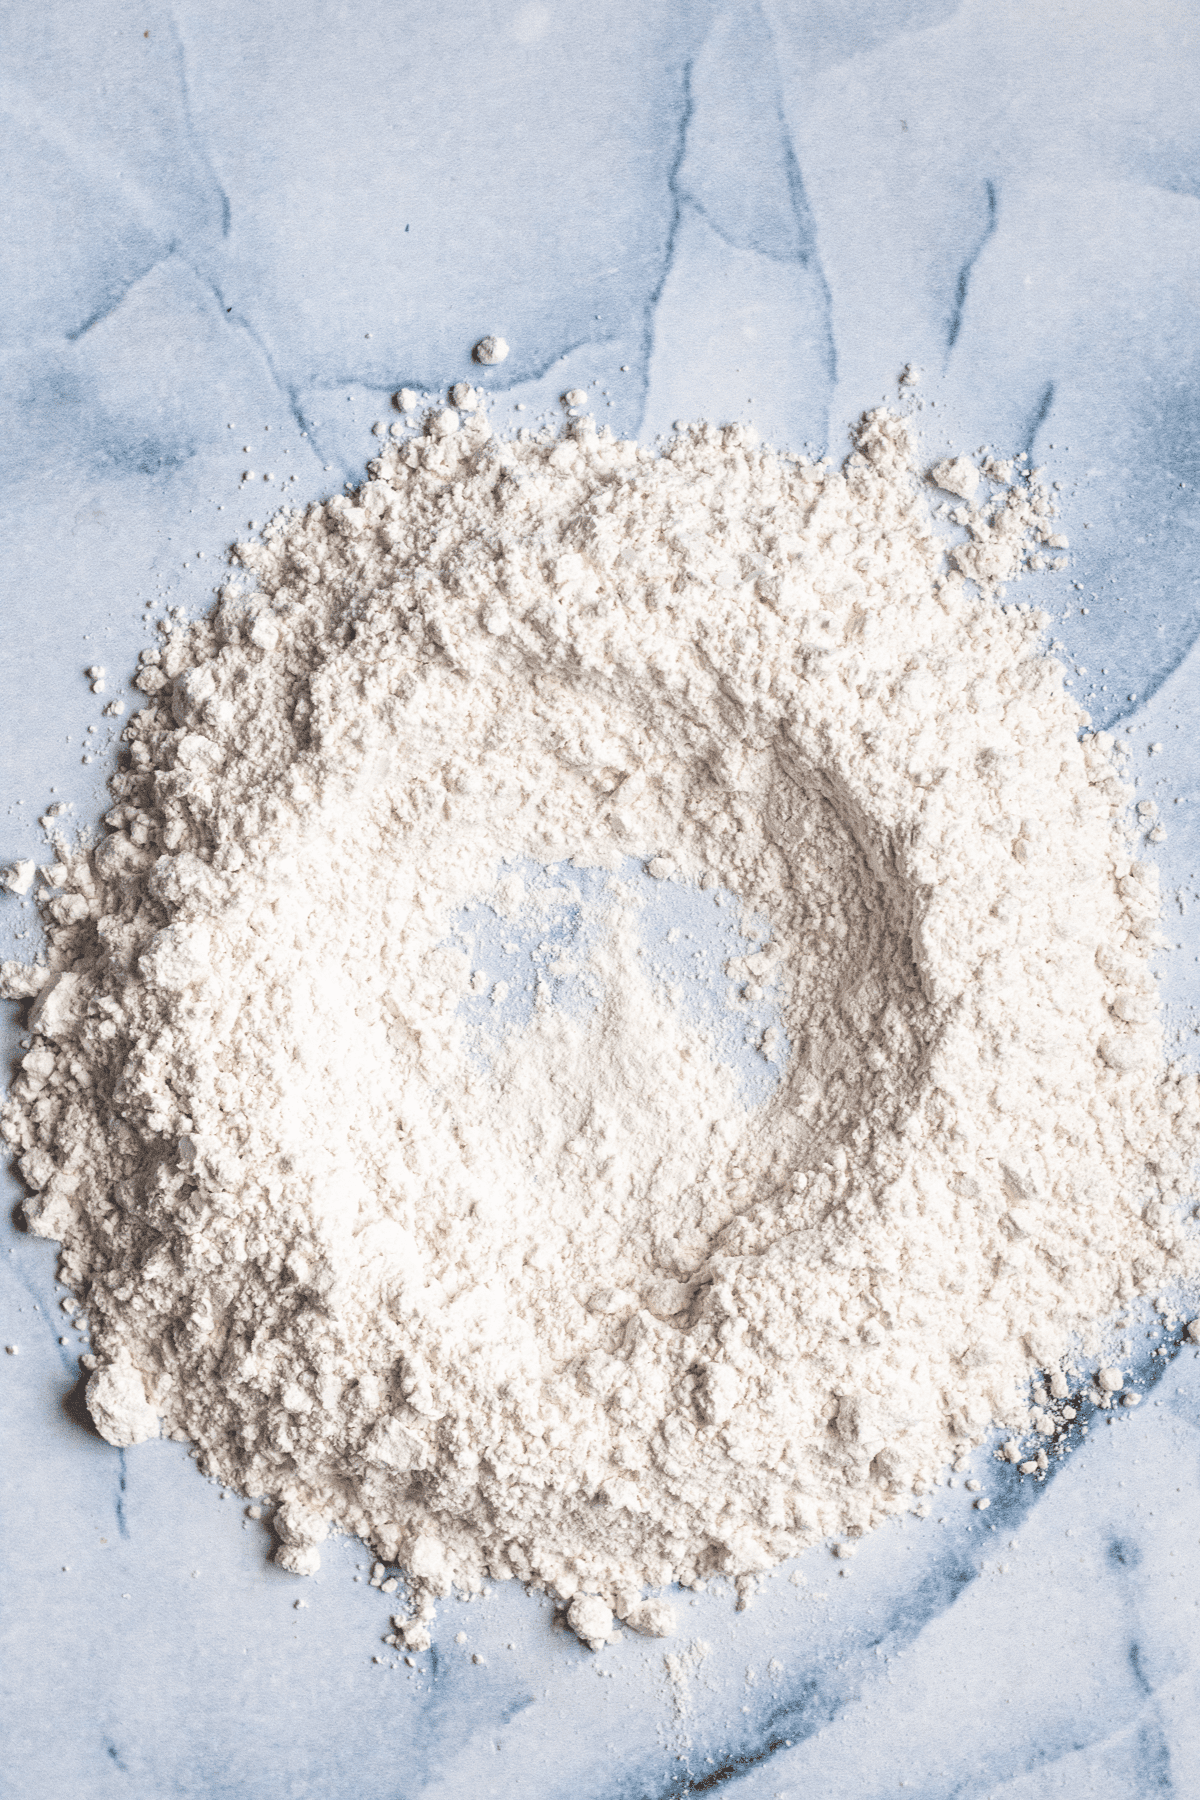
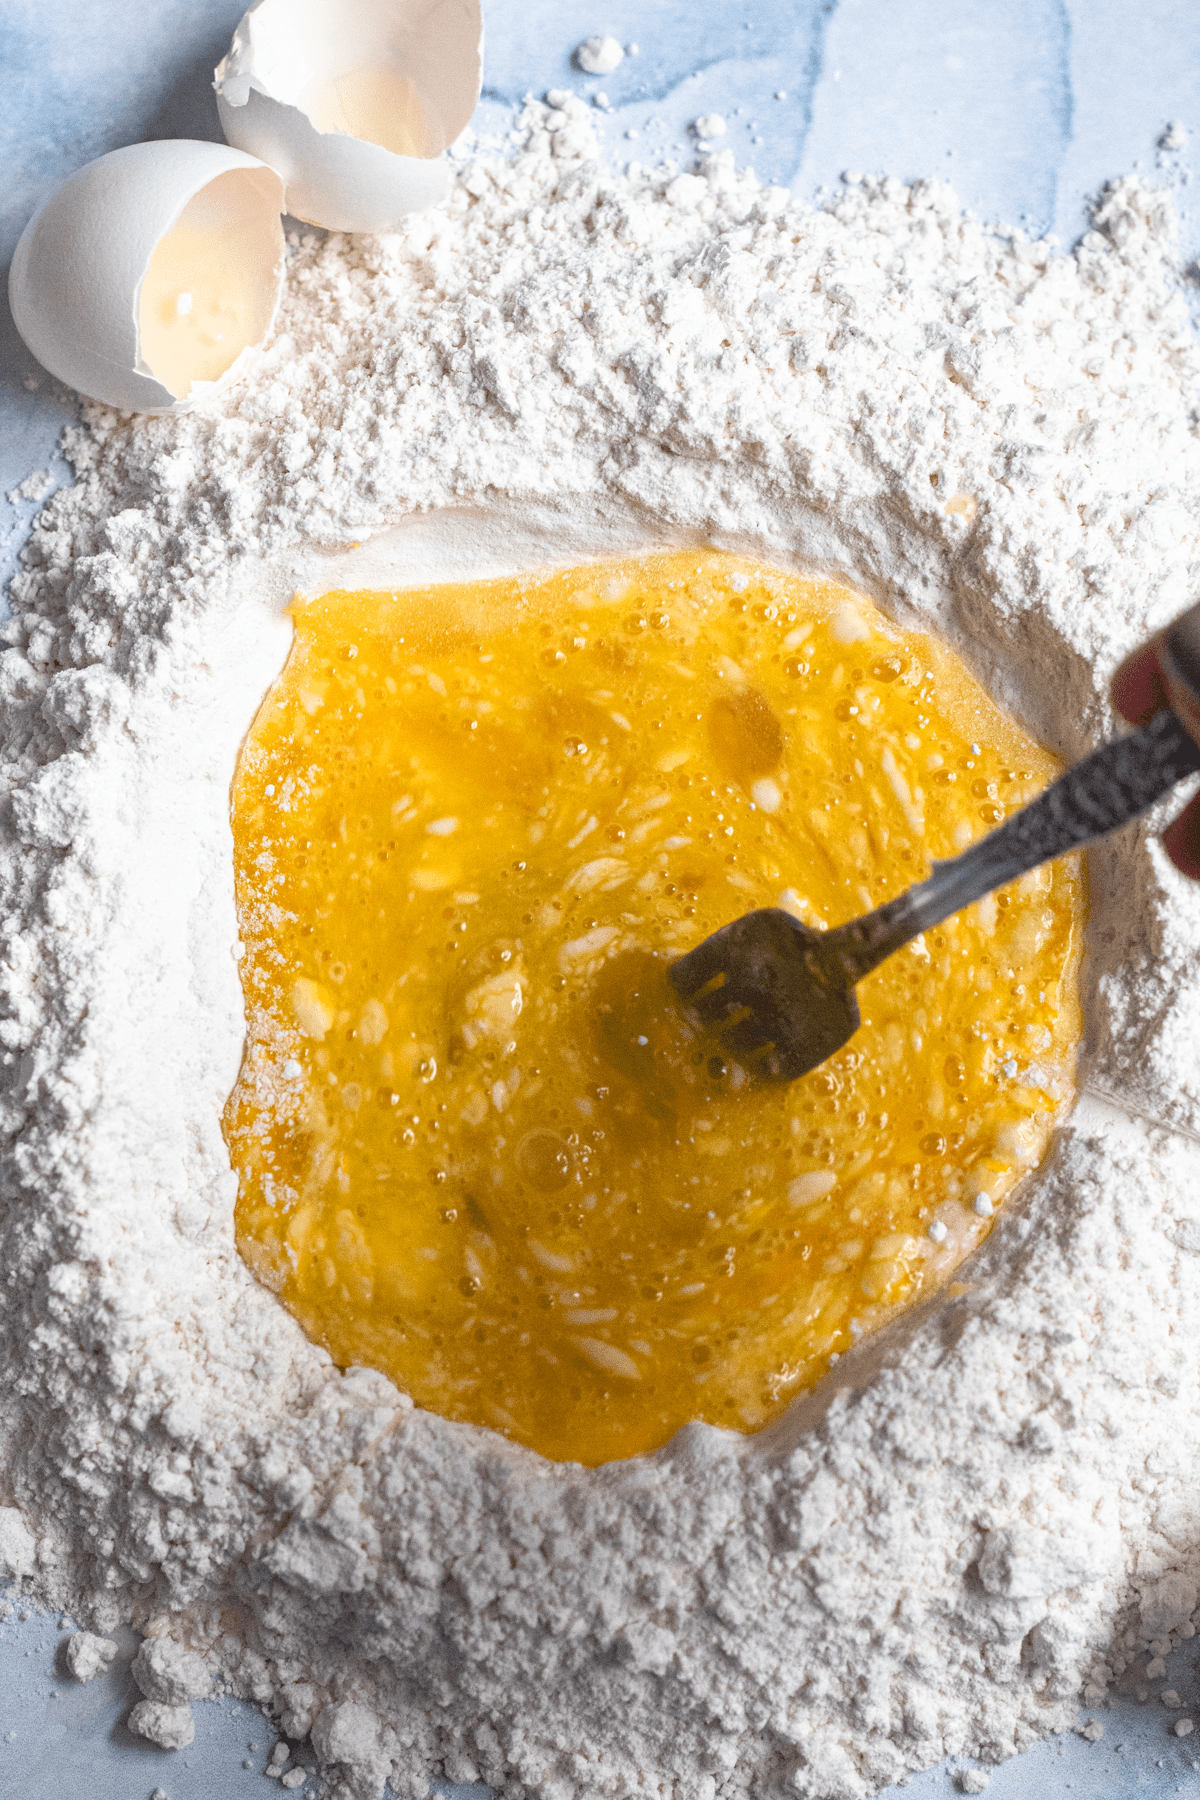
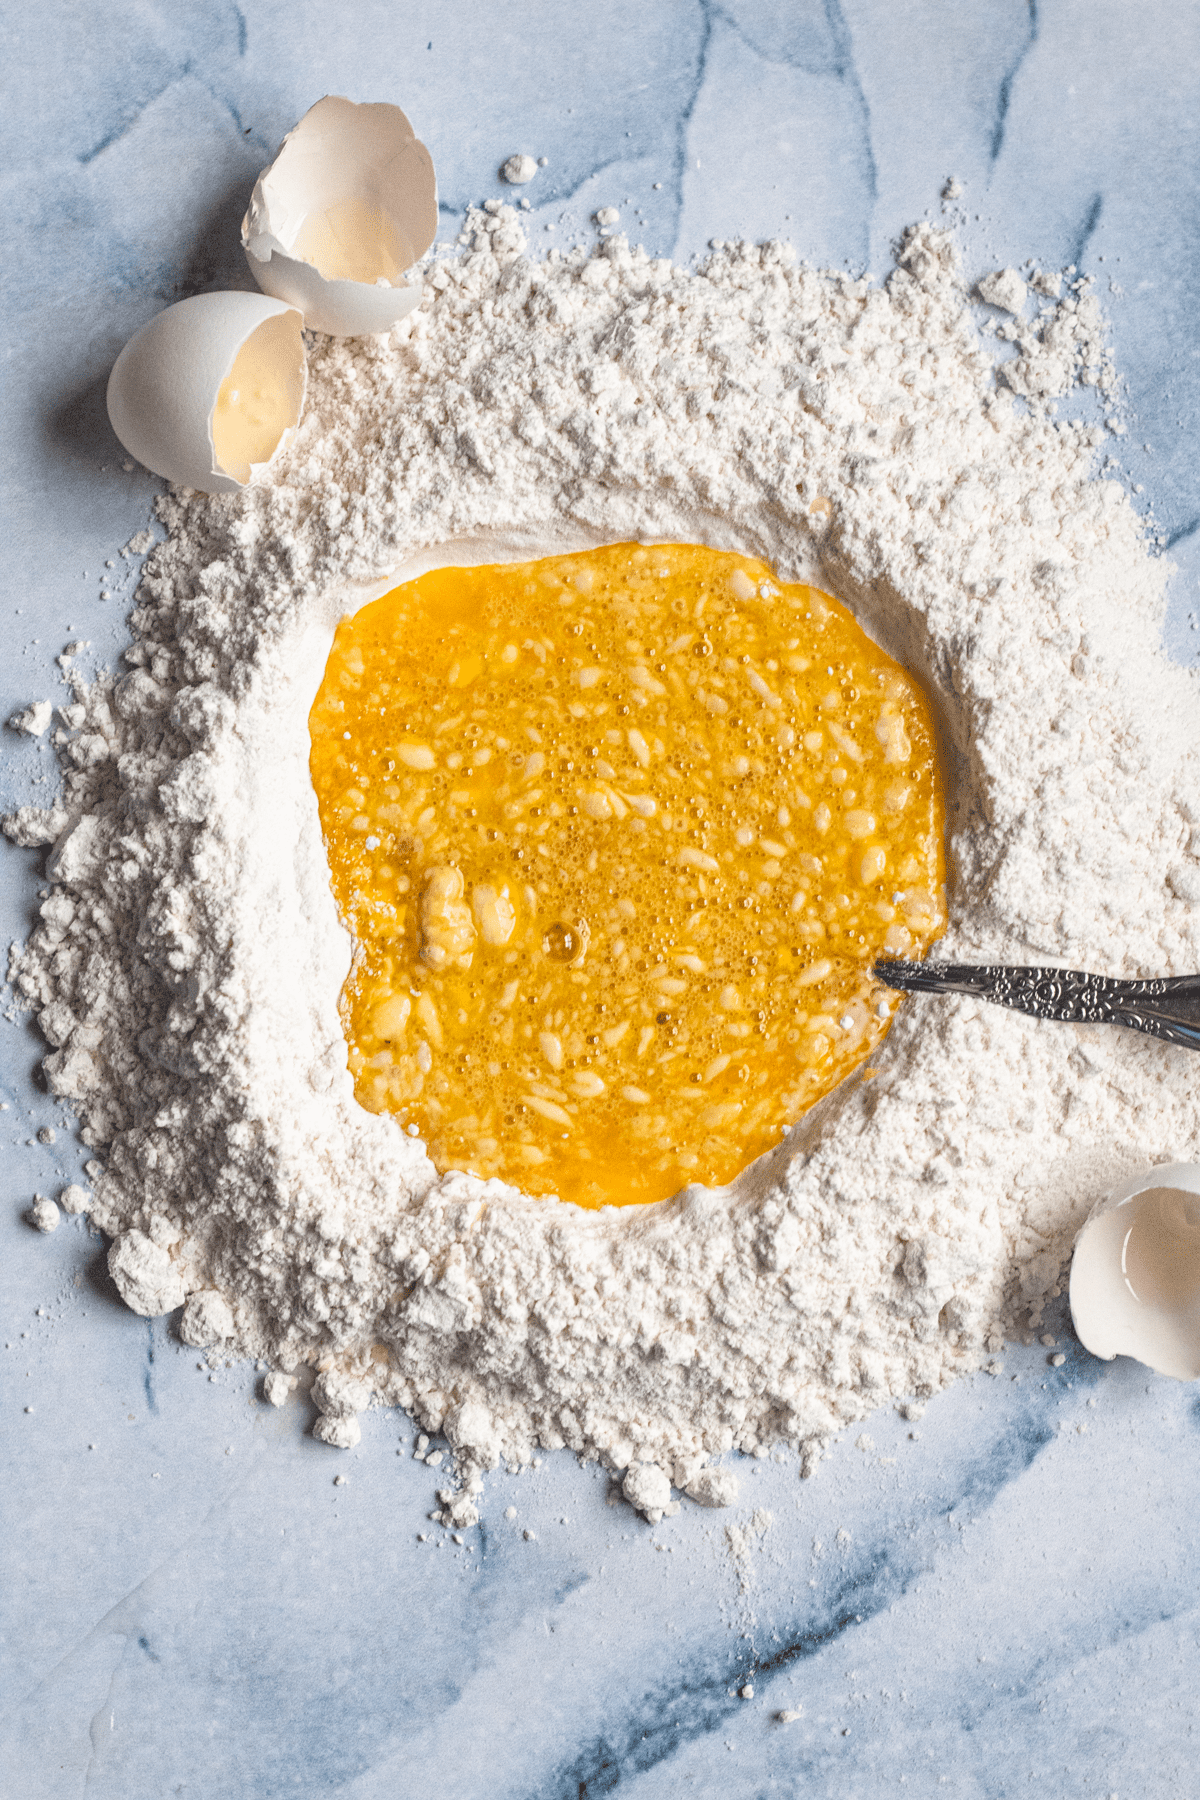
Place the flour in a mound on the table.
Use your hand to form a well in the middle of the flour. You should be able to see the table at the bottom of your flour.
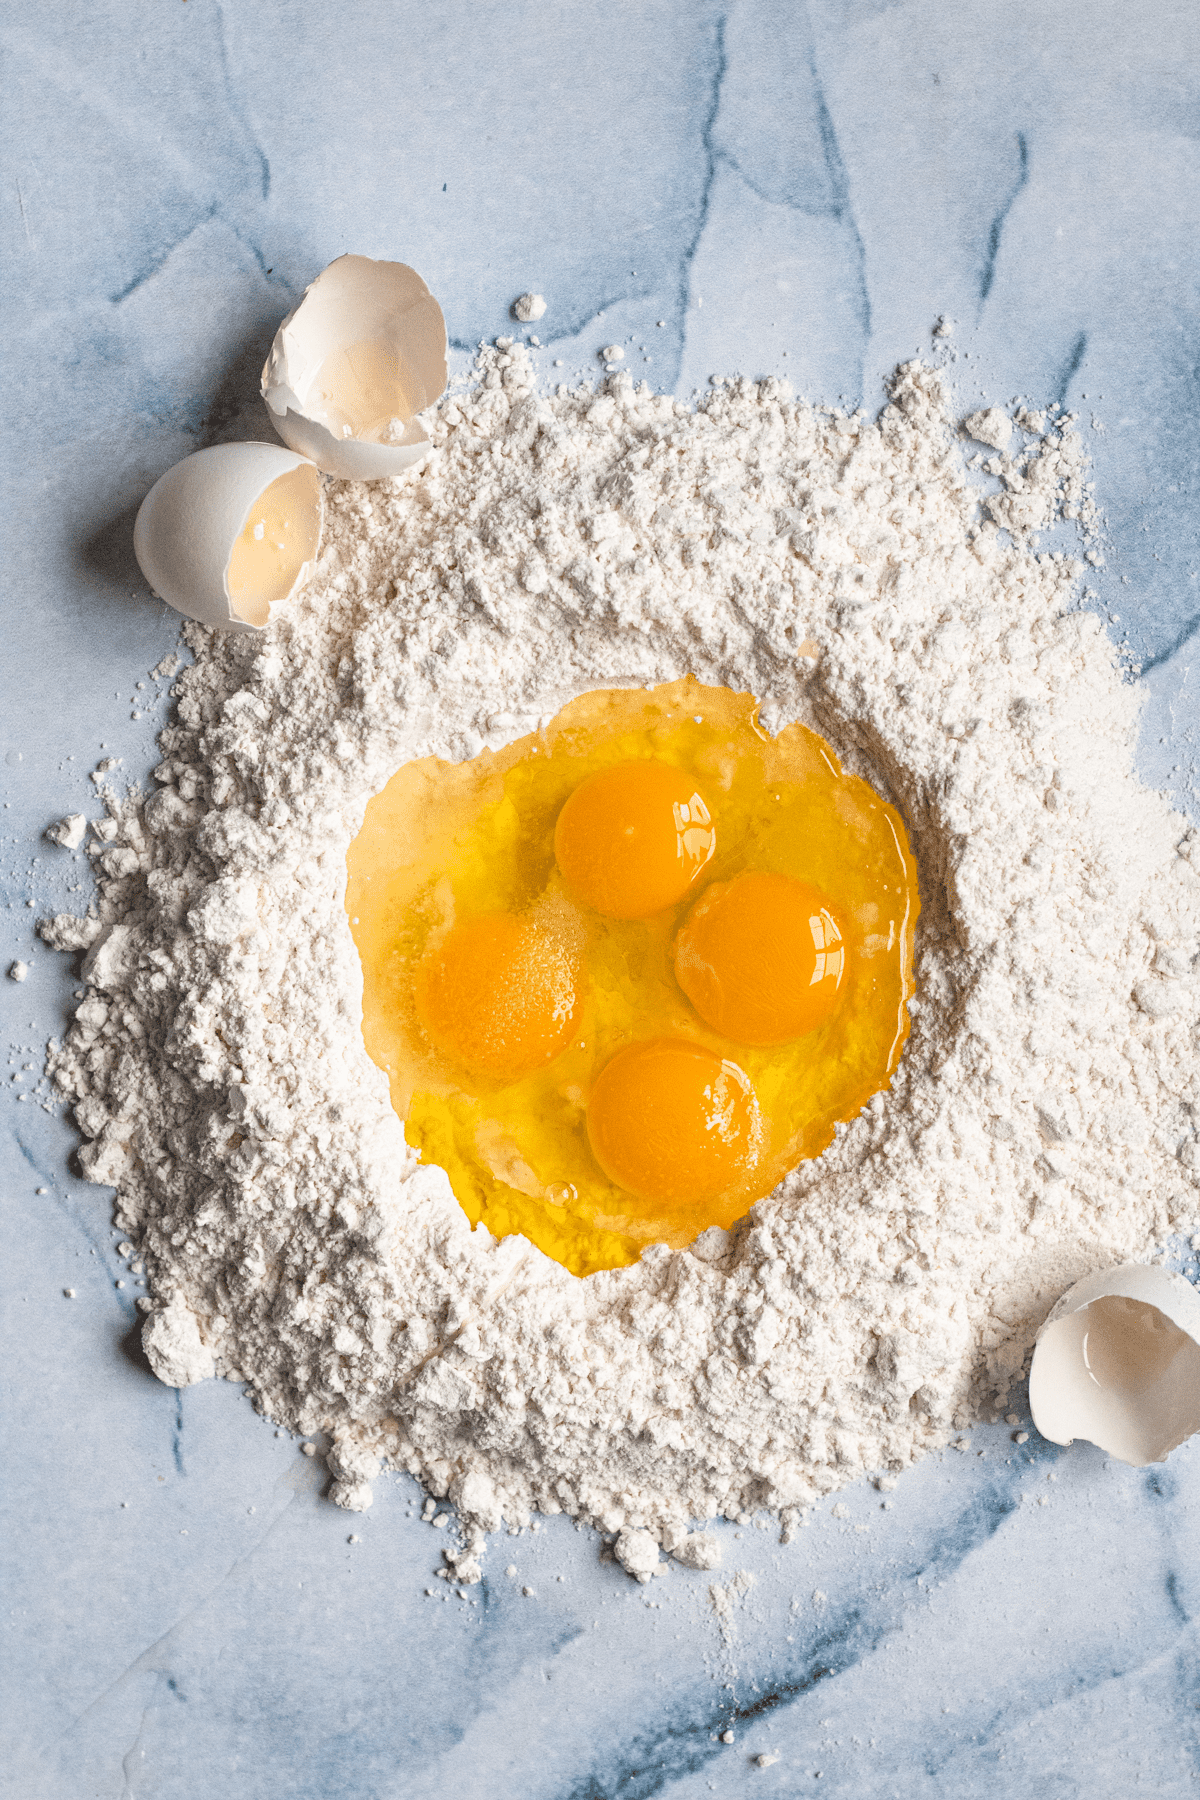
Crack your eggs into the hole in the well. Add your salt and olive oil.
Use a fork to scramble the eggs inside the flour well. As you mix, use your fork to slowly incorporate flour from the edges of the well. Slowly keep adding more flour with your fork as you stir. The egg should turn into a paste.
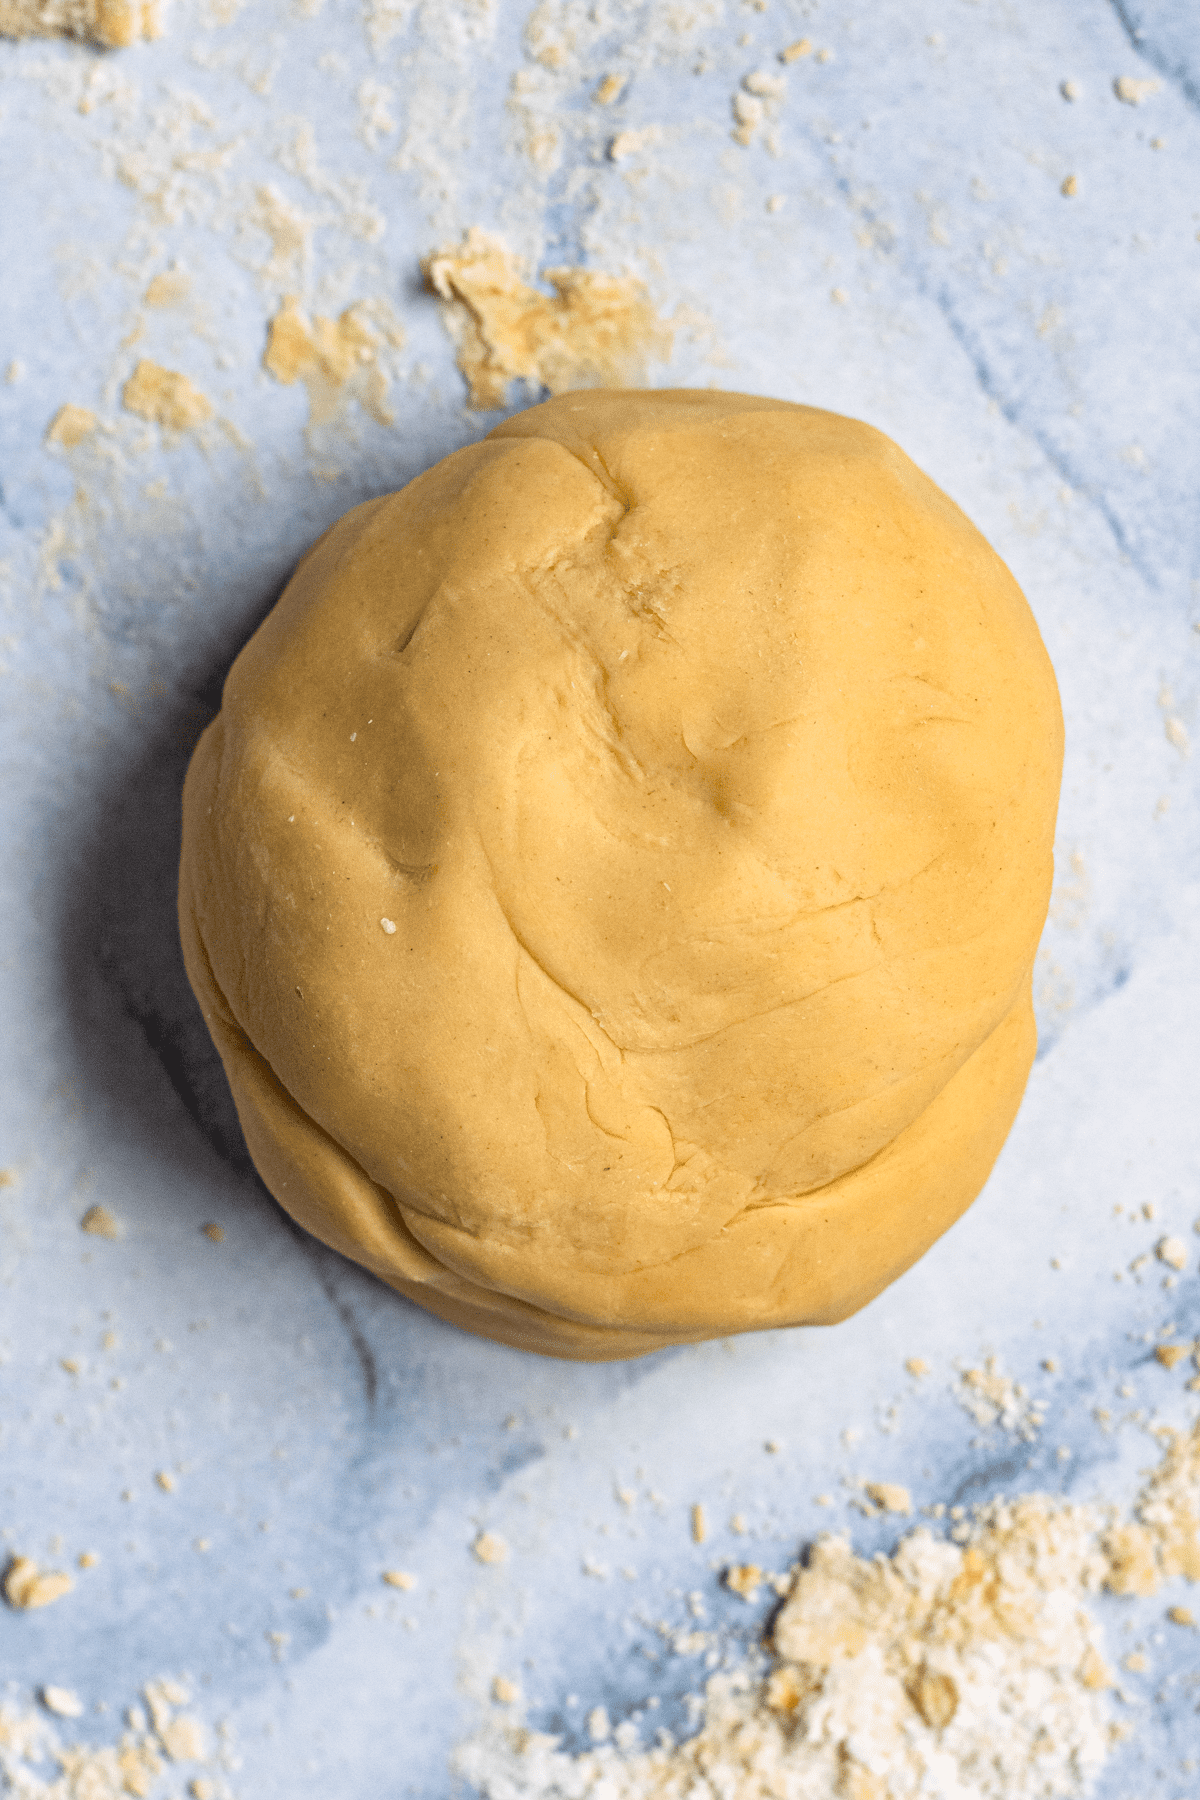
When the mixture is too thick to mix with a fork anymore, start kneading with your hands. Make sure to press with the heel of your hand, working the flour into the dough. (You may need to not incorporate all of the flour or add more depending on the consistency of your dough. The dough should not be sticky or crumbly. It should be a happy medium in between. If your dough is too dry, wet your fingers with some water and continue to knead the dough.)
Knead the dough for 10-15 minutes until the dough is smooth and has turned a darker yellow color. You can test if your dough is ready by pressing your finger into it. If the dough begins to bounce back instead of staying pressed in, then it is done. If it does not bounce back, continue to knead.
Step 2: Flatten the dough.
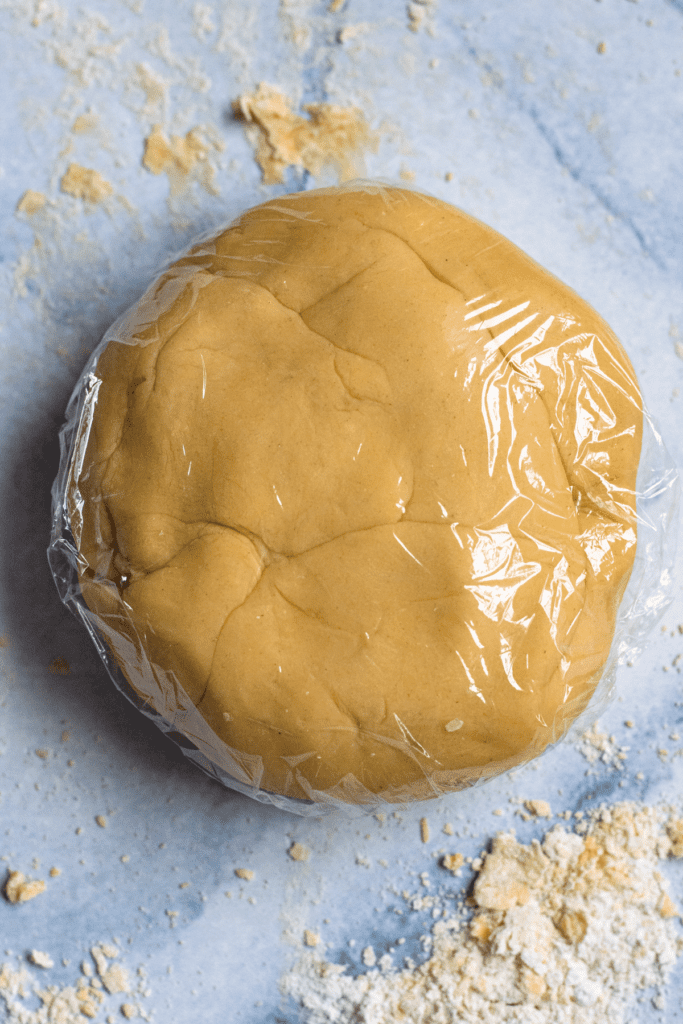
Form your dough into a ball and wrap in plastic wrap. Allow to rest at room temperature for about half an hour. When the dough is done resting, cut it into small sections (about 8).
Pass these sections through the pasta roller on your pasta machine. Because each pasta maker is different I cannot give the numbers of the settings, but choose a large setting, then a medium setting, and finally a small setting (on my Kitchenaid Pasta Maker, I run the pasta through the #1, then #3, then #5).
Allow rolled pasta to rest on parchment paper while you roll the other dough. Dust lightly with flour. If you are leaving the pasta on the counter for more than 5-10 minutes, cover it with a clean kitchen towel.
Step 3: Run the Dough Through a Pasta Maker
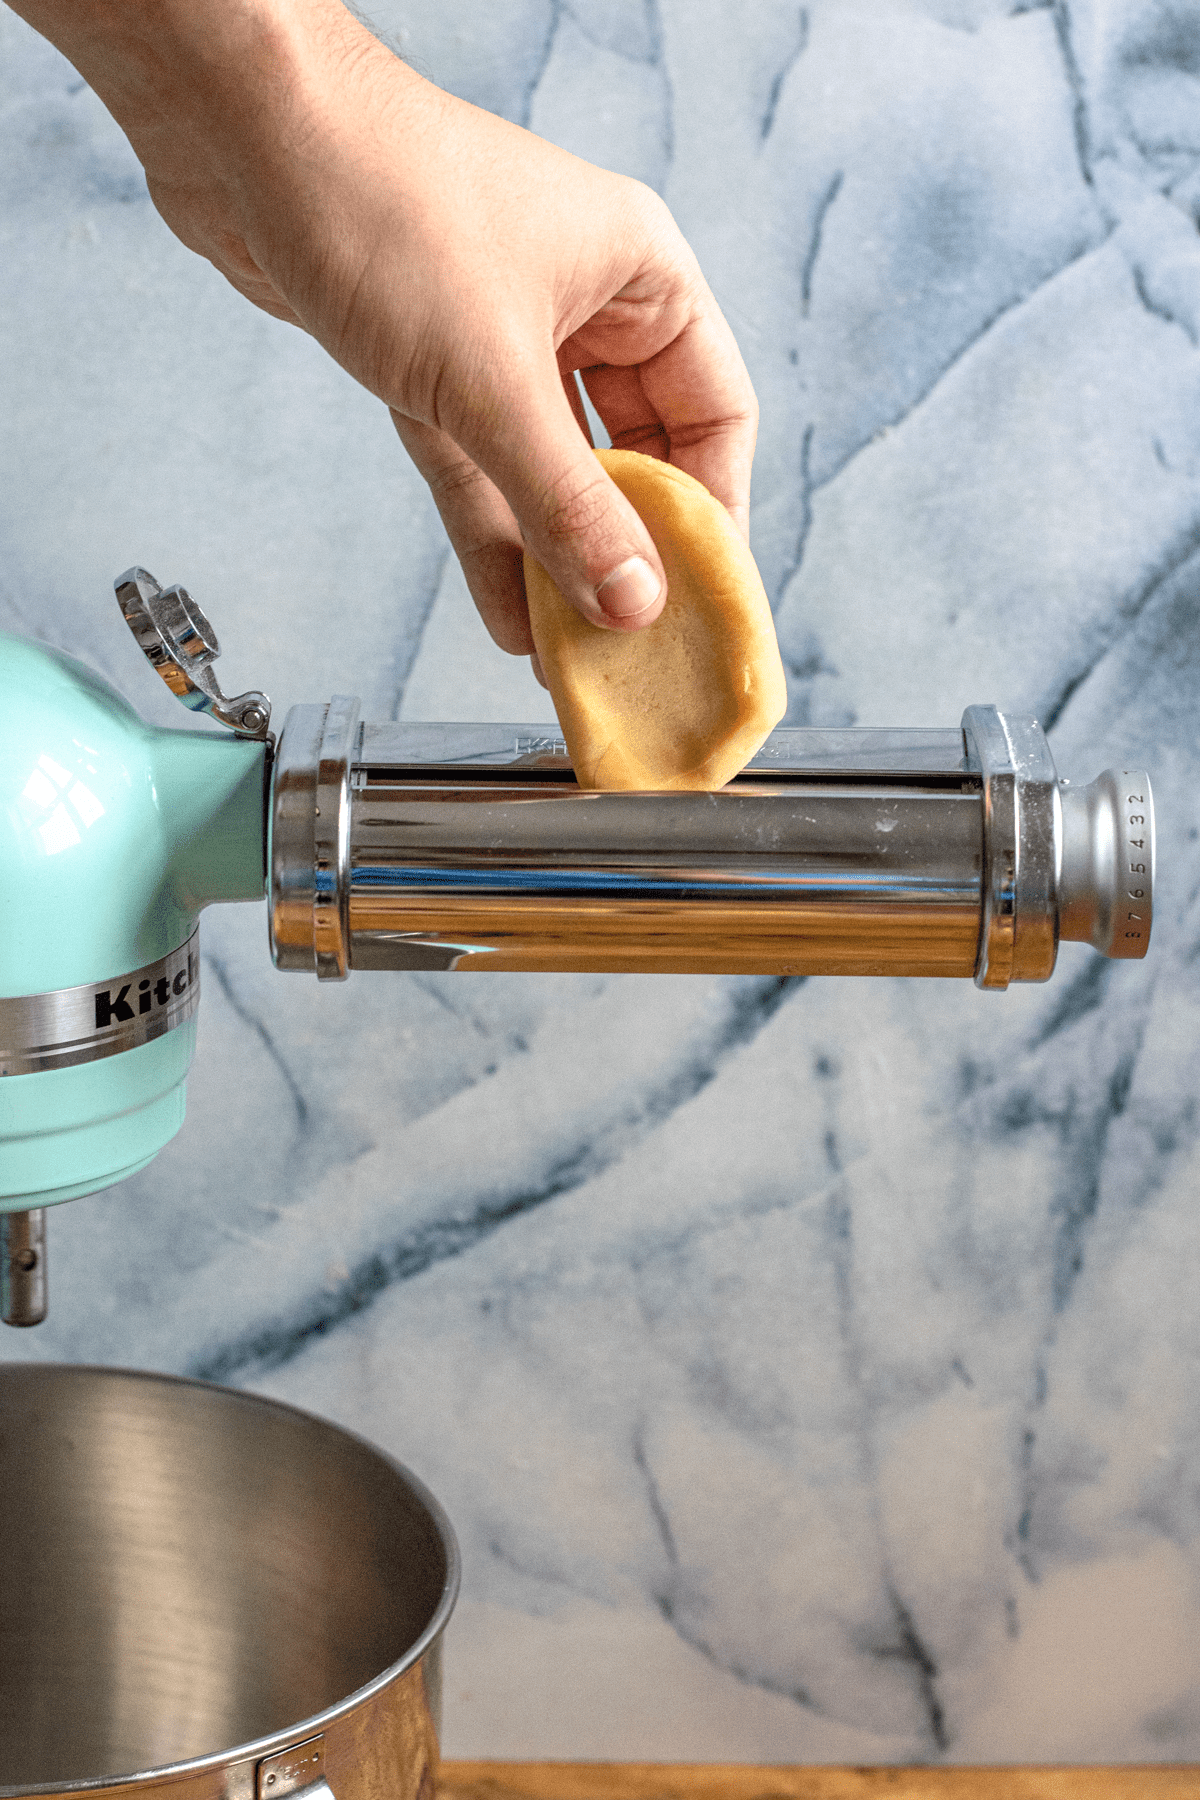
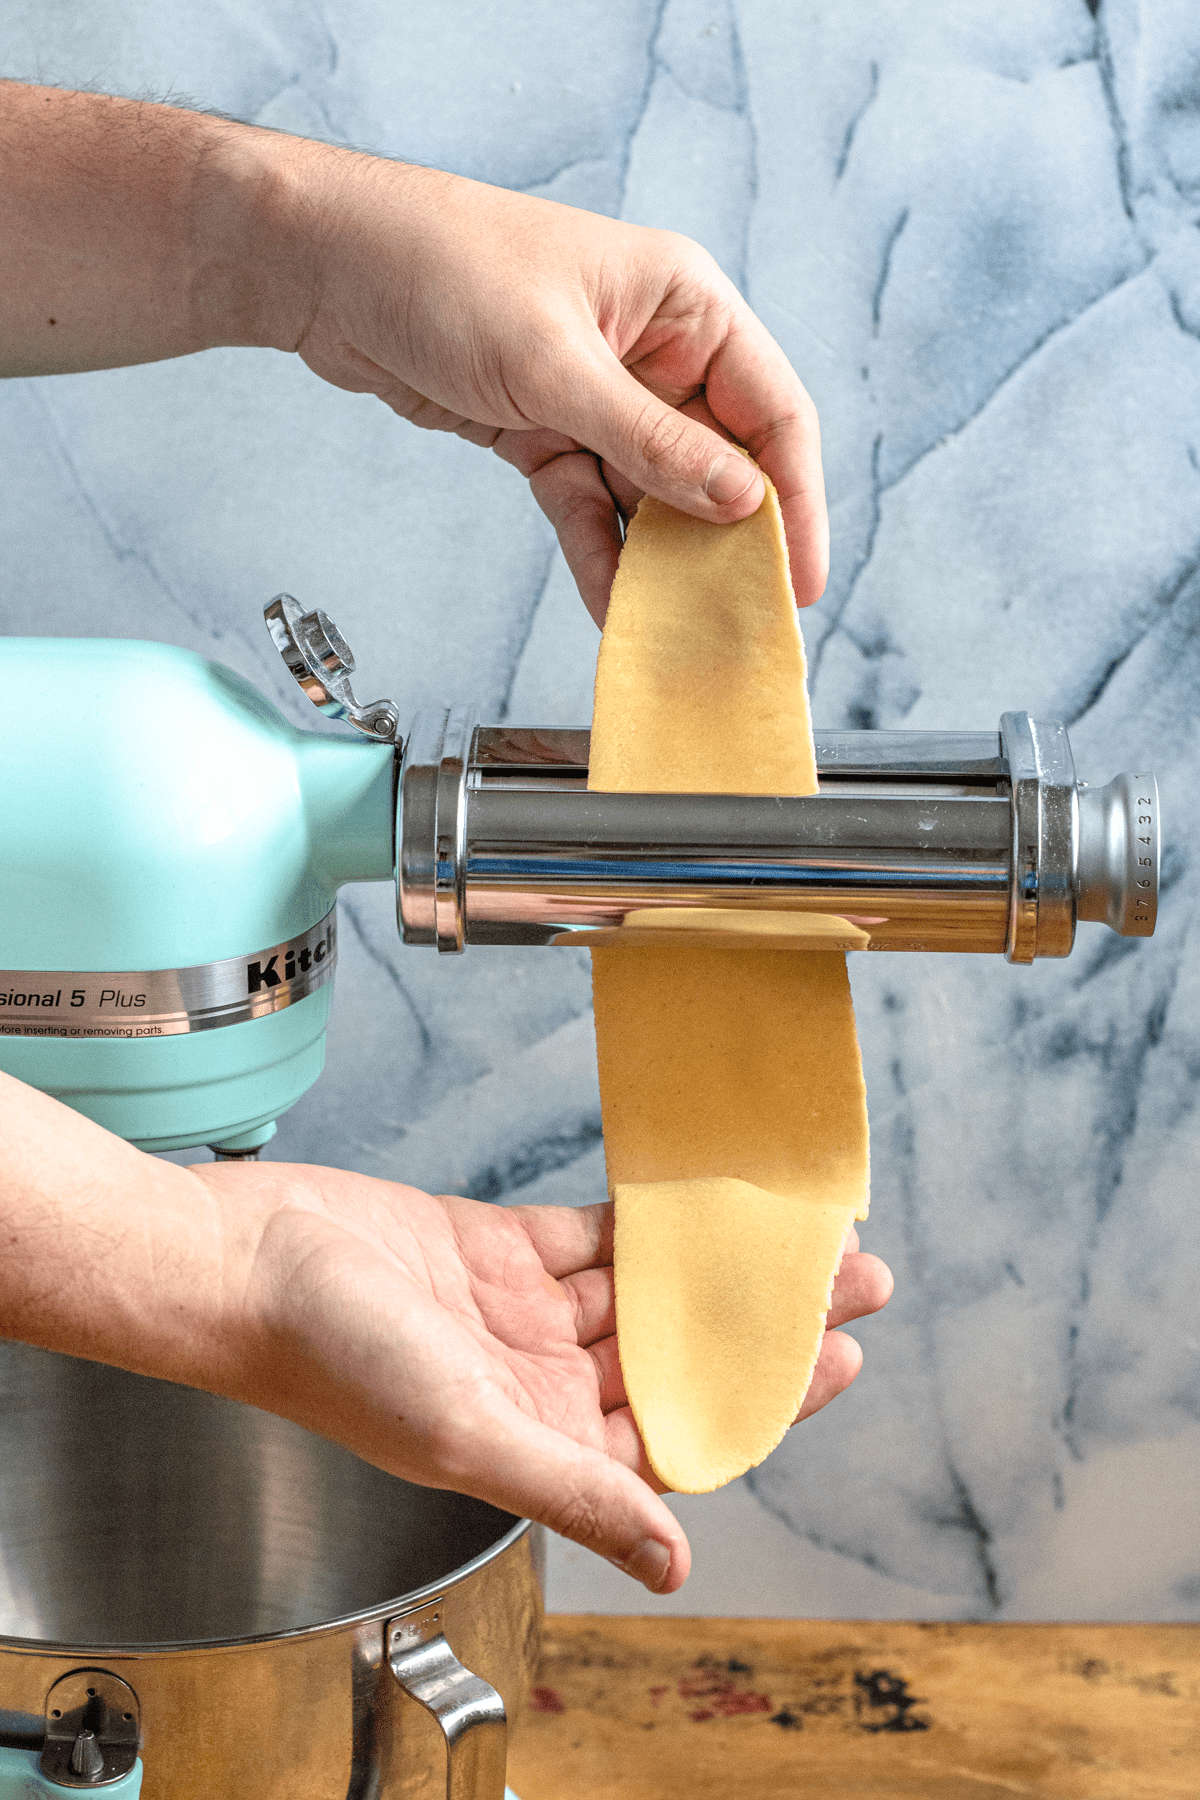
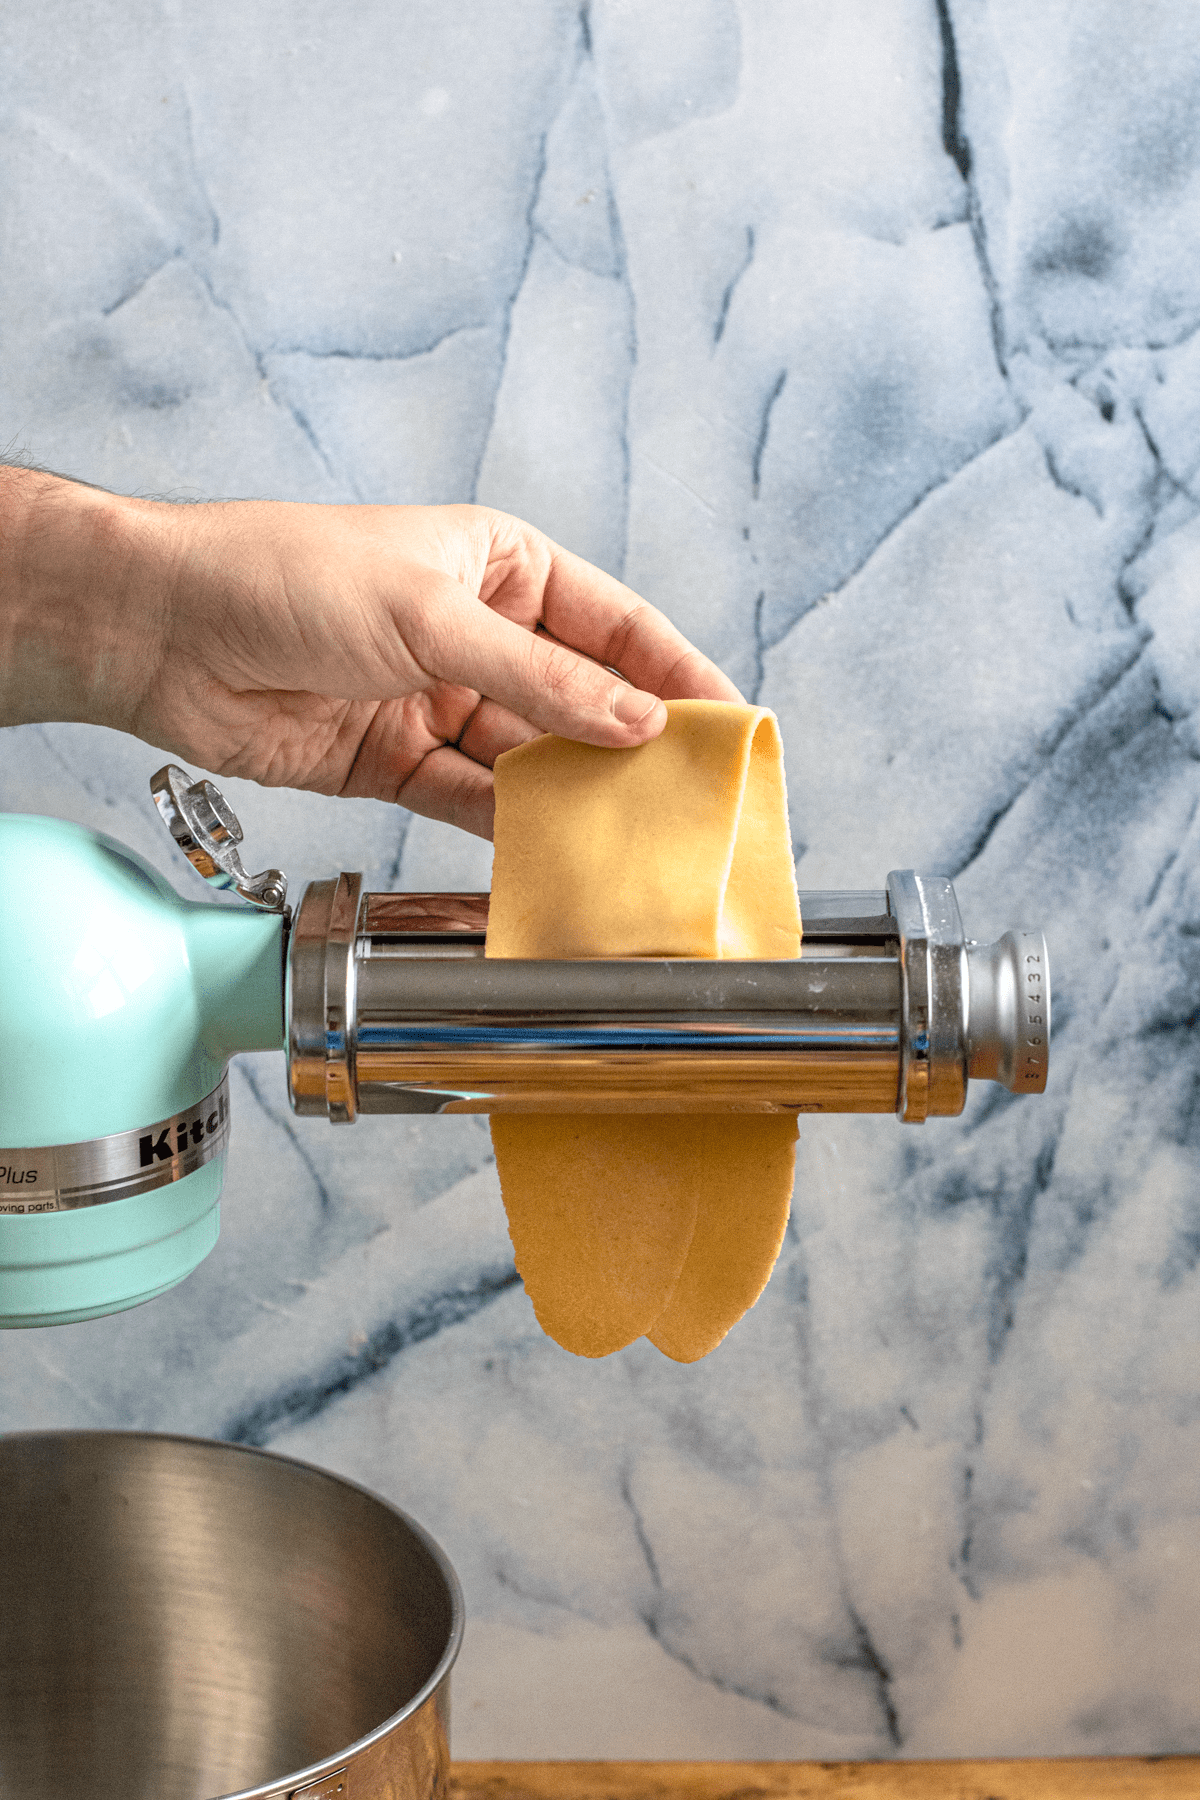
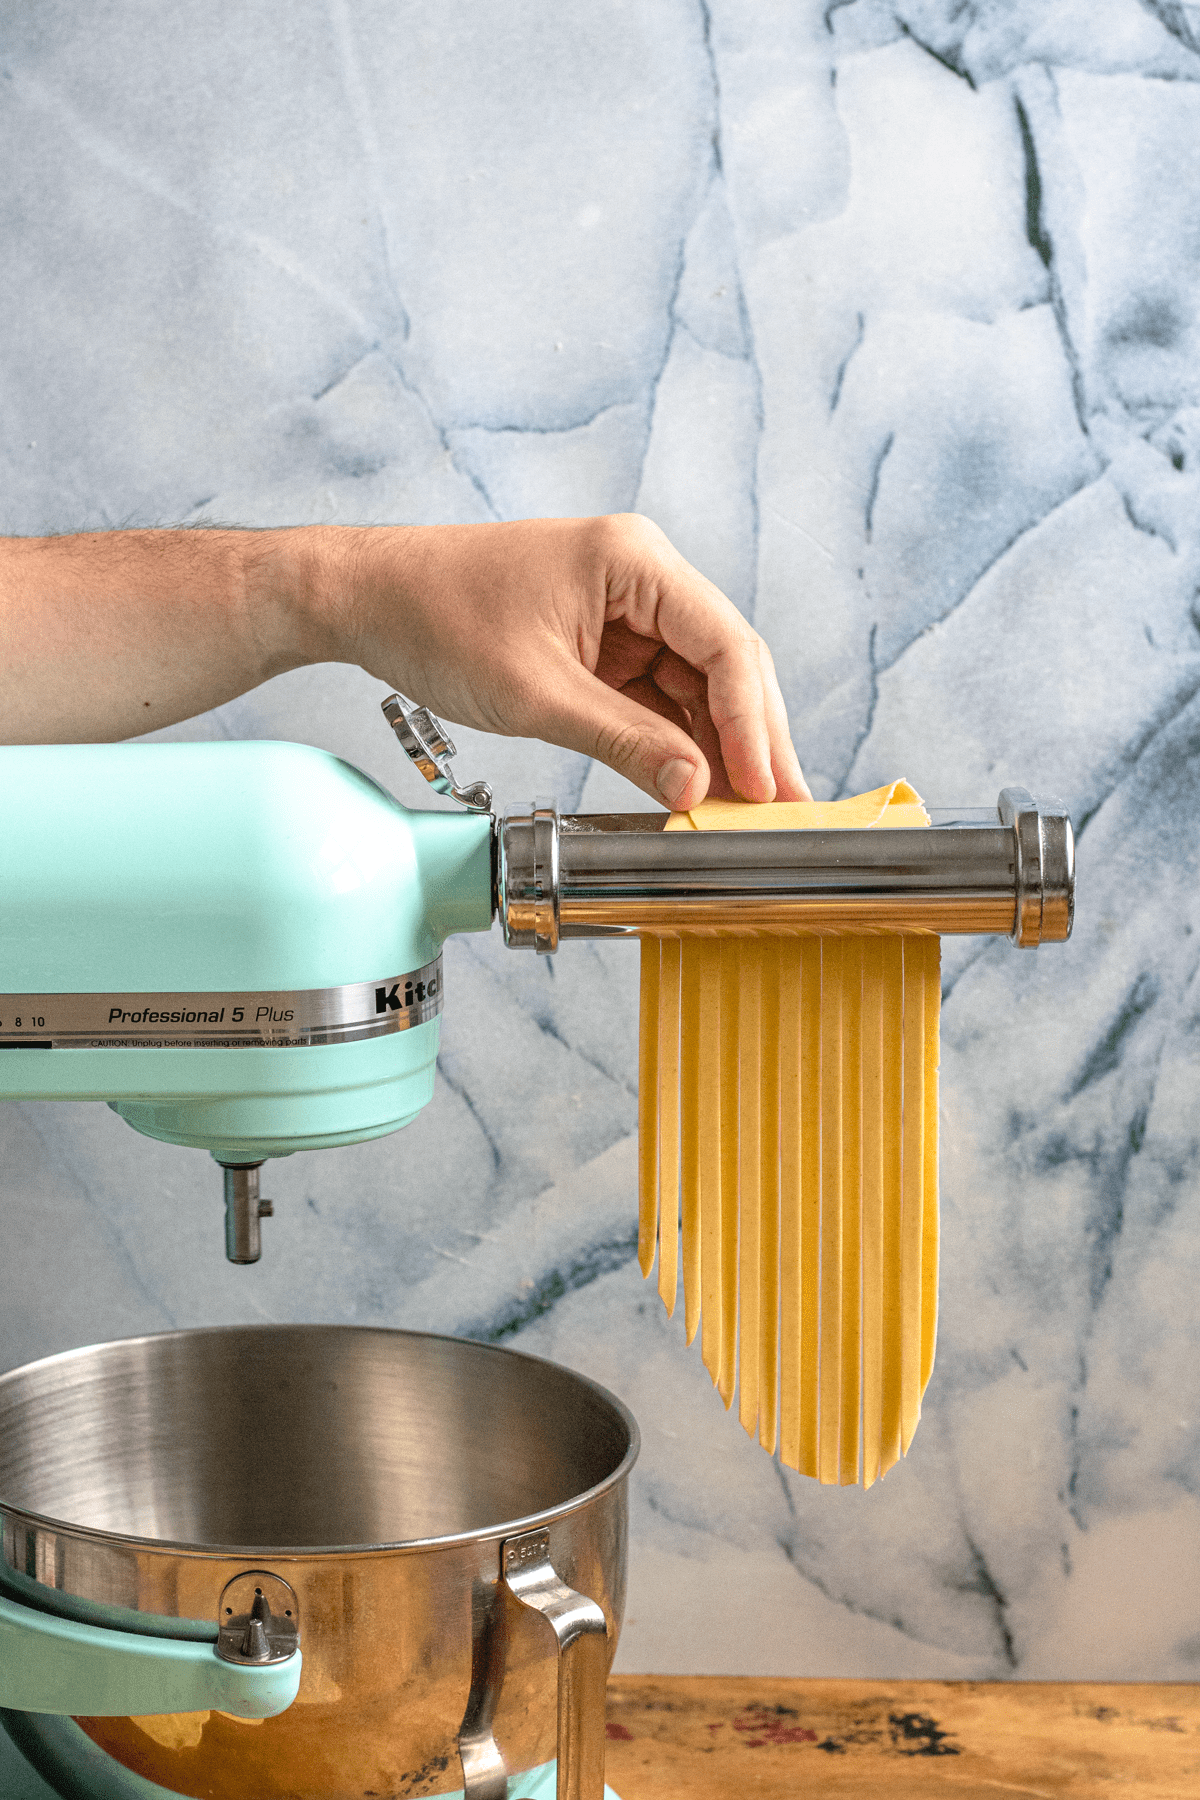
Once all pasta is rolled flat, change the settings on your pasta maker to the pasta cutter.
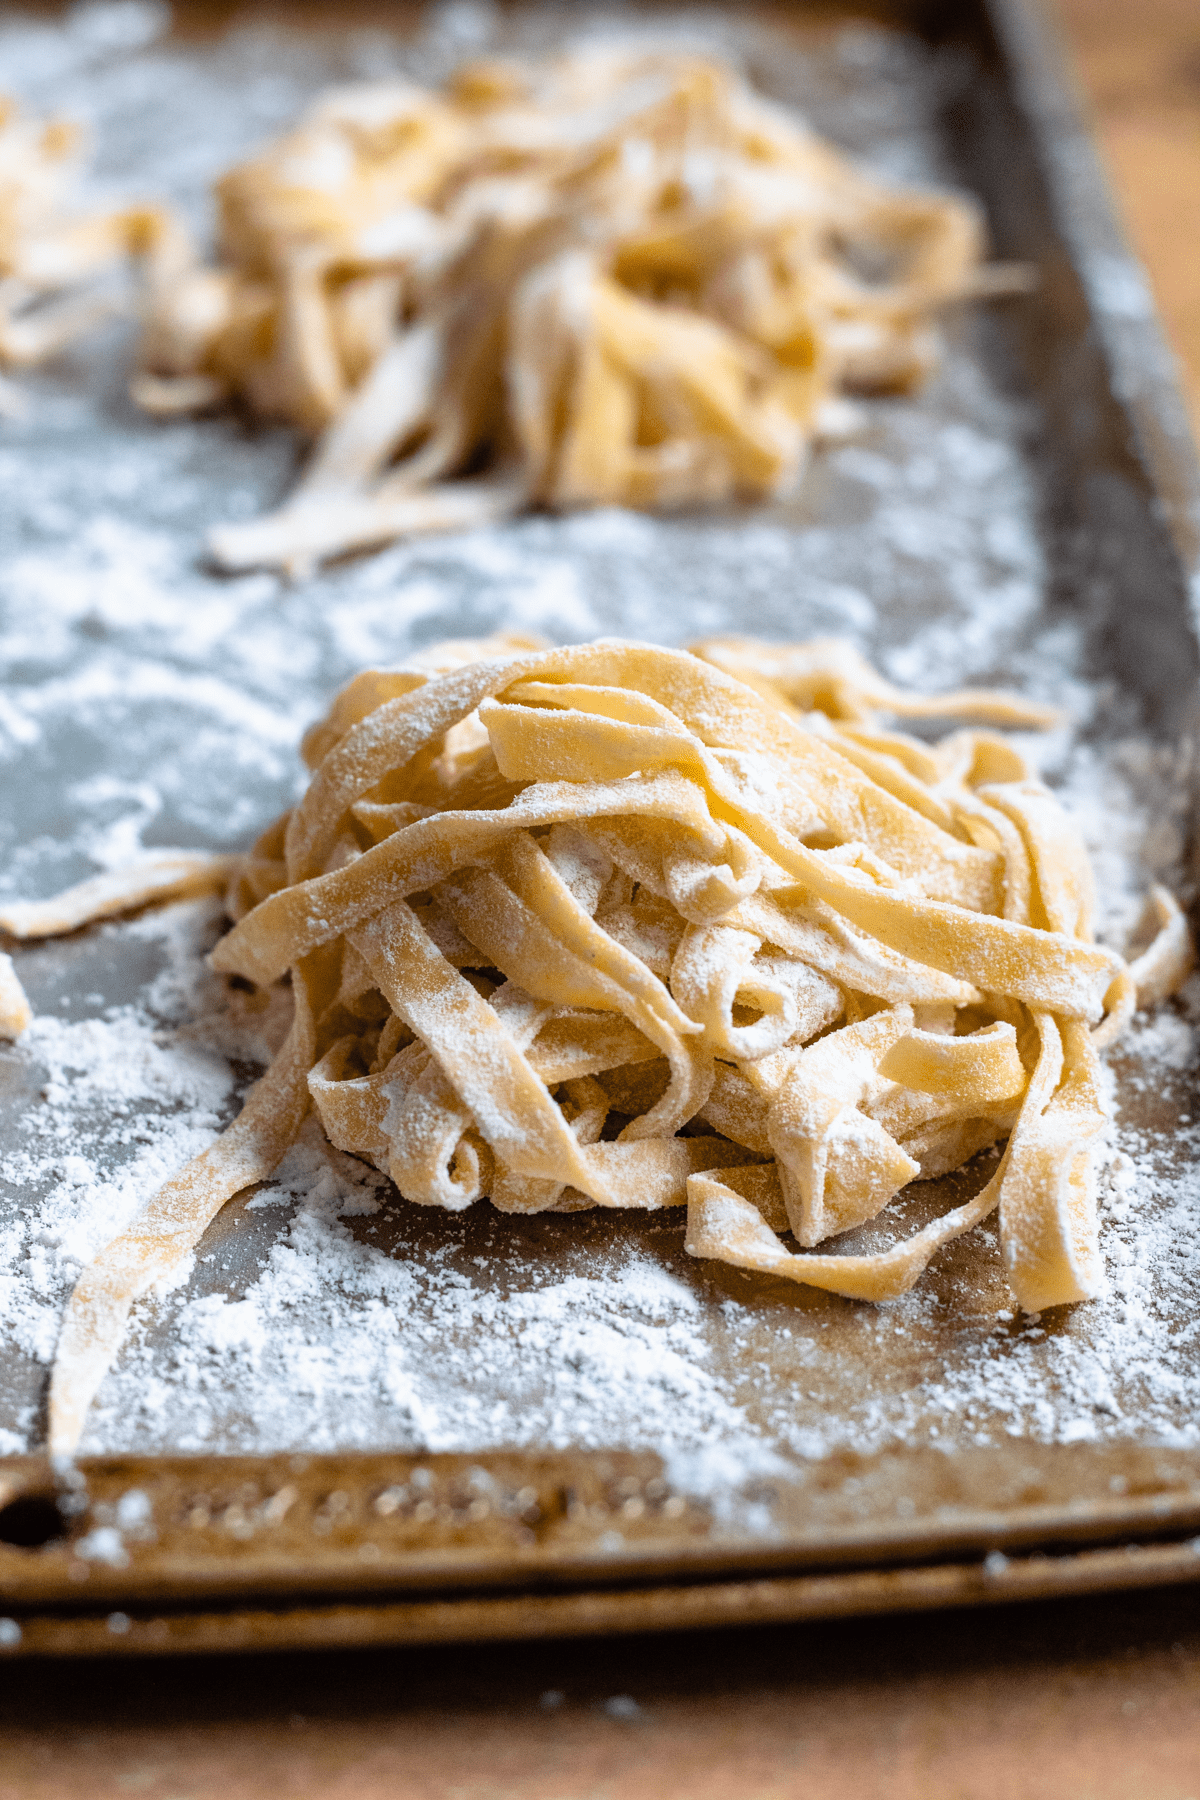
Roll the pasta through one more time to cut into fettuccine shapes.
Lay the fettuccine on the parchment/butcher’s paper again and allow to dry.
Cook as normal pasta. Homemade pasta will normally cook faster than store-bought pasta.
Expert Tips
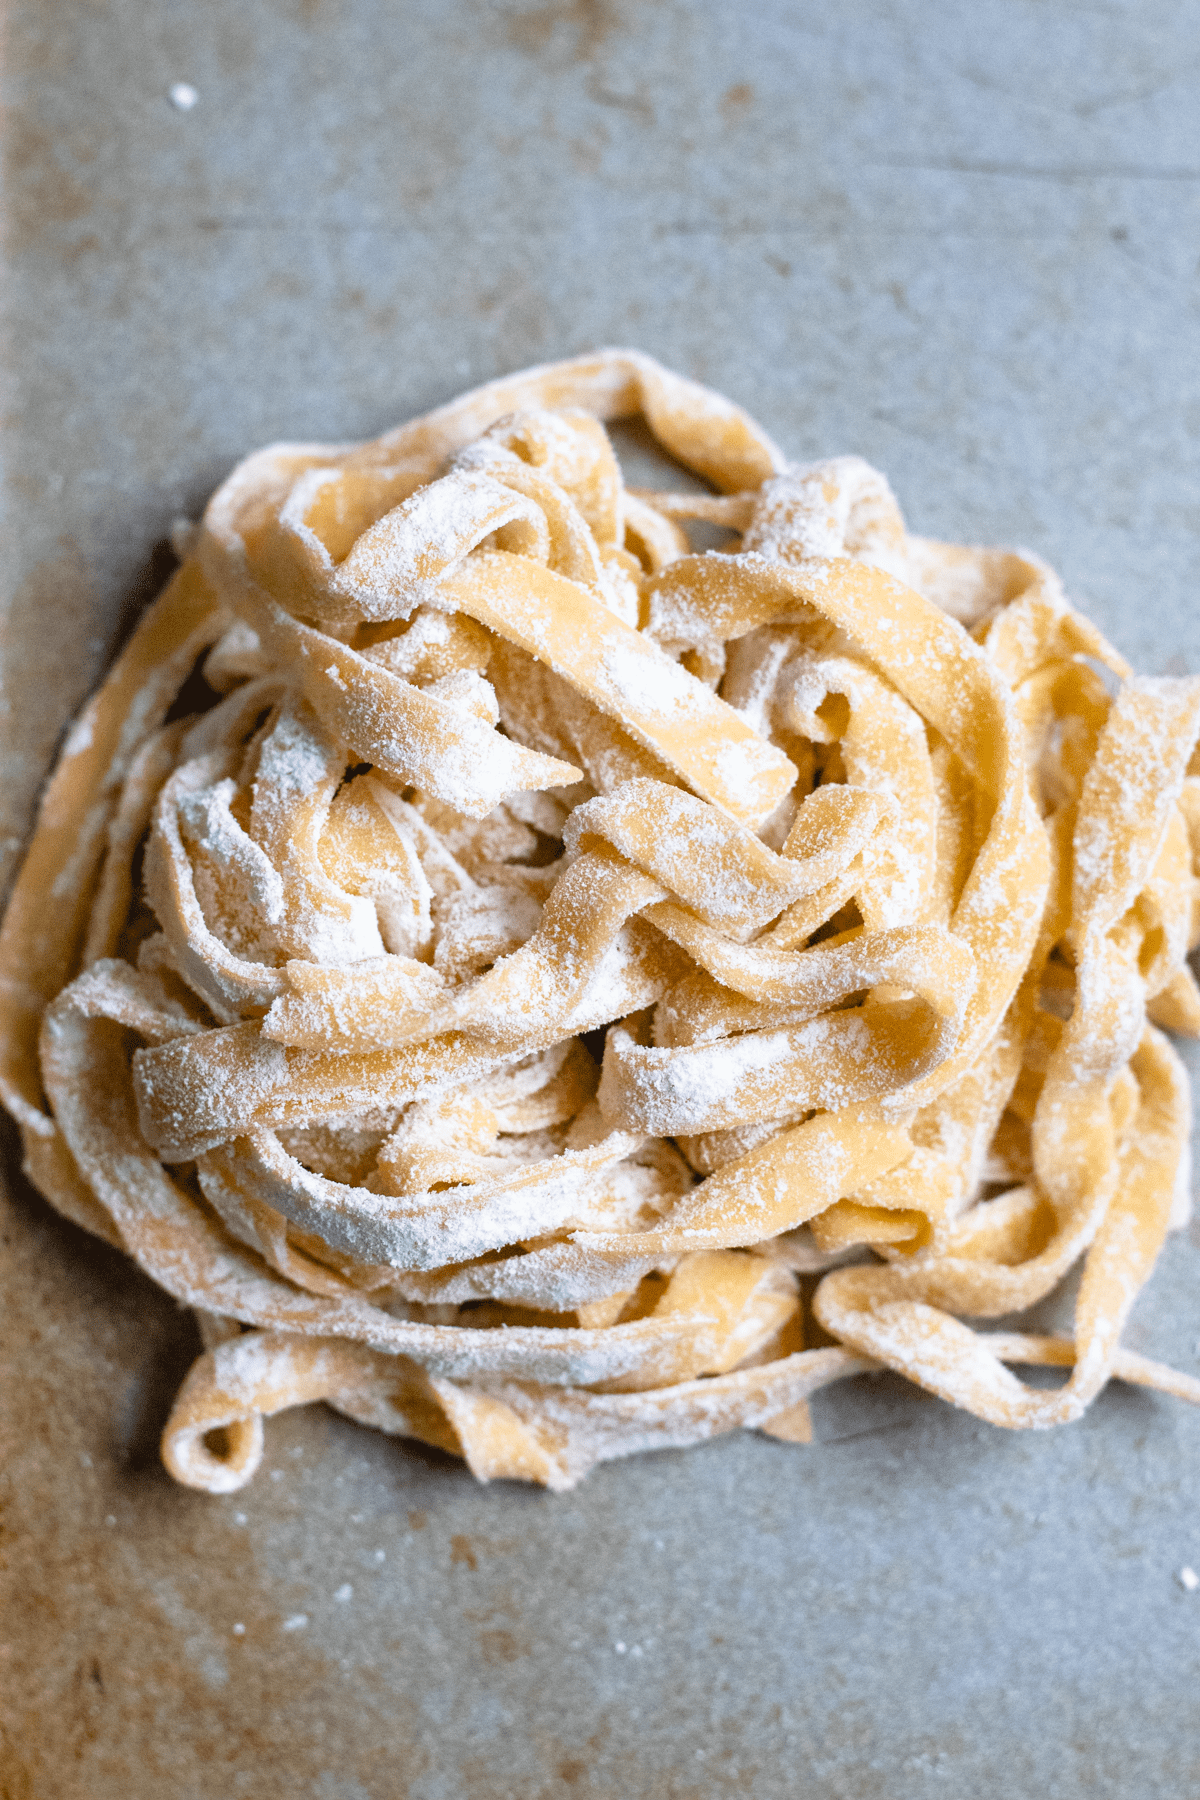
- It may be helpful to roll your dough through your pasta maker at the same setting multiple times before moving onto the next size. This just ensures that the dough doesn’t crack.
- To create consistent noodles with no rough edges you can fold your dough into thirds after passing it through the pasta maker the first time. Just fold the rough edges toward the middle and roll the dough through again to flatten the layers together. It should come out a nice rectangle.
- You can buy a pasta rack to let your noodles dry on or you can leave them on a sheet of parchment paper. Either way, let them dry for just a couple hours before storing them in the refrigerator.
- Once you are finished mixing your dough it should not be sticky, but don’t be afraid to sprinkle some flour on it if it does stick to any of your equipment or if you are stacking the rest of the dough on top of each other after rolling.
- You can add extra flavor to your dough by adding some fresh or dried herbs but take some time to perfect this basic pasta dough before taking this step!
- Some chefs mix up their dough in a food processor. You can give this a try but I prefer feeling the mixture with my hand to have more control over the texture and amount of ingredients.
- The recipe I was taught was measured in grams. When I measure this way it gives me more consistently perfect pasta dough every time.
FAQs
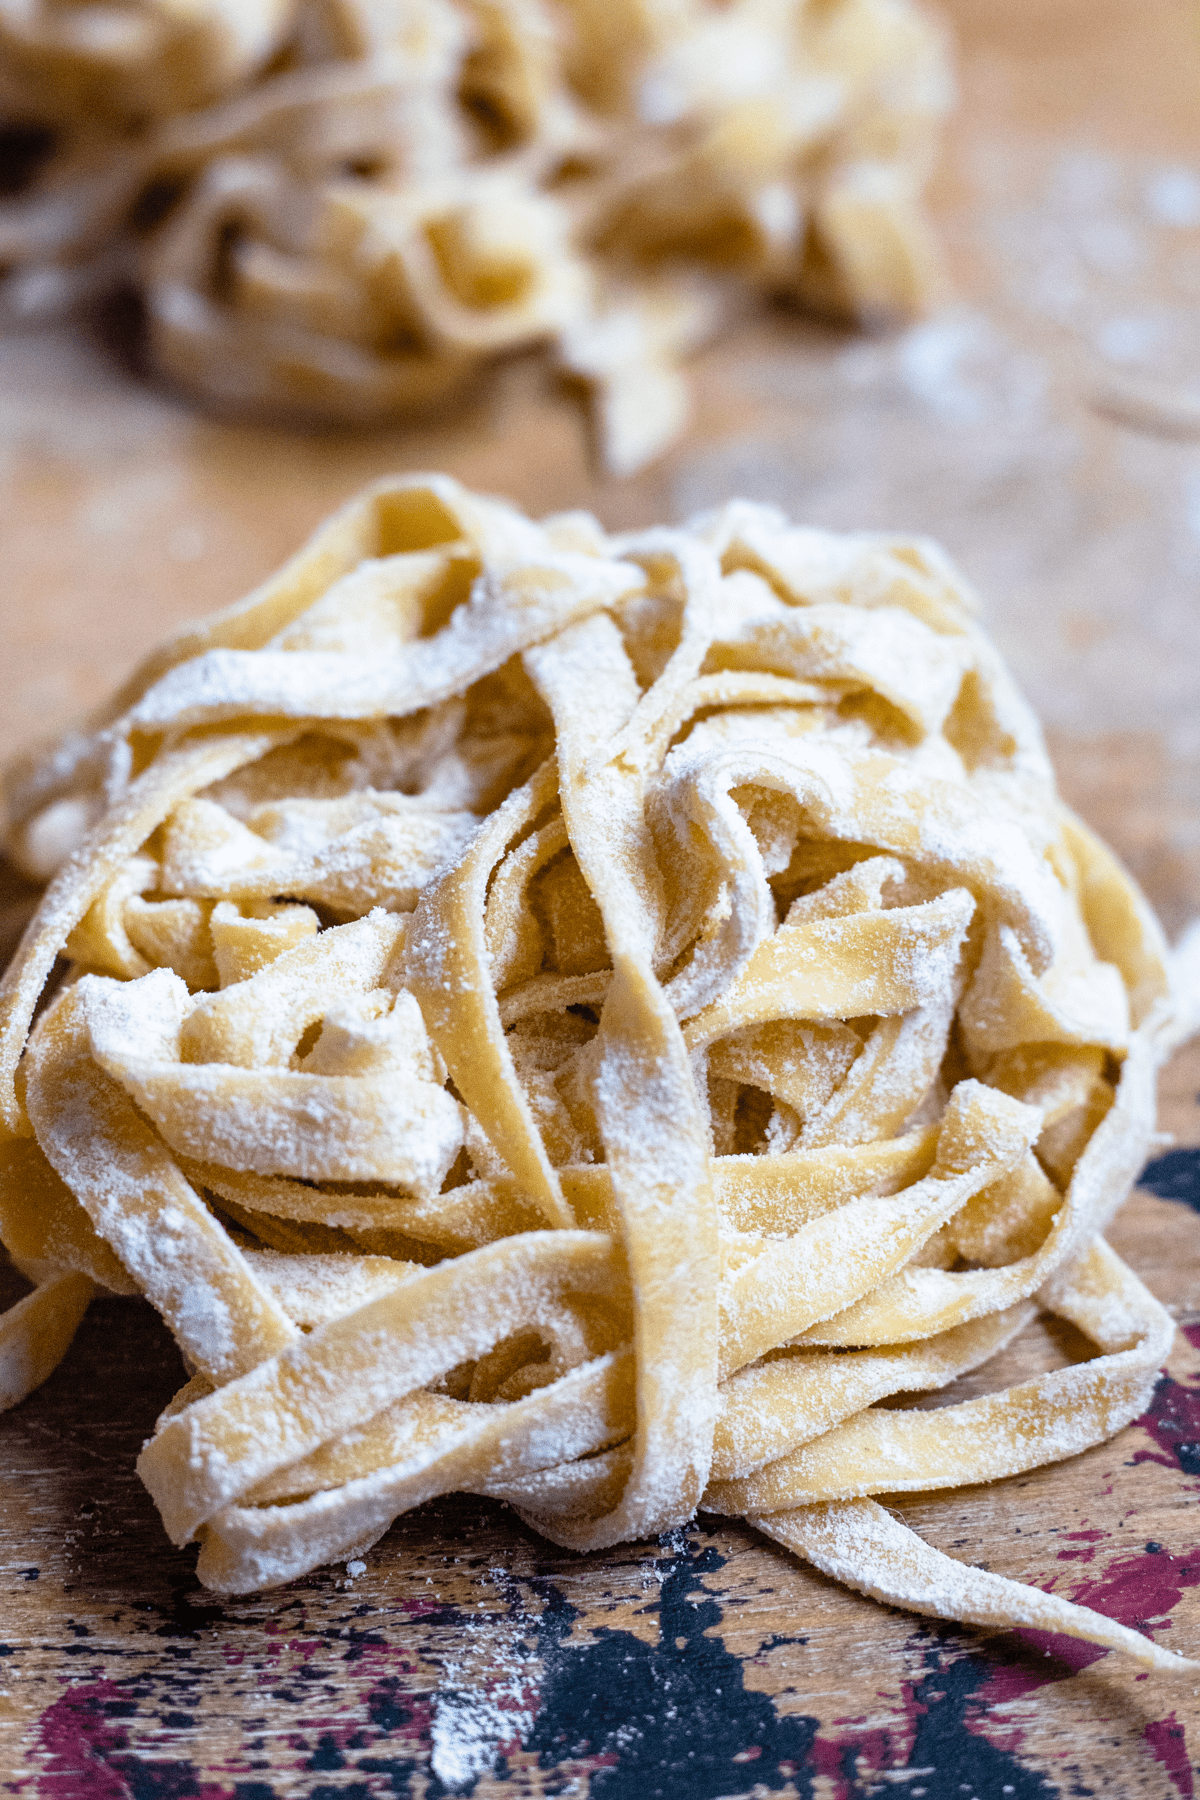
Homemade pasta can be stored in the refrigerator in an airtight container for 2-3 days or can last in the freezer for 2-3 months. If you are storing your pasta, make sure to dry it completely before doing so.
This can take 12-24 hours of it laying out. Sprinkle with a bit of flour to speed up the process, or place a fan in the area. Once the pasta is dry it can be packaged into ziplock bags and stored.
The measurements below are designed to create 4 servings of pasta. Depending on the number of people you are cooking for, you can multiply or divide this recipe.
I typically only do up to 6 servings in one batch. This means that if I am making pasta for 12 people, I will make two batches of 600g of flour and 6 eggs each.
Traditionally semolina flour is used for pasta recipes, but you don’t have to let the type of flour intimidate you. Regular All-Purpose Flour will work just fine for homemade pasta dough. Feel free to test out different types of flour. I recommend replacing just half at first if you choose to try different flours.
If you are not interested in adding a new tool to your kitchen, it is possible to make homemade pasta noodles without a fancy pasta maker.
Simply roll the dough to your desired thickness on a lightly-floured surface and use a sharp knife or pizza cutter to cut the fresh pasta dough into strips.
It’s helpful to use a very long rolling pin because your dough will stretch!
Boil your homemade noodles in a pot of salted water.
The amount of time it takes to cook al dente will depend on the thickness of your noodles but it should cook to perfection in just a couple minutes
Did you enjoy this article on How to Make Homemade Pasta? If so, make sure to check out these other articles I’ve picked out just for you!:
Make sure to press with the heel of your hand, working the flour into the dough.
How to Make Homemade Pasta
Equipment
- Rolling Pin
- Pasta Maker
- Digital Food Scale
- Plastic Wrap
- Parchment Paper
Ingredients
- 400 g Unbleached All-Purpose Flour, (about 1 cup)
- 4 extra large eggs, extra large
- ¼ tsp salt
- 1 tsp olive oil
Instructions
- Place 400 grams of flour in a mound on the table.
- Use your hand to form a well in the middle of the flour. You should be able to see the table at the bottom of your flour.
- Crack 4 eggs into the hole in the well. Add ¼ tsp salt and 1 tsp olive oil.
- Use a fork to scramble the eggs inside the flour well. As you mix, use your fork to slowly incorporate flour from the edges of the well. Slowly keep adding more flour with your fork as you stir. The egg should turn into a paste.
- When the mixture is too thick to mix with a fork anymore, start kneading with your hands. Make sure to press with the heel of your hand, working the flour into the dough. (You may need to not incorporate all of the flour or add more depending on the consistency of your dough. The dough should not be sticky or crumbly. It should be a happy medium in between. If your dough is too dry, wet your fingers with some water and continue to knead the dough.)
- Knead the dough for 10-15 minutes until the dough is smooth and has turned a darker yellow color. You can test if your dough is ready by pressing your finger into it. If the dough begins to bounce back instead of staying pressed in, then it is done. If it does not bounce back, continue to knead.
- Form your dough into a ball and wrap in plastic wrap. Allow to rest at room temperature for about half an hour. When the dough is done resting, cut it into small sections (about 8).
- Pass these sections through the pasta roller on your pasta machine. Because each pasta maker is different I cannot give the numbers of the settings, but choose a large setting, then a medium setting, and finally a small setting (on my Kitchenaid Pasta Maker, I run the pasta through the #1, then #3, then #5).
- Allow rolled pasta to rest on parchment paper while you roll the other dough. Dust lightly with flour. If you are leaving the pasta on the counter for more than 5-10 minutes, cover it with a clean kitchen towel.
- Once all pasta is rolled flat, change the settings on your pasta maker to the pasta cutter.
- Roll the pasta through one more time to cut into fettuccine shapes.
- Lay the fettuccine on the parchment/butcher’s paper again and allow to dry.
- Cook as normal pasta. Homemade pasta will normally cook faster than store-bought pasta.
Video
Notes
- Flour: Use all-purpose, unbleached flour
- Salt: Table Salt
- Olive Oil
- Egg(s): Extra Large
- It may be helpful to roll your dough through your pasta maker at the same setting multiple times before moving onto the next size. This just ensures that the dough doesn’t crack.
- To create consistent noodles with no rough edges you can fold your dough into thirds after passing it through the pasta maker the first time. Just fold the rough edges toward the middle and roll the dough through again to flatten the layers together. It should come out a nice rectangle.
- You can buy a pasta rack to let your noodles dry on or you can leave them on a sheet of parchment paper. Either way, let them dry for just a couple hours before storing them in the refrigerator.
- Once you are finished mixing your dough it should not be sticky, but don’t be afraid to sprinkle some flour on it if it does stick to any of your equipment or if you are stacking the rest of the dough on top of each other after rolling.
- You can add extra flavor to your dough by adding some fresh or dried herbs but take some time to perfect this basic pasta dough before taking this step!
- Some chefs mix up their dough in a food processor. You can give this a try but I prefer feeling the mixture with my hand to have more control over the texture and amount of ingredients.
- The recipe I was taught was measured in grams. When I measure this way it gives me more consistently perfect pasta dough every time.



Kristen says
Can’t wait to try. Can you dry the noodles and store in a container in the pantry? If so, what is the process for doing so and how long can they stay there?
Alexandria Drzazgowski says
Hi Kristen, yes make sure to dry the noodles completely before storing them in an airtight container! It can stay for a few months in the pantry 🙂
Clare Goodwin says
Once you’re done cutting the noodles into their shapes, how long can you leave them out on the counter before needing to boil them? i.e. can I make the noodles earlier in the day so that step is already done when I go to make dinner?
The Foreign Fork says
Yes you can! The longer you leave them out, the harder they will get, which will slightly affect the cooking time. Sometimes we leave ours on the counter for a day or two to completely harden.
Nicole says
So grandma used to make noodles every winter and store in the pantry for years. Ummmmmm is this a no no???
The Foreign Fork says
hahahha. Grandmas know best!! For general food safety, homemade pasta (if dried properly) can last for 2-3 months in the pantry! This is what is recommended, but it is a conservative estimate… you could probably push it a little furhter. Years would be a little difficult for me to swallow, but you’re still alive so maybe its okay! 😉
Henry Biebuyck says
I’ve made this multiple times and it is very good
The Foreign Fork says
Thank you for the review Henry! So glad you like this recipe 🙂
Mary Susko says
What is the best flour to make pasta
The Foreign Fork says
For this recipe I use all-purpose flour! I also see it made with semolina sometimes but you would need some different measurements 🙂
Melissa says
Can almond flour or other sub. E used to make it low carb? Thank you. It sounds delicious!
The Foreign Fork says
Hi Melissa,
Thanks for your question! Unfortunately, I’ve never tried making homemade pasta with almond flour. If you try it, please let me know how it turns out!
Nancy Crenshaw says
I have a case of the Covid craziness. I have been baking and cooking everything that I see. Last night was fettuccine noodles with a tomato sauce. I had forgotten about the Cici de Peppa – that will be this week! Thank you for this pasta recipe! Measuring by weight rather than cups is a definite game changer.
The Foreign Fork says
Hurray Nancy!! So glad that you used the recipe and that measuring by weight is helpful! Can’t wait for you to cook the cacio e pepe 🙂