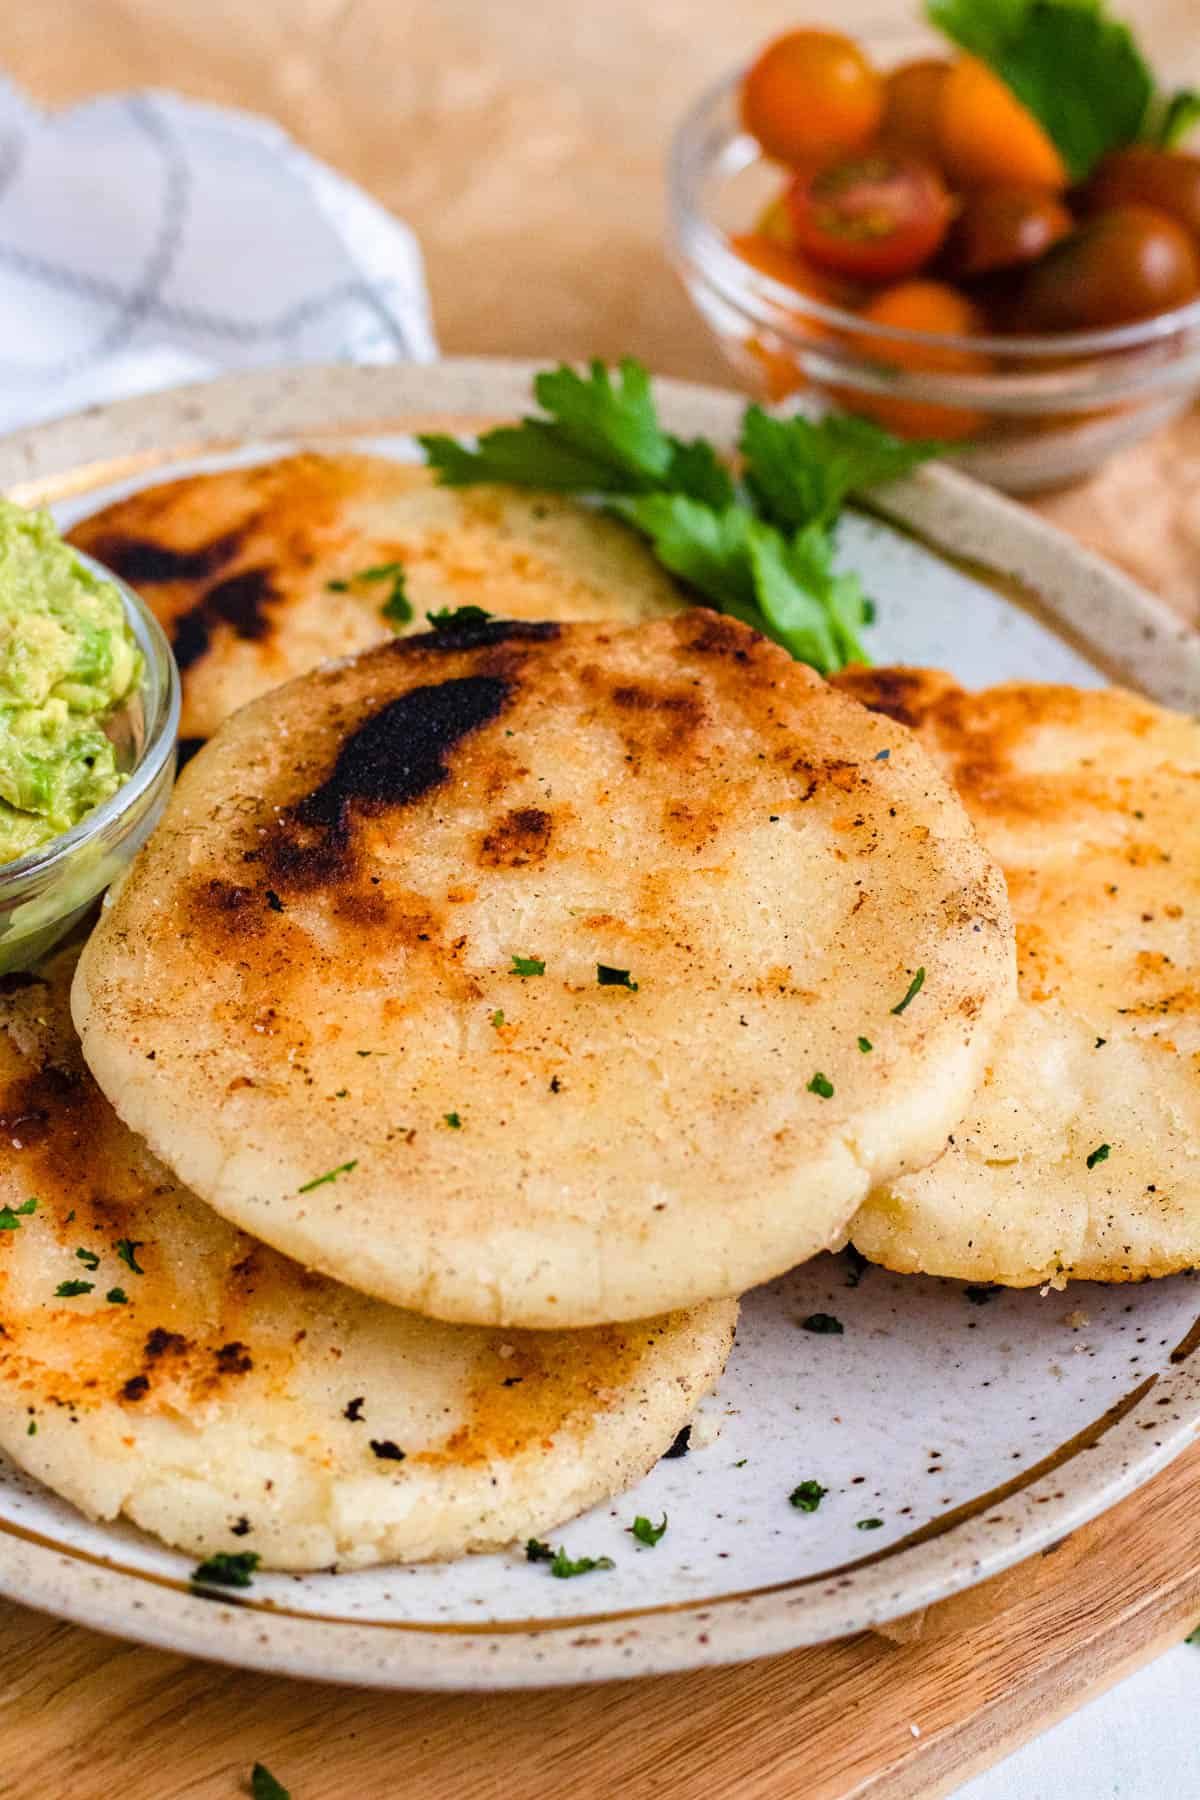
Arepas are a delicious, warm Colombian dish that are easy to grab and go and can be customized to your liking. These toasty little pockets of dough make an excellent breakfast, snack, or can be stuffed with cheese and meat for a quick lunch.
“Hello Reader! I try my hardest to research recipes as best as I can before posting to ensure I am representing each culture correctly. If this recipe is from your country and I have made a mistake or you have suggestions for how to make it more authentic, I would love to hear! Please leave a comment below letting me know what should be different, and I will rework the recipe. It is always my intention to pay homage and respect to each cultural dish that I cook. Thanks for reading!”
Spend any time in Colombia and you are sure to stumble across arepas. These warm corn cakes are eaten for breakfast, lunch, or even as a snack or a side with dinner.
Like most dishes that have been around for a long time, there is a lot of discussion about the proper way to make Colombian arepas. Some are made thick and stuffed, some are thin and topped, some are sliced, and still, others are simply eaten plain.
They may be grilled over coals, cooked up on a griddle, or even deep fried, and each new cooking method adds a different flavor to the cornmeal cake.
The great news about arepas is any way you try them, they are undeniably delicious.
Arepas are a little bit like a thick tortilla but with cheese mixed right into the dough. They are chewy and honestly just melt in your mouth.
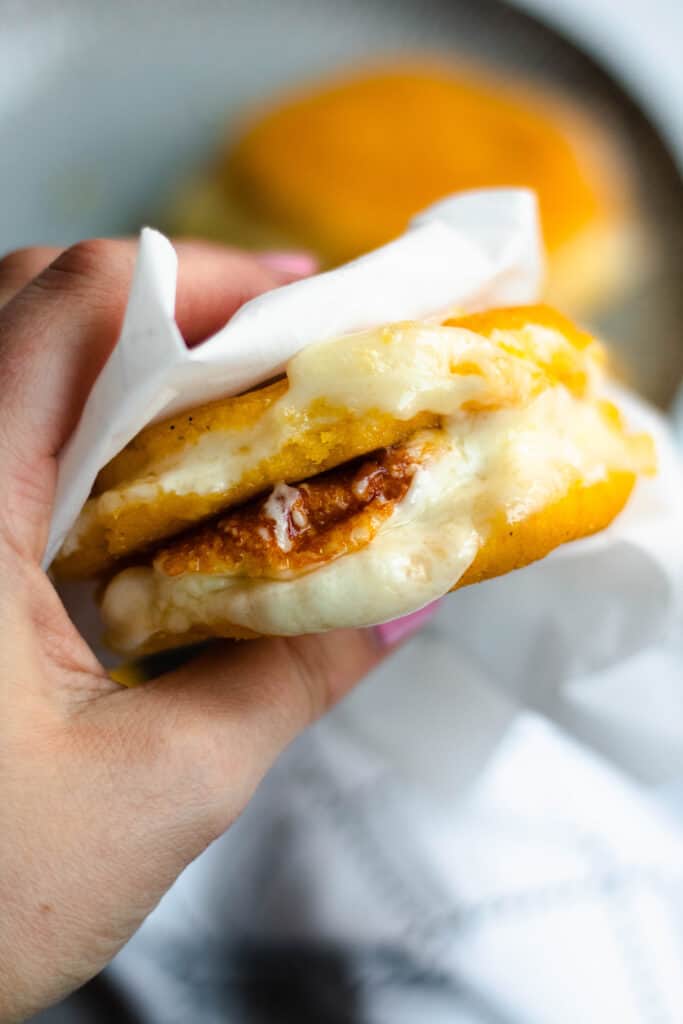
The arepa itself has a mild flavor, which makes it perfect to pair with cheese, meat, beans, eggs, and any variety of sweet or spicy sauces. These toppings may be added to the top of an arepa or stuffed inside (though this is more popular in Venezuela). Many Colombians enjoy them plain with a little bit of butter and salt.
Arepas are a popular dish in part because of how easily they can be made and shared. They are often served as a quick breakfast, lunch or snack and are sold by street vendors in South America as a quick meal on the go.
Arepa Flour: Masarepa Vs. Masa Harina
The toughest part about making arepas is finding the right ingredients. These are simple ingredients, but they are also very important to get the right results. Those who make arepas consistently will tell you you must use masarepa.
Masarepa is a refined, pre-cooked cornmeal flour made from ground cornmeal, but it is not the same as regular cornmeal. It is soft and starchy and provides the perfect texture for arepas. It also has a very mild flavor.
Some of the most popular brands of masarepa are Harina P.A.N. and Goya. In areas with a large Latin American population, you may be able to find these brands at Walmart or Costco. Otherwise, you may be able to find it at a Latin American grocery store or order it online.
Masarepa differs from cornmeal because cornmeal is milled raw while masarepa is precooked. Foods Guy does a great job of explaining the difference if you are curious. In short, cornmeal does not absorb liquid the same way masarepa does, and your dough will not achieve the correct texture.
Recipe Origins
The history of arepas pre-dates the country of Colombia itself, to a time when Venezuela and Colombia were a part of the same country.
The indigenous people of what is now Venezuela, the Caribs and Cumanagoto tribes, are credited with making the first arepas. The word arepa may come from their word for maize, ‘erepa’ or it may come from the clay pan the dish was cooked on, called aripos.
Originally, the women from these indigenous tribes would chew the corn and then spit it out to form the dough. Thankfully, over time they learned how to grind the corn with stones. It’s a time-consuming process that made the dish a delicacy for many years, but some chefs still continue this process, swearing by the flavor the freshly ground corn adds.
In the 1950’s the process to create the special corn flour was industrialized, making the dish more accessible for all people.
Today it is enjoyed by people all over Colombia and Venezuela at all times of day as a meal, snack or side dish.
Why Make This Recipe
- Great On-The-Go Meal: Arepas are easy to make and take for a quick breakfast or lunch.
- Customize to Your Liking: Arepas are served with so many different toppings from simple queso to shredded beef, shrimp or eggs. Whatever you like, the mild flavor of the arepa will complement it perfectly.
- Taste of Colombia: If you’ve ever taken a trip to Colombia you know how often arepas are served. If you want to bring a little bit of colorful Colombia to your home, making your own arepas is the way to go!
What Do I Need to Make This Recipe?
Ingredients
Here is a visual overview of the ingredients in the recipe. Scroll down to the recipe at the bottom for quantities.
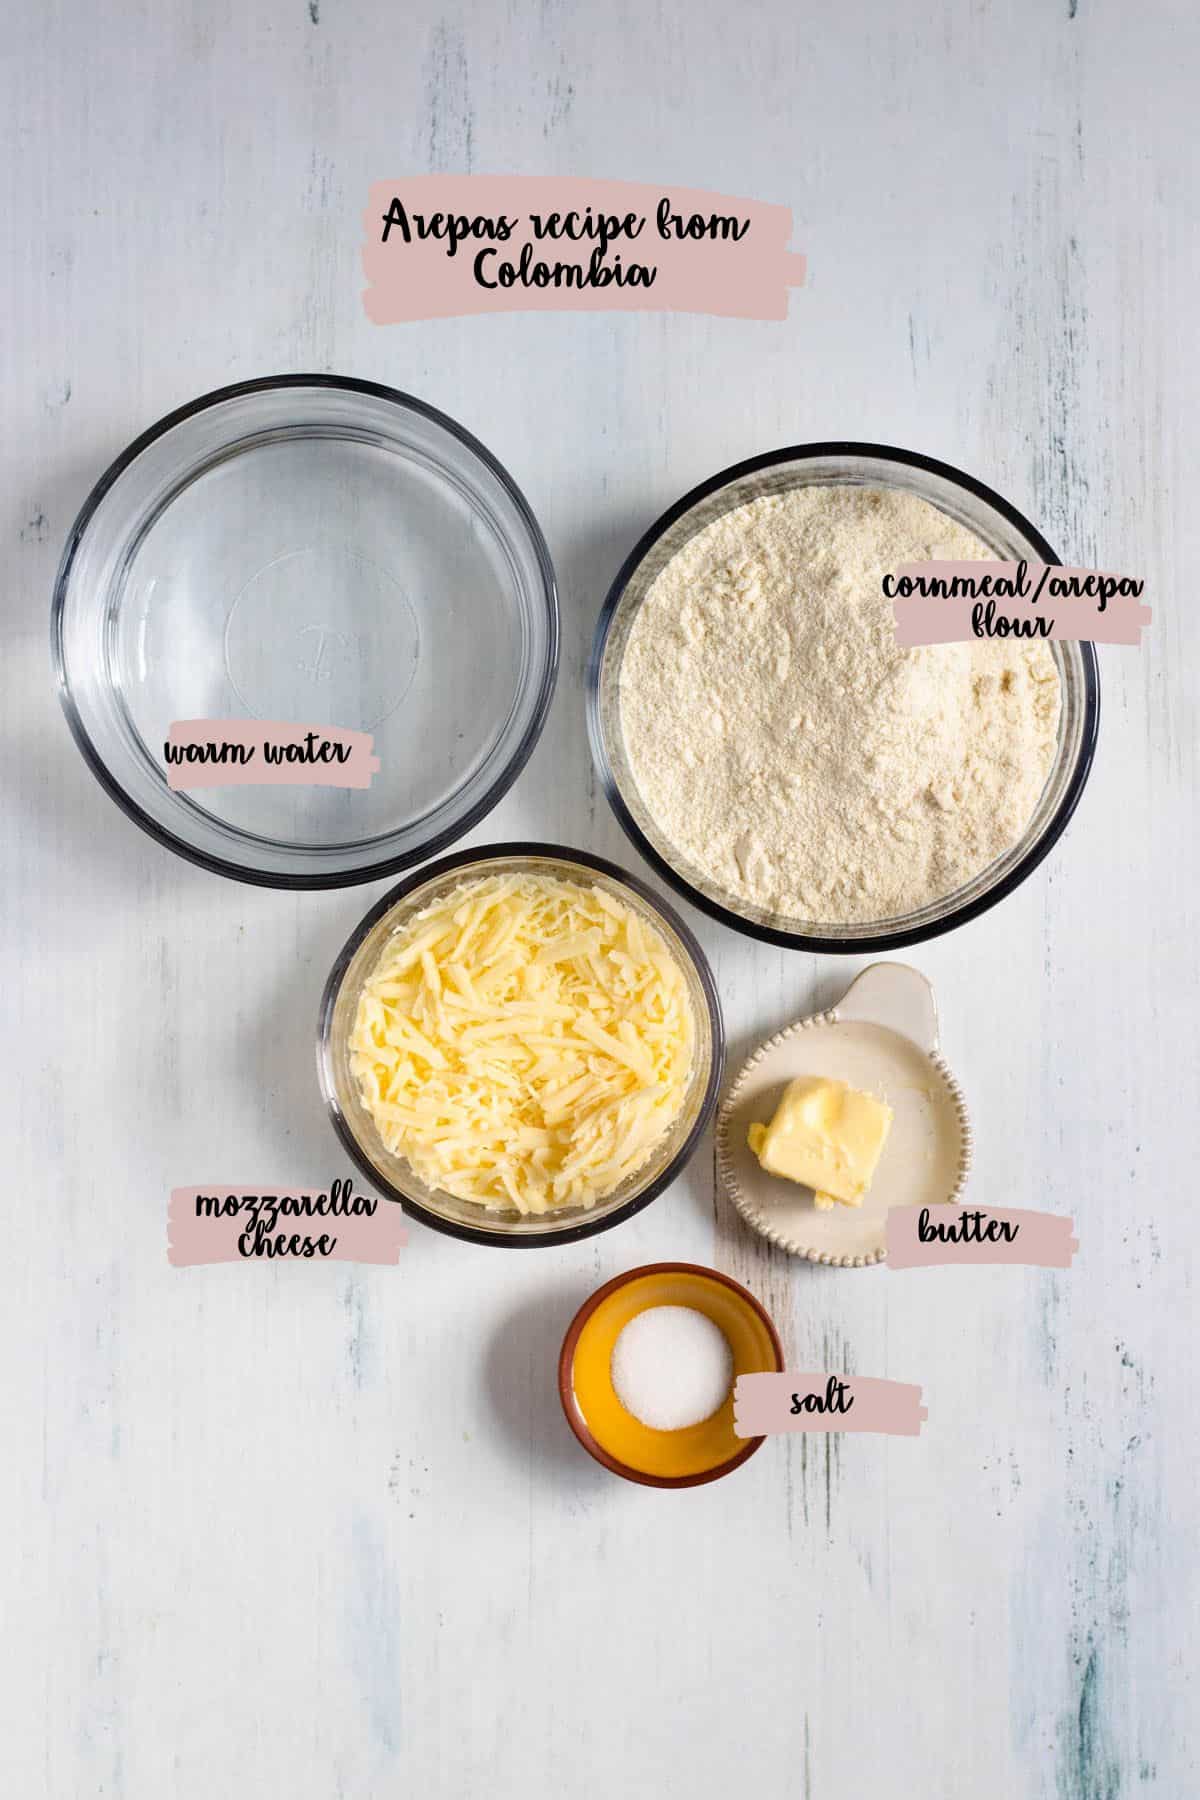
- Arepa Flour/Masarepa: Read the Arepa Flour section for more guidance on finding the right product.
- Water: Warm water will make the dough more pliable and less likely to crack
- Shredded Cheese: For an accessible option, you can use mozzarella cheese. Traditional choices are queso campesino or queso costeño.
- Butter: Softened. This is used in the dough as well as for cooking on the griddle.
Tools:
- Mixing Bowl
- Large Skillet or Griddle
How to Make This Recipe
Step One: Mix the Dough
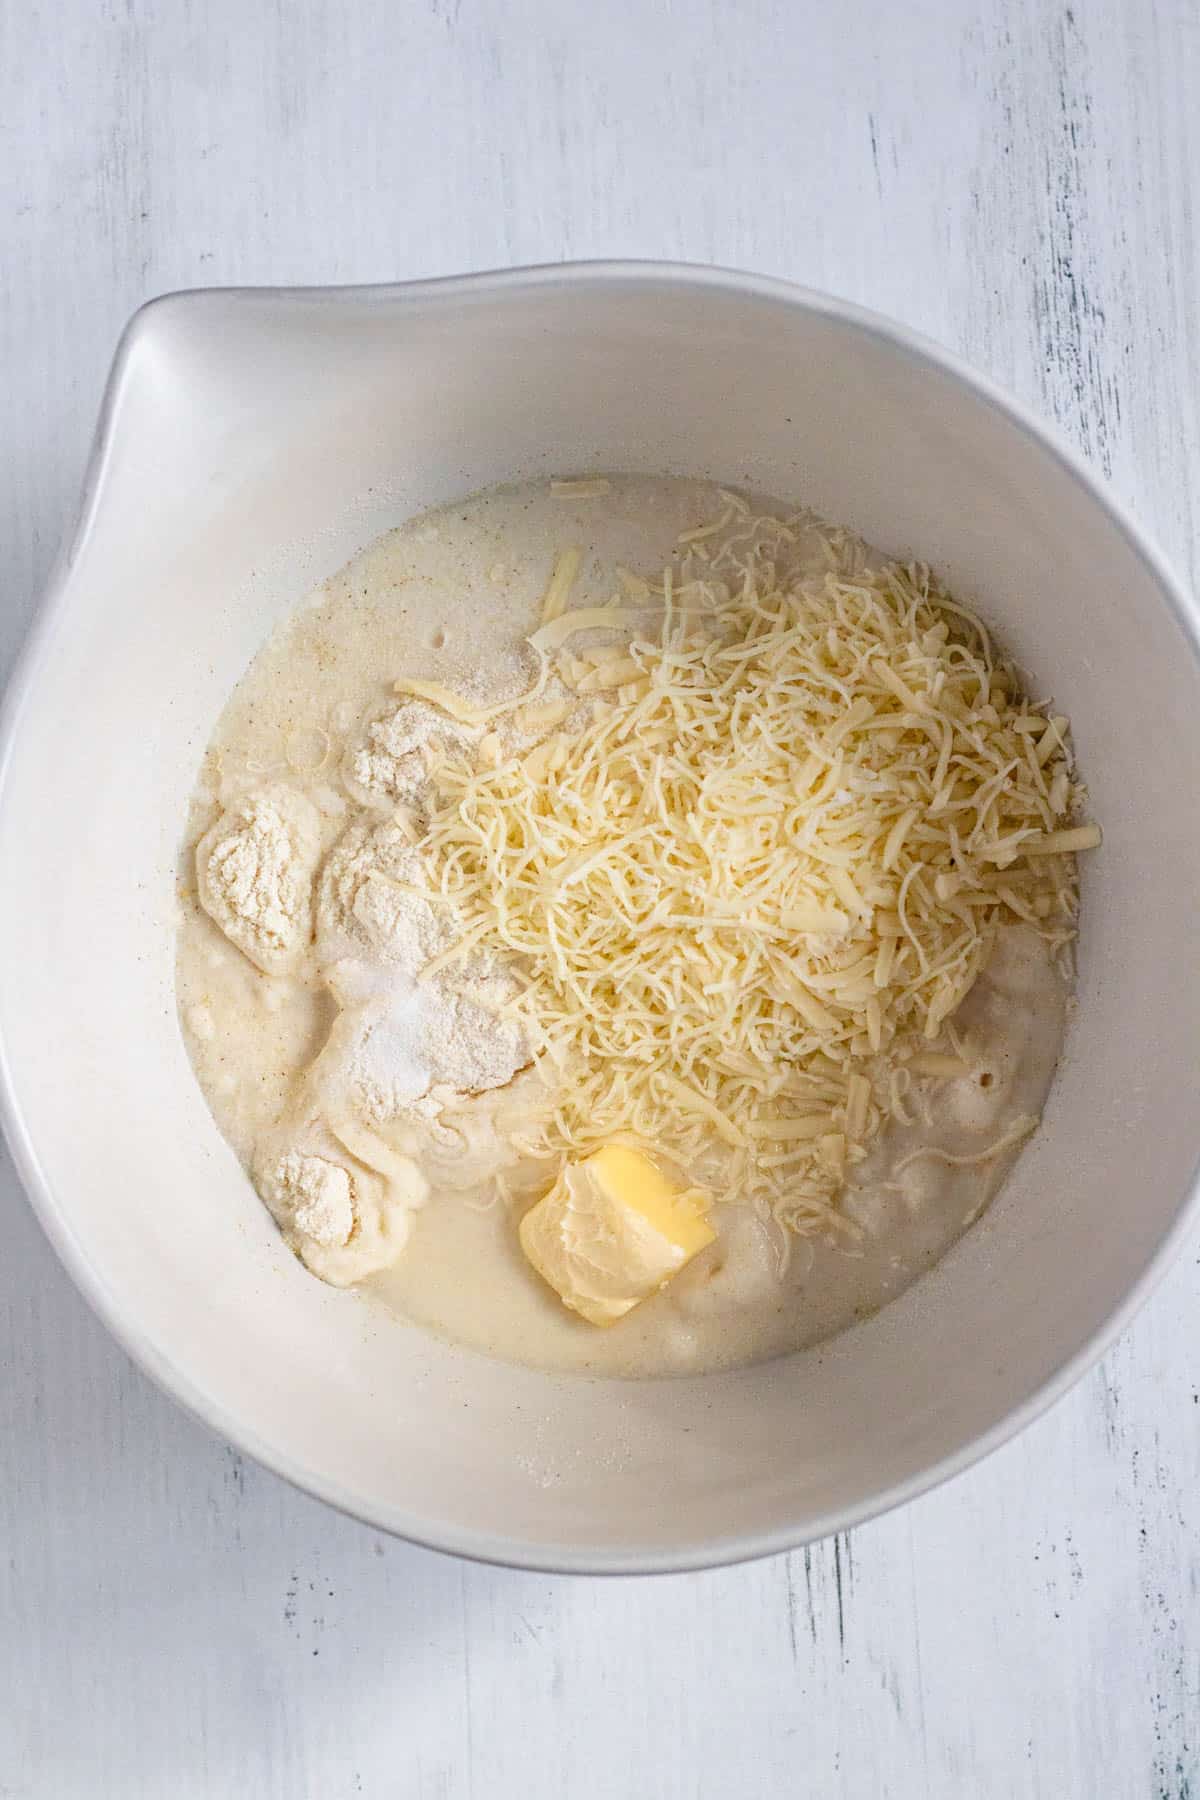
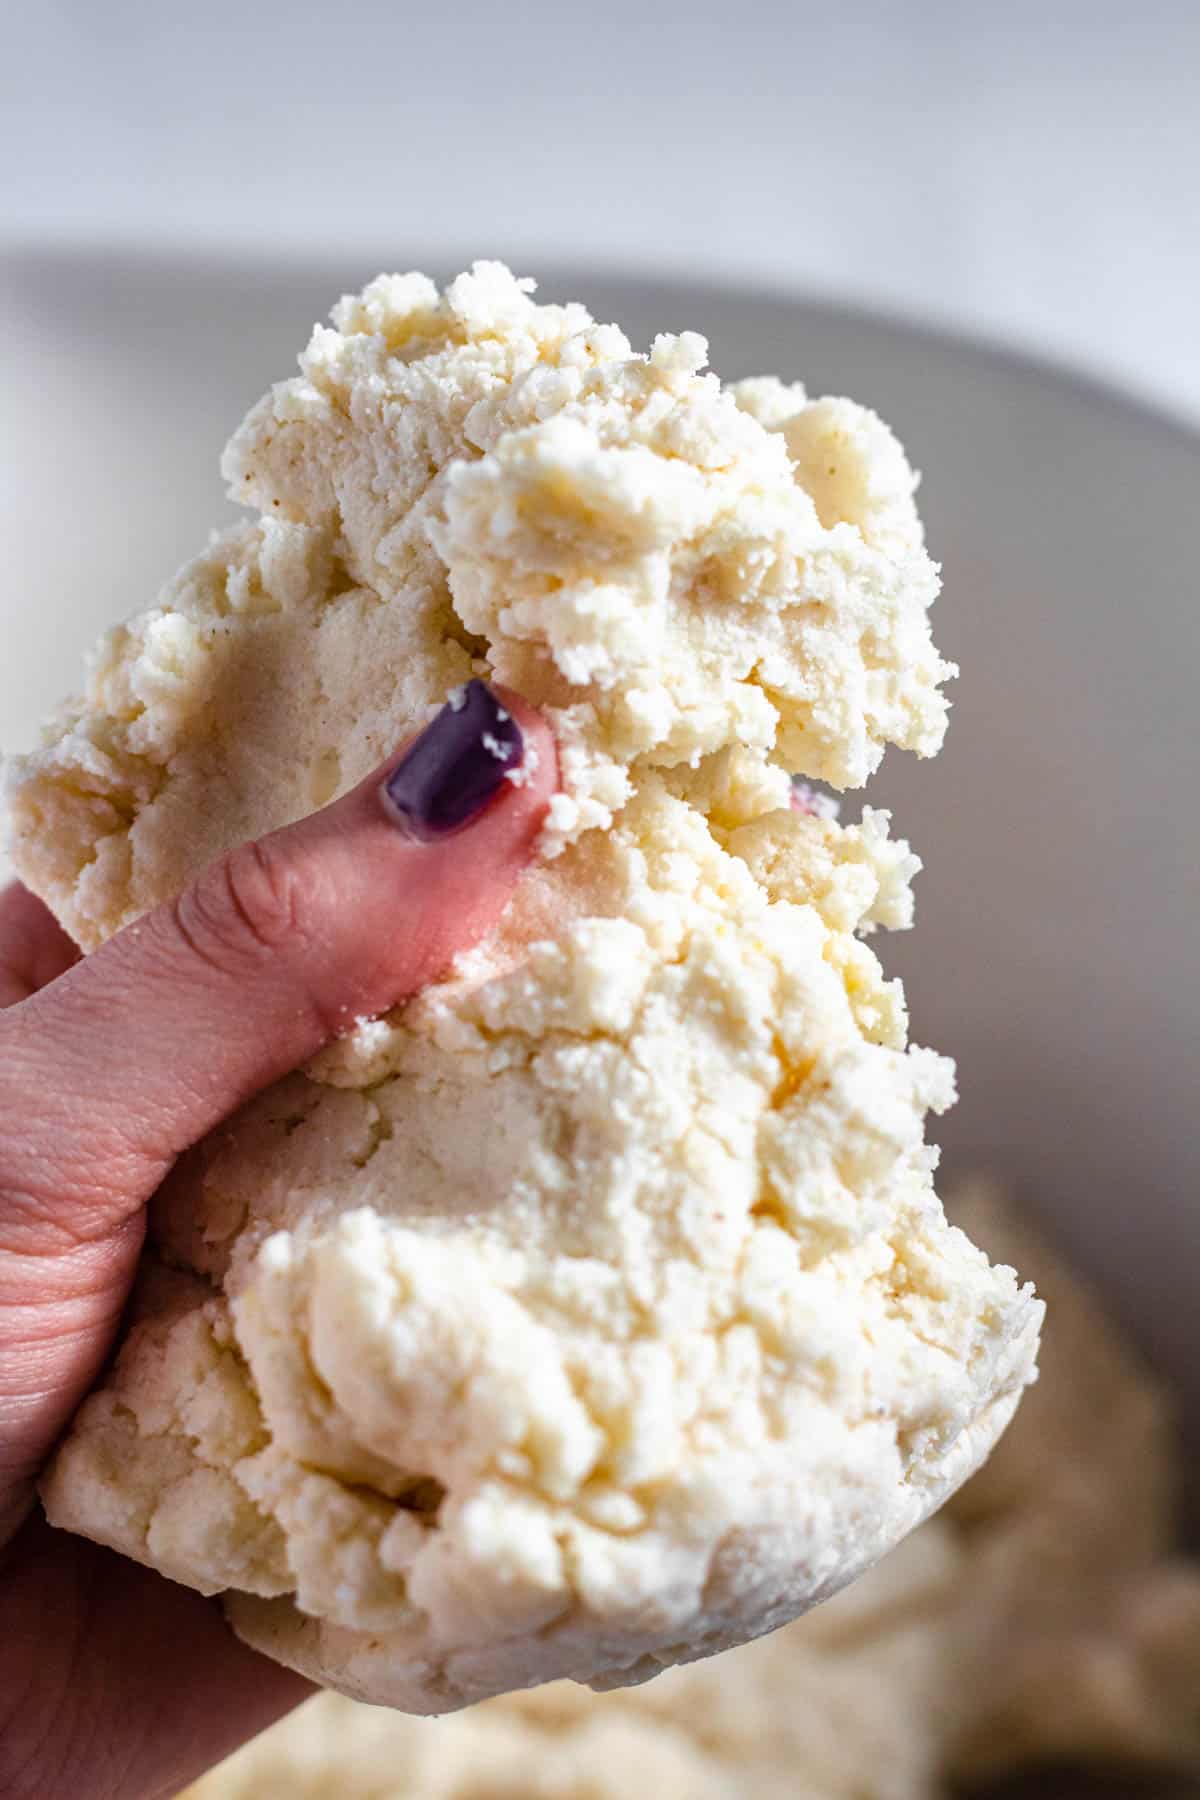
In a large or medium bowl, place the white cornmeal, salt, water, cheese, and 2 tbsp of butter. Use your hands to mix the dough thoroughly. Cover with a towel and let it rest at room temperature for 5 minutes.
Step Two: Form Your Arepas
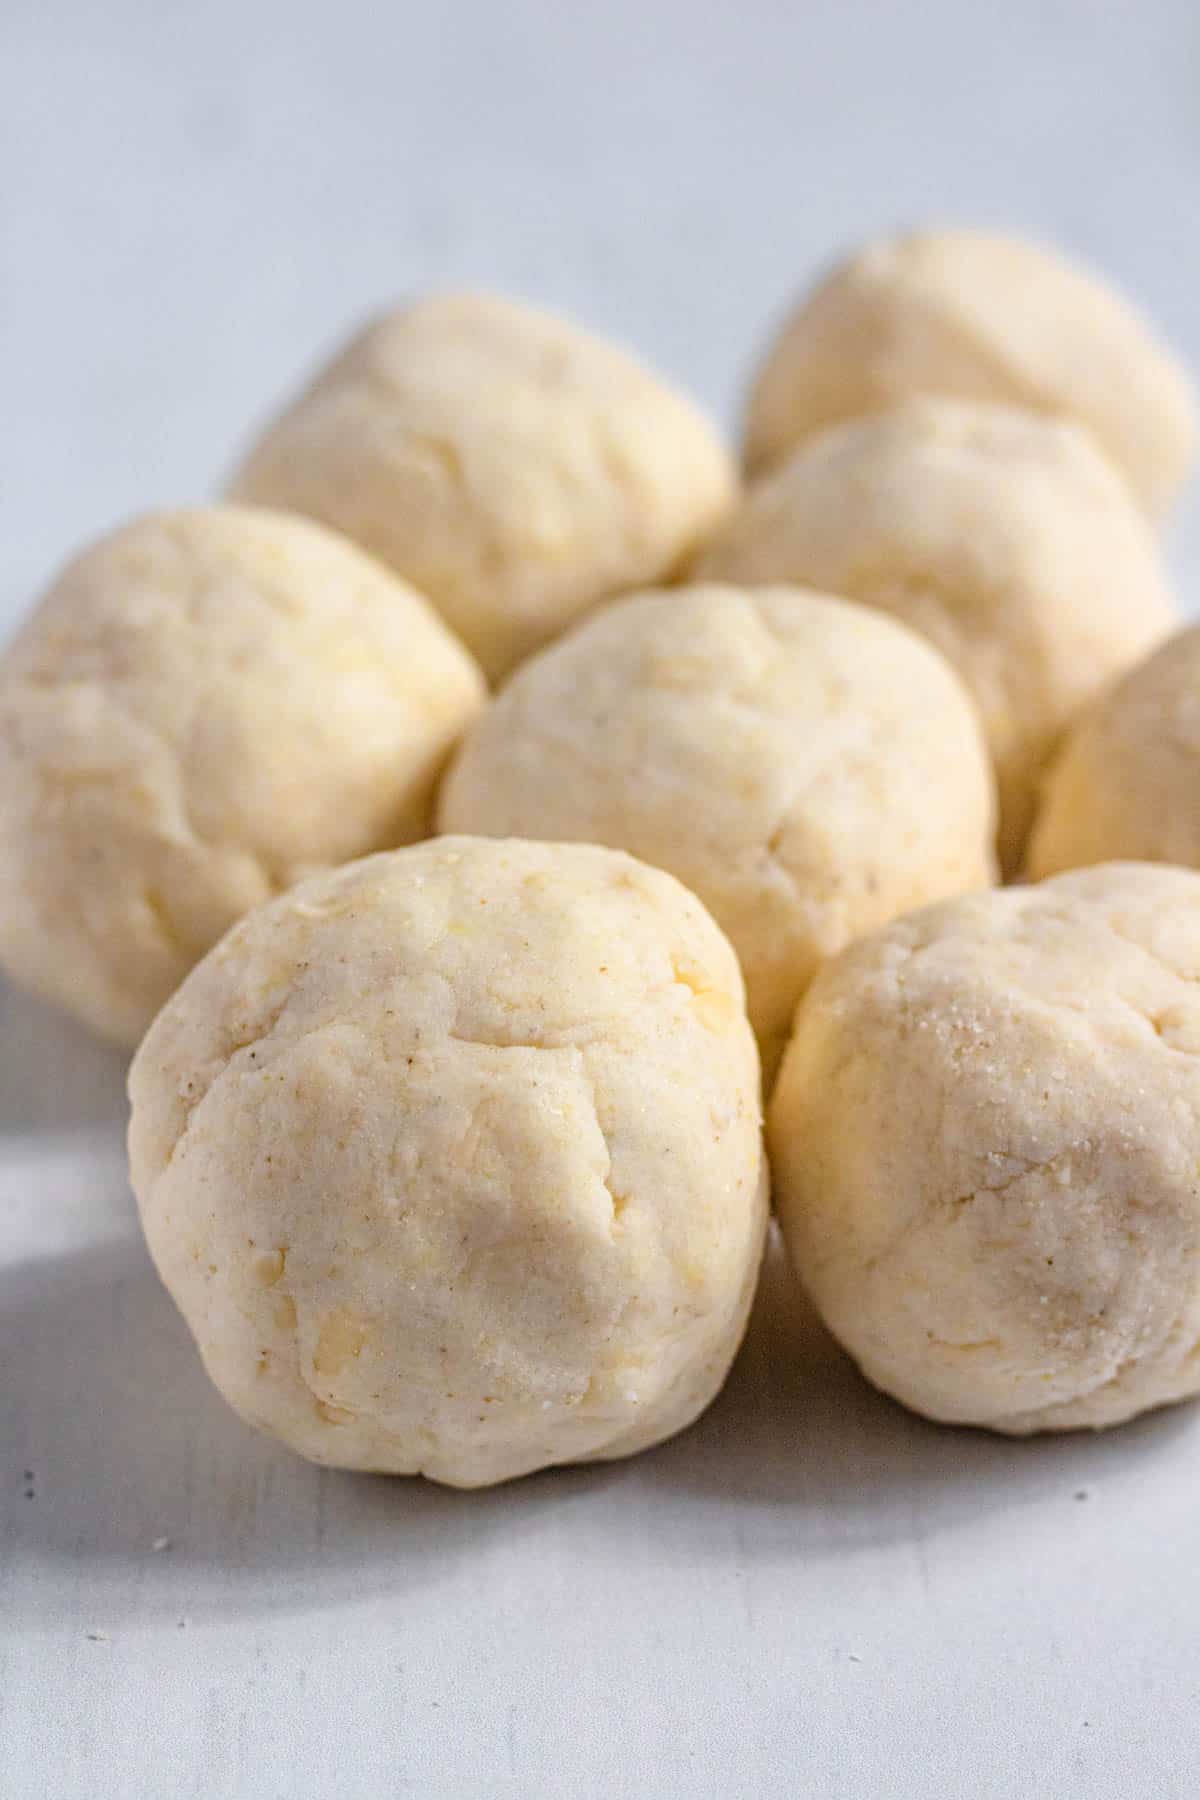
Separate the dough into 8 sections and roll each section into a ball. Press the arepa dough ball flat in your hand until about ½” thick. Press the edges with your hands so that no cracks form.
Step Three: Cook
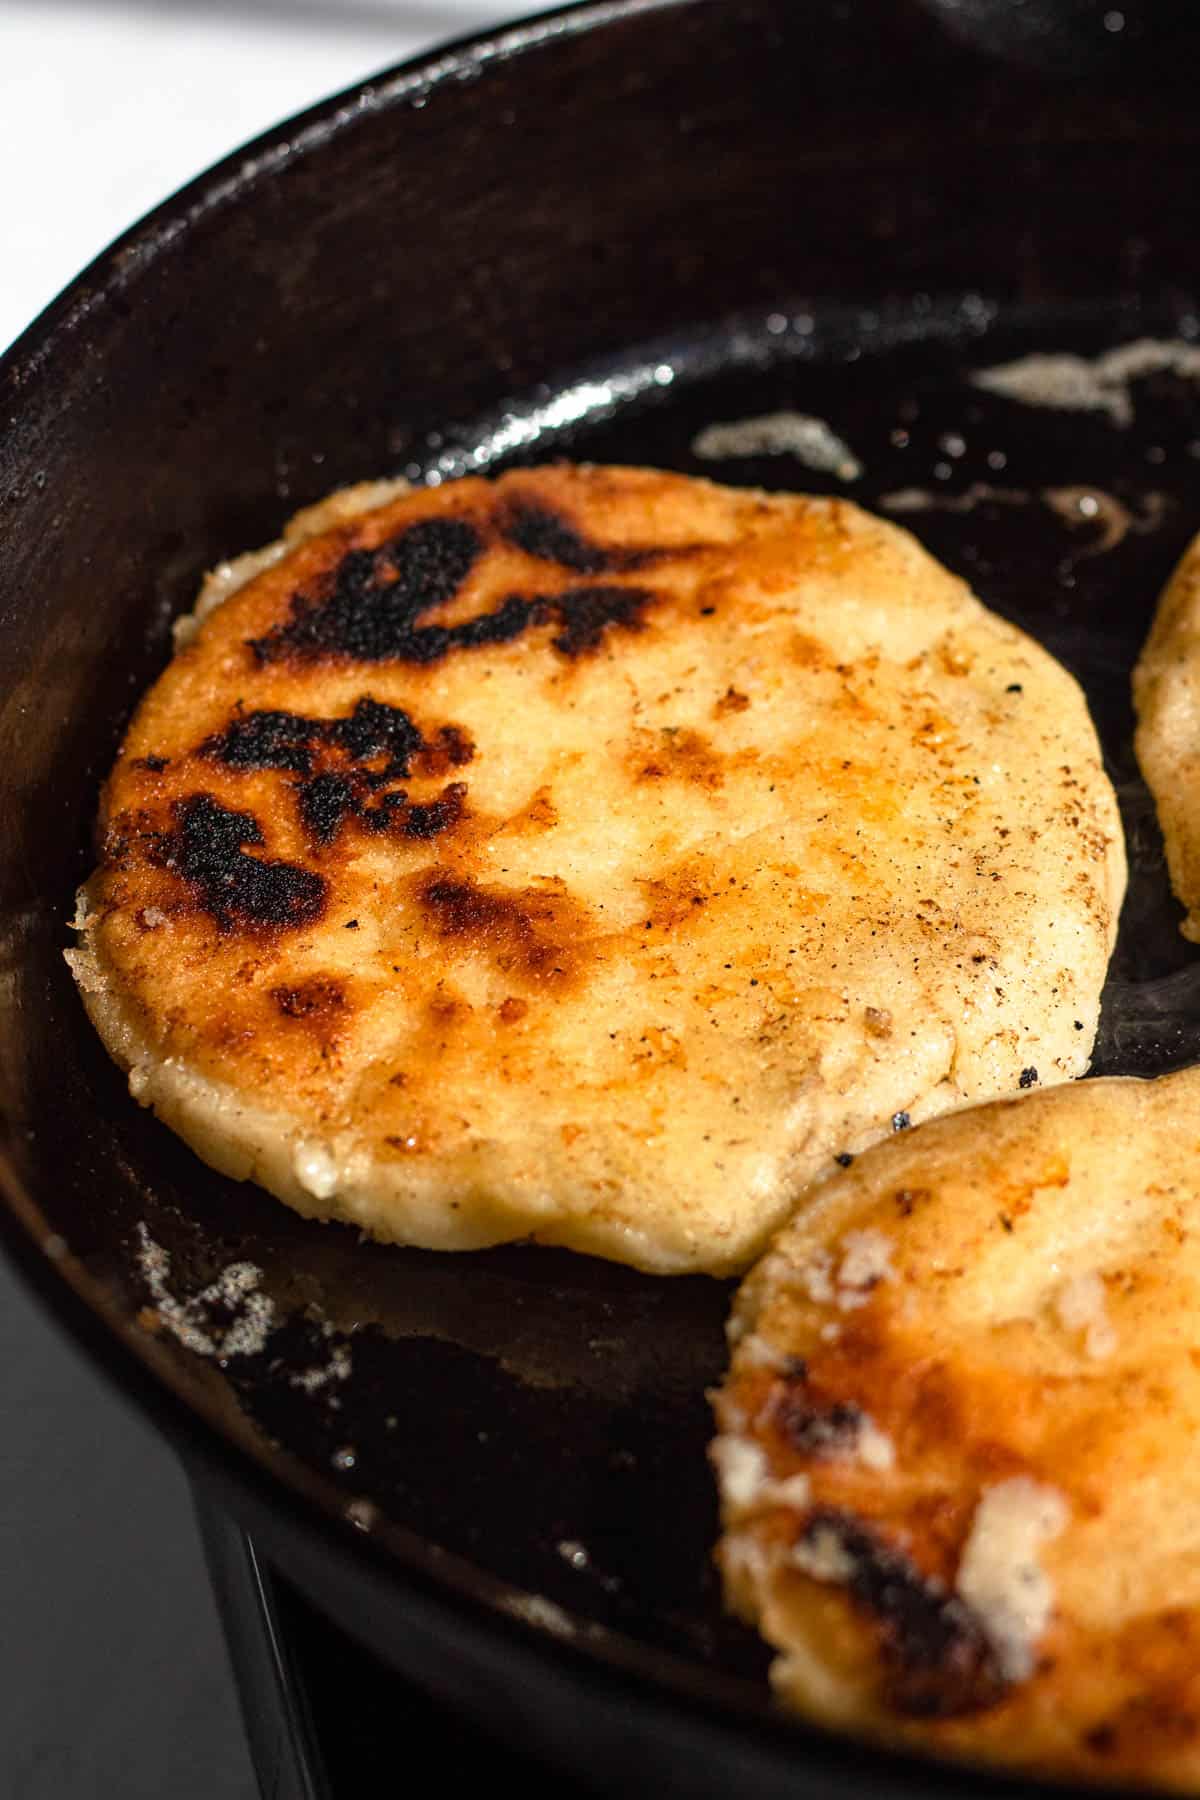
Warm a cast iron skillet or an electric griddle and then grease with 1 tbsp of butter or vegetable oil.
Place four arepas in the pan and cook over low-medium heat for 3-4 minutes until golden brown. Then flip and heat on the other side for about 3-4 minutes, or until a crust is formed on both sides. Slice with a serrated knife or top with your favorite filling and enjoy!
Recipe researched using My Colombian Recipes, Cooking with Ginnie, and Sweet and Salado
Expert Tips
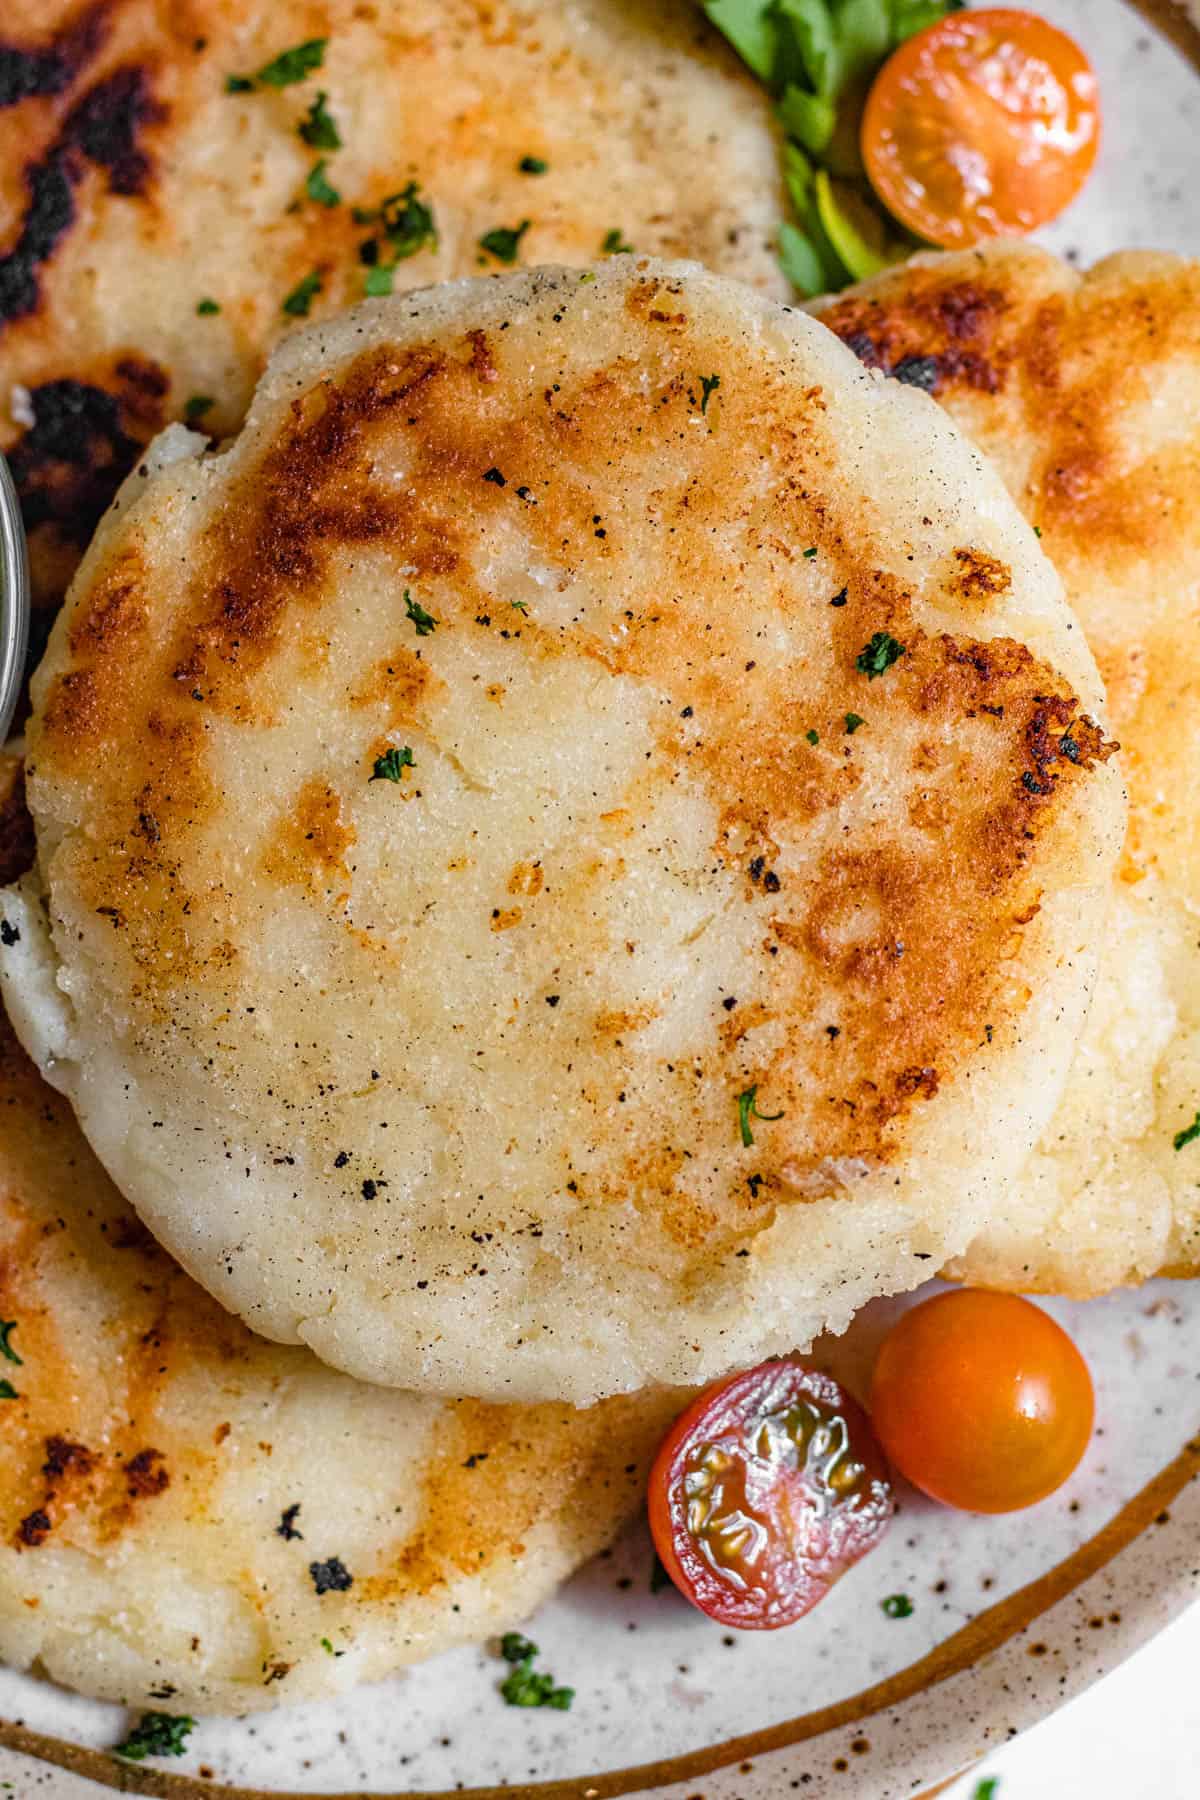
- If you find that your arepas are cracking when you try to cook them, keep a bowl of water nearby, dip your fingers in it and use that tiny bit of water to smooth out any cracks in the dough.
- Some chefs like to place the water into the bowl first and then add the flour slowly to prevent any lumps of flour. I’ve also seen chefs add the water to the flour so that they are careful not to add too much water. If you run into any issues, try doing it the other way the next time.
- Venezuelan-style arepas are often stuffed with toppings, rather than topped. You can stuff your dough balls with your favorite ingredients or favorite meat before cooking to try this way.
Filling Your Arepas
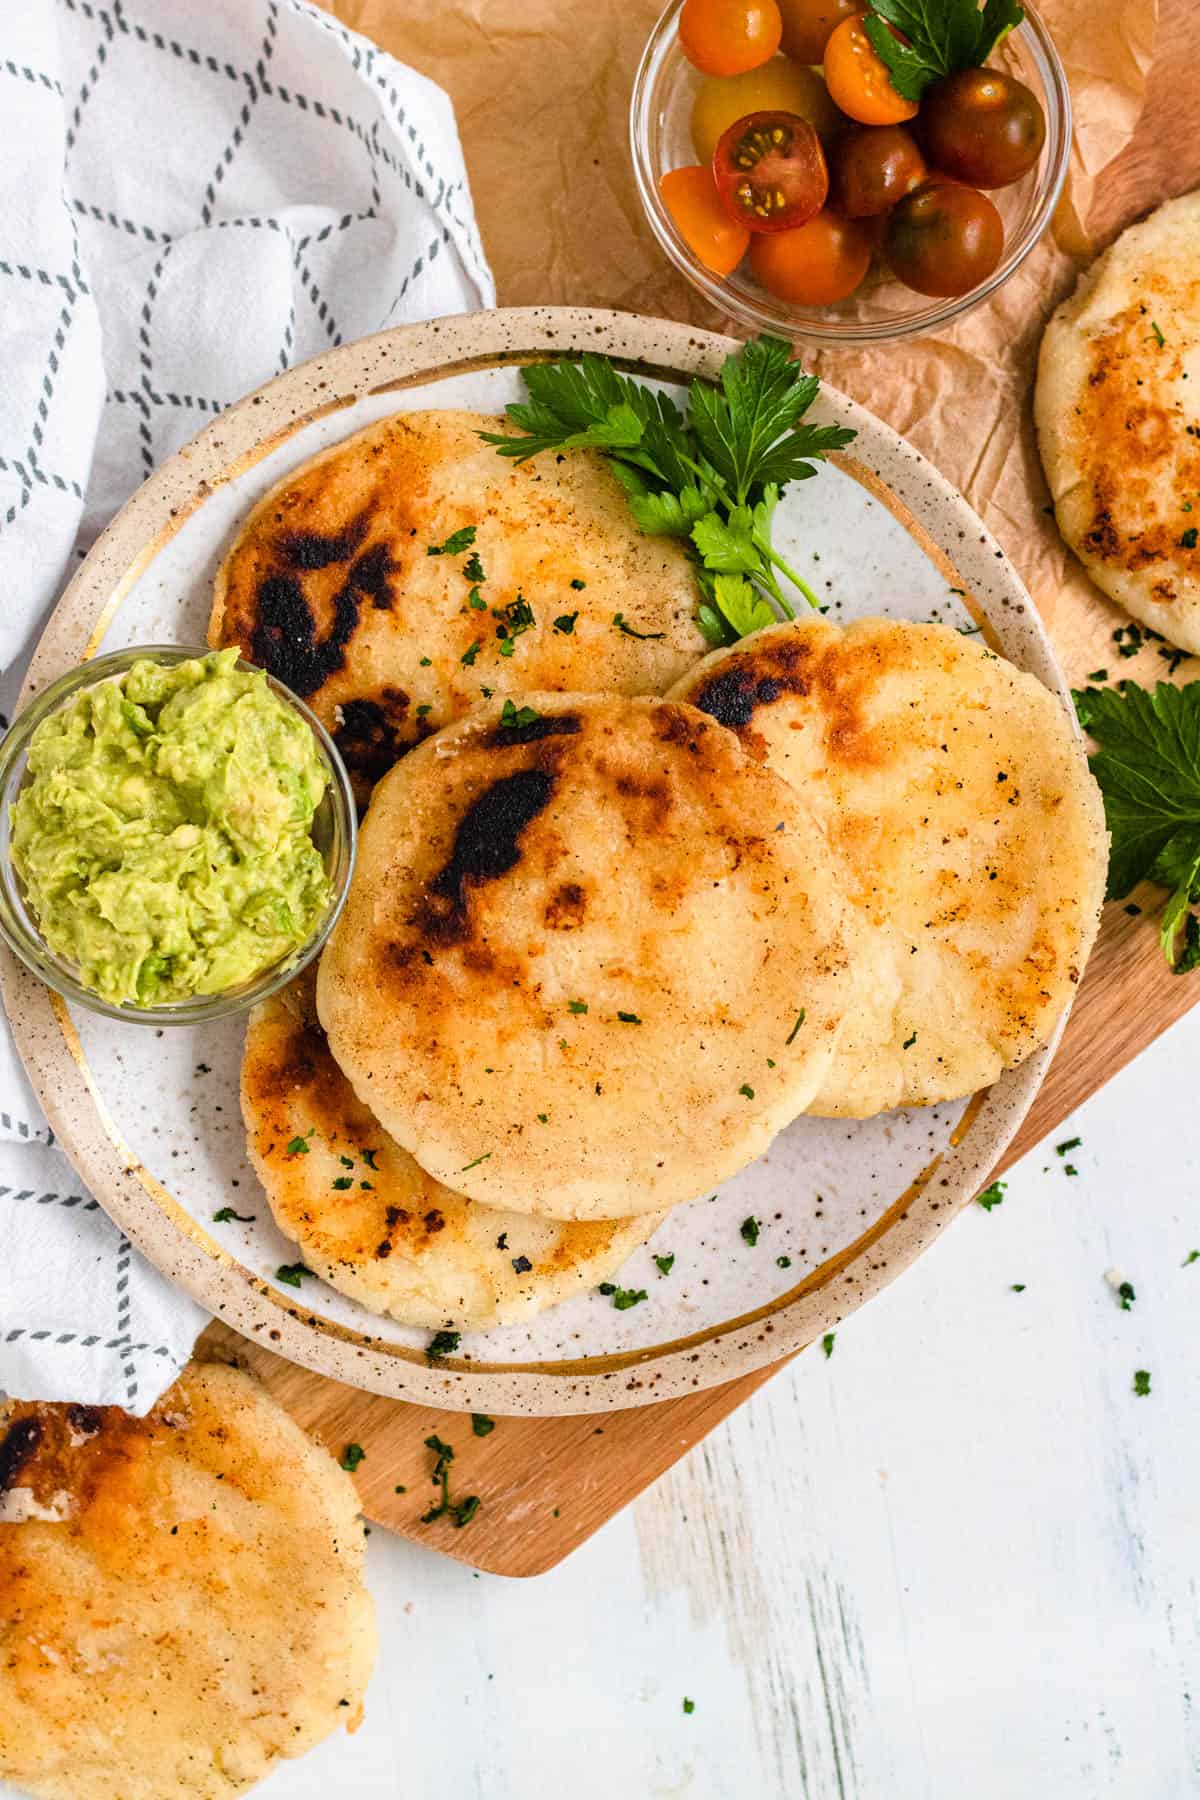
Arepas are considered a blank canvas by many chefs. There are so many toppings you can add to your arepa.
I’ve seen them served with a bit of mozzarella cheese in the United States but in Colombia they use queso fresco, cuajada or quesito.
They may also be stuffed with beef, chicken or even fish, shrimp or black beans.
Sweet arepas may be served with cheese and topped with dulce de leche or condensed milk.
At breakfast, arepas may be served as a side with eggs or topped with a bit of butter and cheese.
As a snack, arepas may be served plain.
FAQs
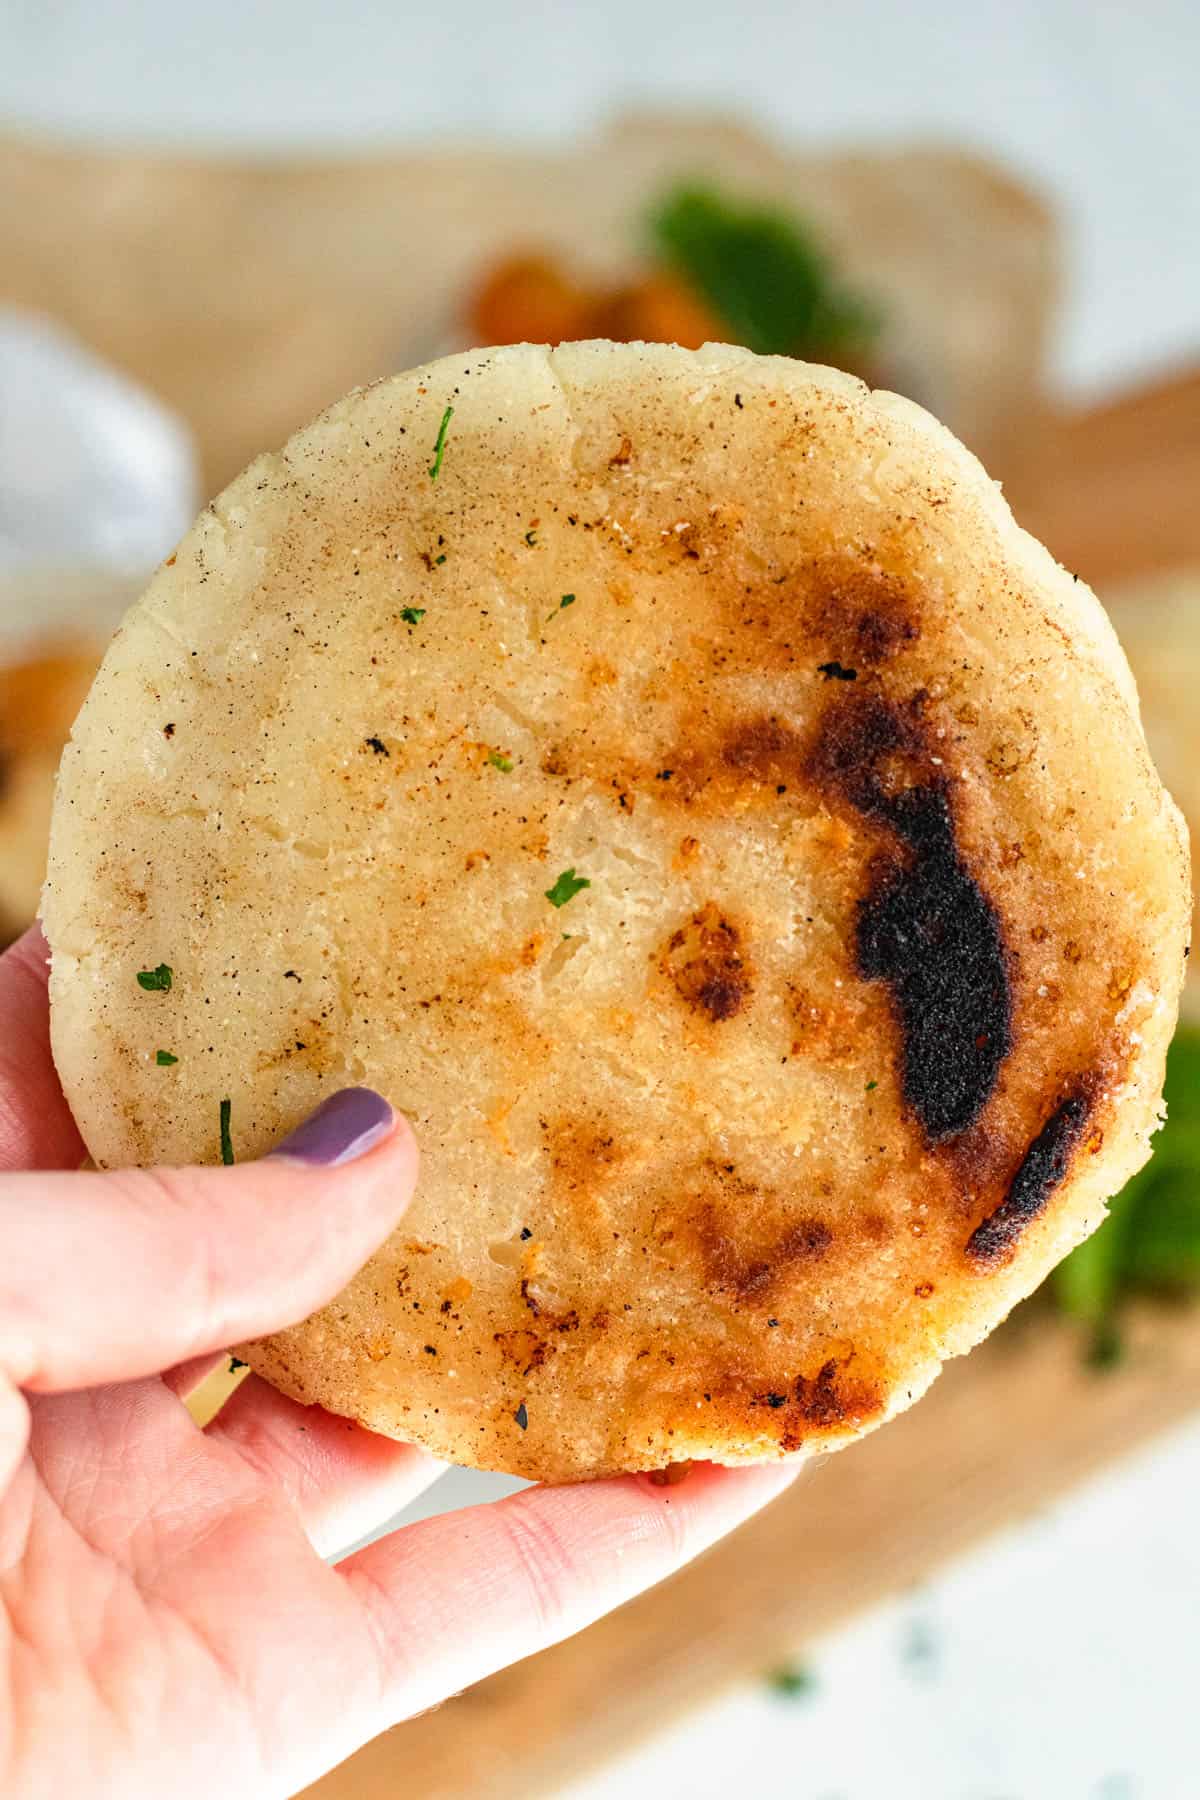
There are several differences between Pupusas and Arepas. The main difference is pupusas are larger and thicker and made with masa harina, rather than masarepa.
If you are trying to slice your arepas and finding they are a bit gooey in the middle, don’t worry. There may be two causes.
Either you made them too thick and didn’t allow them to cook long enough, or you cut in too soon. Arepas may continue to cook a bit once taken off the griddle so allowing them to rest may solve the problem.
Arepas may be a little bit mushy on the inside thanks to the cheese in the dough.
If your arepas are gooey in the middle but the outside is fully cooked, try reducing your cooking temperature. This will allow the center of the arepas to cook through before the outside is done cooking.
Yes, you can save arepas in an airtight container for a day or two, but they are undeniably the best when they are made and enjoyed fresh and hot off the griddle.
Did you like this Arepa recipe? If so, make sure to check out these other recipes I picked out just for you:
- Colombian Hot Chocolate with Cheese
- Bandeja Paisa Colombiana Recipe
- Homemade Tostones
- Pan Con Pollo from El Salvador
- Picaditas
Arepa Recipe from Colombia
Equipment
- Large Skillet or Griddle
Ingredients
- 2 cups white cornmeal, or arepa flour
- 1 tsp Salt
- 2 cups warm water
- 1 cup shredded mozzarella cheese , 4 oz (or another white cheese. Traditional choices are queso campesino or queso costeño)
- 3 tbsp butter, softened, divided
Instructions
- In a large bowl, place 2 cups white cornmeal, 1 tsp salt, 2 cups water, 1 cup mozzarella cheese, and 2 tbsp of butter. Use your hands to mix the dough thoroughly. Cover with a towel and let it rest for 5 minutes.
- Separate the dough into 8 sections and roll each section into a ball. Press the ball flat in your hand until about ½” thick. Press the edges with your hands so that no cracks form.
- Warm a cast iron skillet or an electric griddle and then grease with 1 tbsp of butter.
- Place four arepas in the pan and cook over low-medium heat for 3-4 minutes until brown. Then flip and heat on the other side for about 3-4 minutes, or until a crust is formed on both sides.
Video
Notes
- Arepa Flour/Masarepa: Read the Arepa Flour section for more guidance on finding the right product.
- Water: Warm water will make the dough more pliable and less likely to crack
- Shredded Cheese: For an accessible option, you can use mozzarella cheese. Traditional choices are queso campesino or queso costeño.
- Butter: Softened. This is used in the dough as well as for cooking on the griddle.
- If you find that your arepas are cracking when you try to cook them, keep a bowl of water nearby, dip your fingers in it, and use that tiny bit of water to smooth out any cracks in the dough.
- Some chefs like to place the water into the bowl first and then add the flour slowly to prevent any lumps of flour. I’ve also seen chefs add water to the flour so that they are careful not to add too much water. If you run into any issues, try doing it the other way the next time.
- Venezuelan-style arepas are often stuffed with toppings, rather than topped. You can stuff your dough balls with your favorite ingredients or favorite meat before cooking to try this way.













Danielle says
Hi I’m from Cali Colombia and I find it interesting how you made these. These look yummy but doesn’t really look like the ones my family make on the weekend. I suggest trying to use white corn meal and hot water. The hot water makes the mix a lot softer. Cook them with less than a tablespoon of butter to have some color for each side. Can you try them out this way please??
Desiree says
Is it okay to prep them and then put them away until you’re ready to start making them again?
The Foreign Fork says
Yes that should work totally fine! 🙂
Doris says
When using an electric griddle, is there a particular temperature to cook at? Mine are coming out dense and undercooked in the centre, so im thinking I need a higher temperature
The Foreign Fork says
Hi Doris! The arepas do tend to be dense. However, it shouldn’t be undercooked in the middle. If your arepas are crispy on the outside but undercooked on the inside, you are likely cooking them at too high of a temperature. I would recommend lowering the temperature a bit. That should help 🙂
Brett E Singleton says
So easy and so good! Fried in lard for extra flavor! Made 6 instead of 8 from the 2 cups. Slightly thicker and cooked at slightly lower temp and longer – flipping several times gave me the perfect results. Ate 3 – 1 with cheese & fried egg, 1 with cheese and 1 with fresh tuna salad w/pineapple. OMG – will make these over and over and over!
The Foreign Fork says
Hurray Brett, I am so glad that you liked them!!! The fried egg one sounds AMAZING
Neha says
I love the sound of these! Video is super helpful, I have a lot of corn meal to be put to good use, found this recipe in time. 😉
The Foreign Fork says
Hurray, I’m glad you found the video helpful! I can’t wait to hear how they turn out 🙂
Angela says
I haven’t had an arepa but these look amazing. Can’t wait to try them!
The Foreign Fork says
Now is a great time!!! You’re going to love them 🙂
safira says
I have never made Arepas and can’t wait to make them. Love that there are only 4 ingredients!
Jessica Formicola says
We’ve made these several times over the past couple months and they turn out perfectly every time! Thanks so much for sharing the recipe!
The Foreign Fork says
Hurray, I’m so glad that you love them! They are a favorite in our house too.
Jill says
I’ve not tried arepas before but now I definitely want to. Your photos are making me drool.
The Foreign Fork says
Thank you so much Jill! Definitely try them out 🙂
Carol Torro says
They look great.
Alexandria Drzazgowski says
Thank you Carol!!