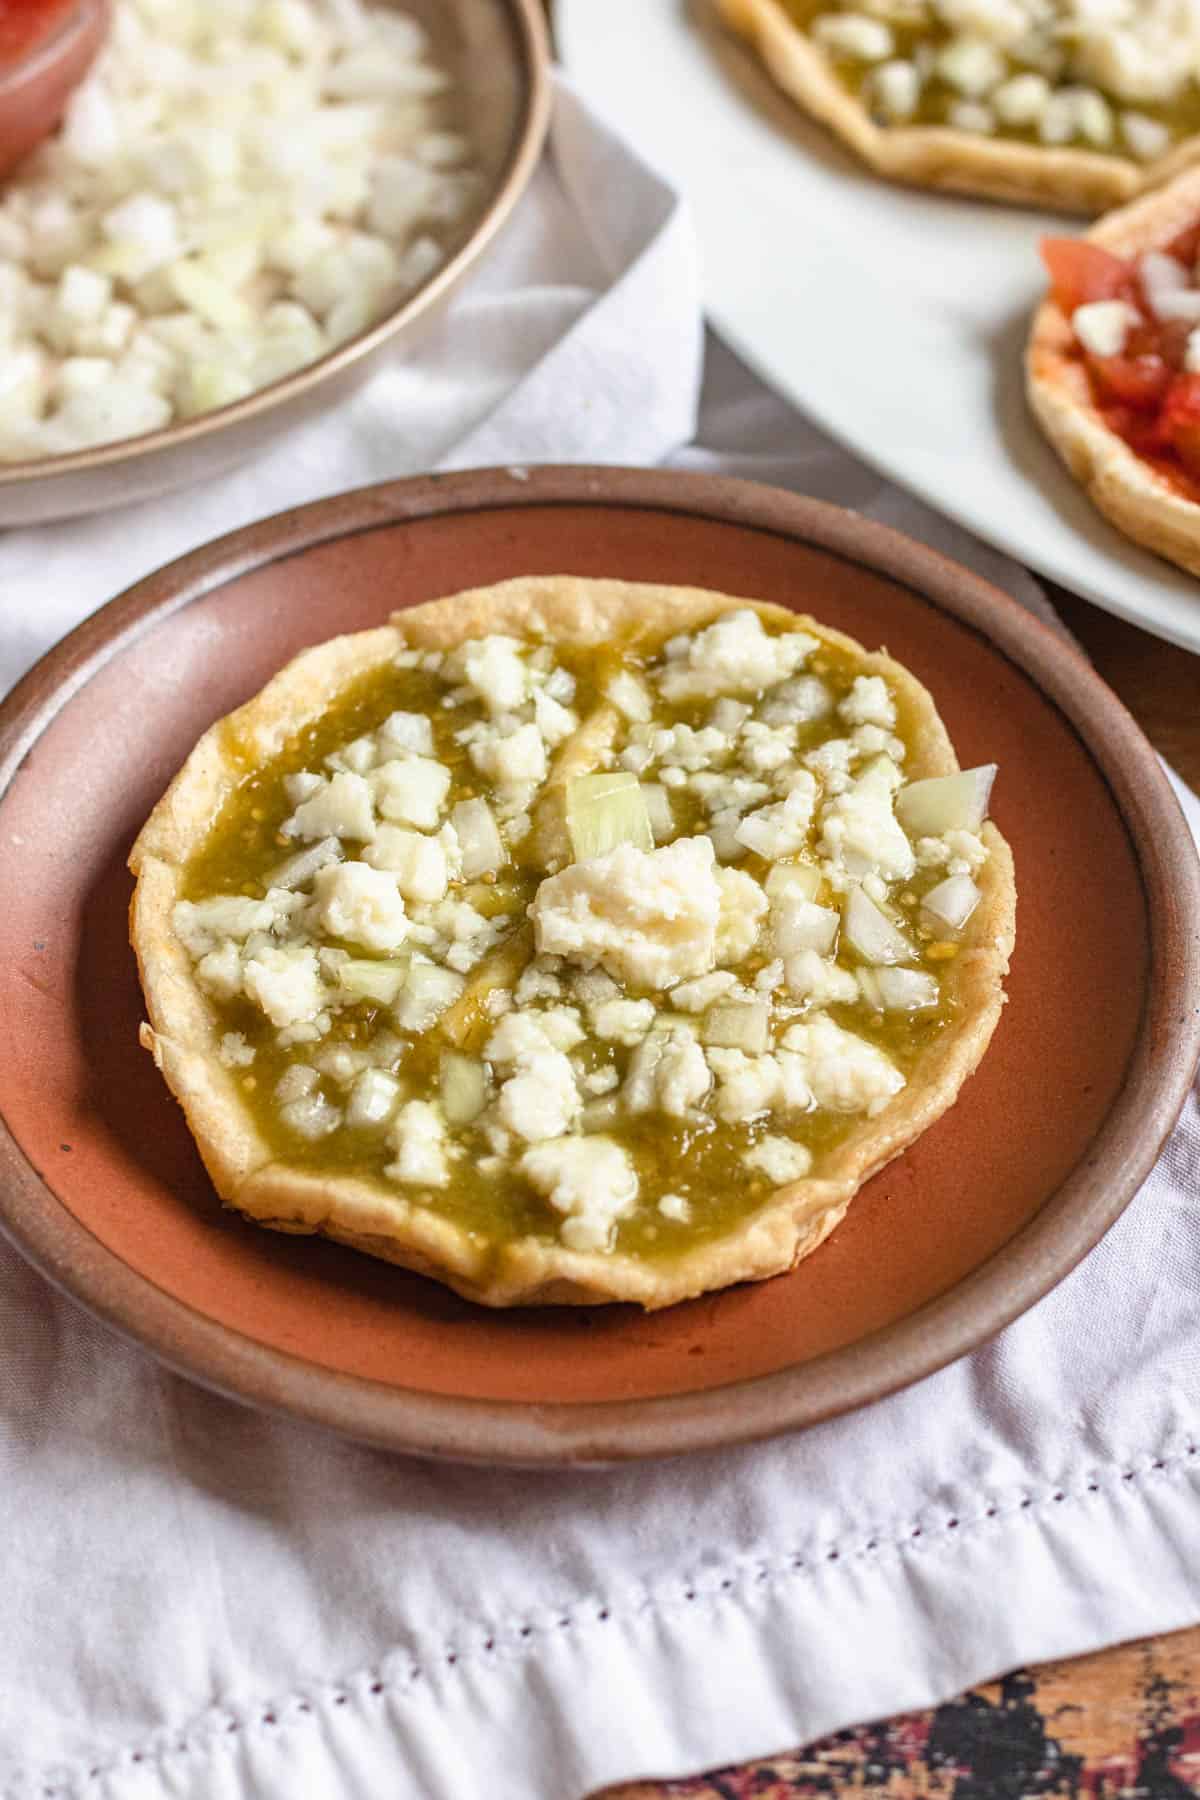
Picaditas is a savory corn cake originating in Mexico that is topped with salsa and cheese. They are perfect for a quick snack that will make you feel full and satisfied!
Hello Reader! I try my hardest to research recipes as best as I can before posting to ensure I am representing each culture correctly. If this recipe is from your country and I have made a mistake or you have suggestions for how to make it more authentic, I would love to hear! Please leave a comment below letting me know what should be different, and I will rework the recipe. It is always my intention to pay homage and respect to each cultural dish that I cook. Thanks for reading!
Picaditas is a delicious Mexican snack made with simple ingredients and served warm for on-the-go enjoyment (just like Baleadas!).
It’s always great when you can create something bursting with flavor from just a few simple ingredients. With picaditas, you can do just that. All you need is some corn masa flour, salsa, and cheese for a snack that is warm, filling and so satisfying.
What makes this picaditas recipe even more appealing is how customizable they are. They can be topped with just a simple salsa or you can load it up with refried beans, cheese, sour cream, or more! Such a mildly flavored base, crimped along the edges, makes the perfect dish for just about any topping you desire.
Picaditas can be served as an appetizer, a snack, or even the main course of breakfast, lunch or dinner. If you are craving something warm and delicious that is easy to make, this traditional dish is a recipe you must try!
Recipe Origin
Picaditas come from Mexico, but the exact part of Mexico is difficult to nail down. They likely originated anciently when corn was used for just about every meal.
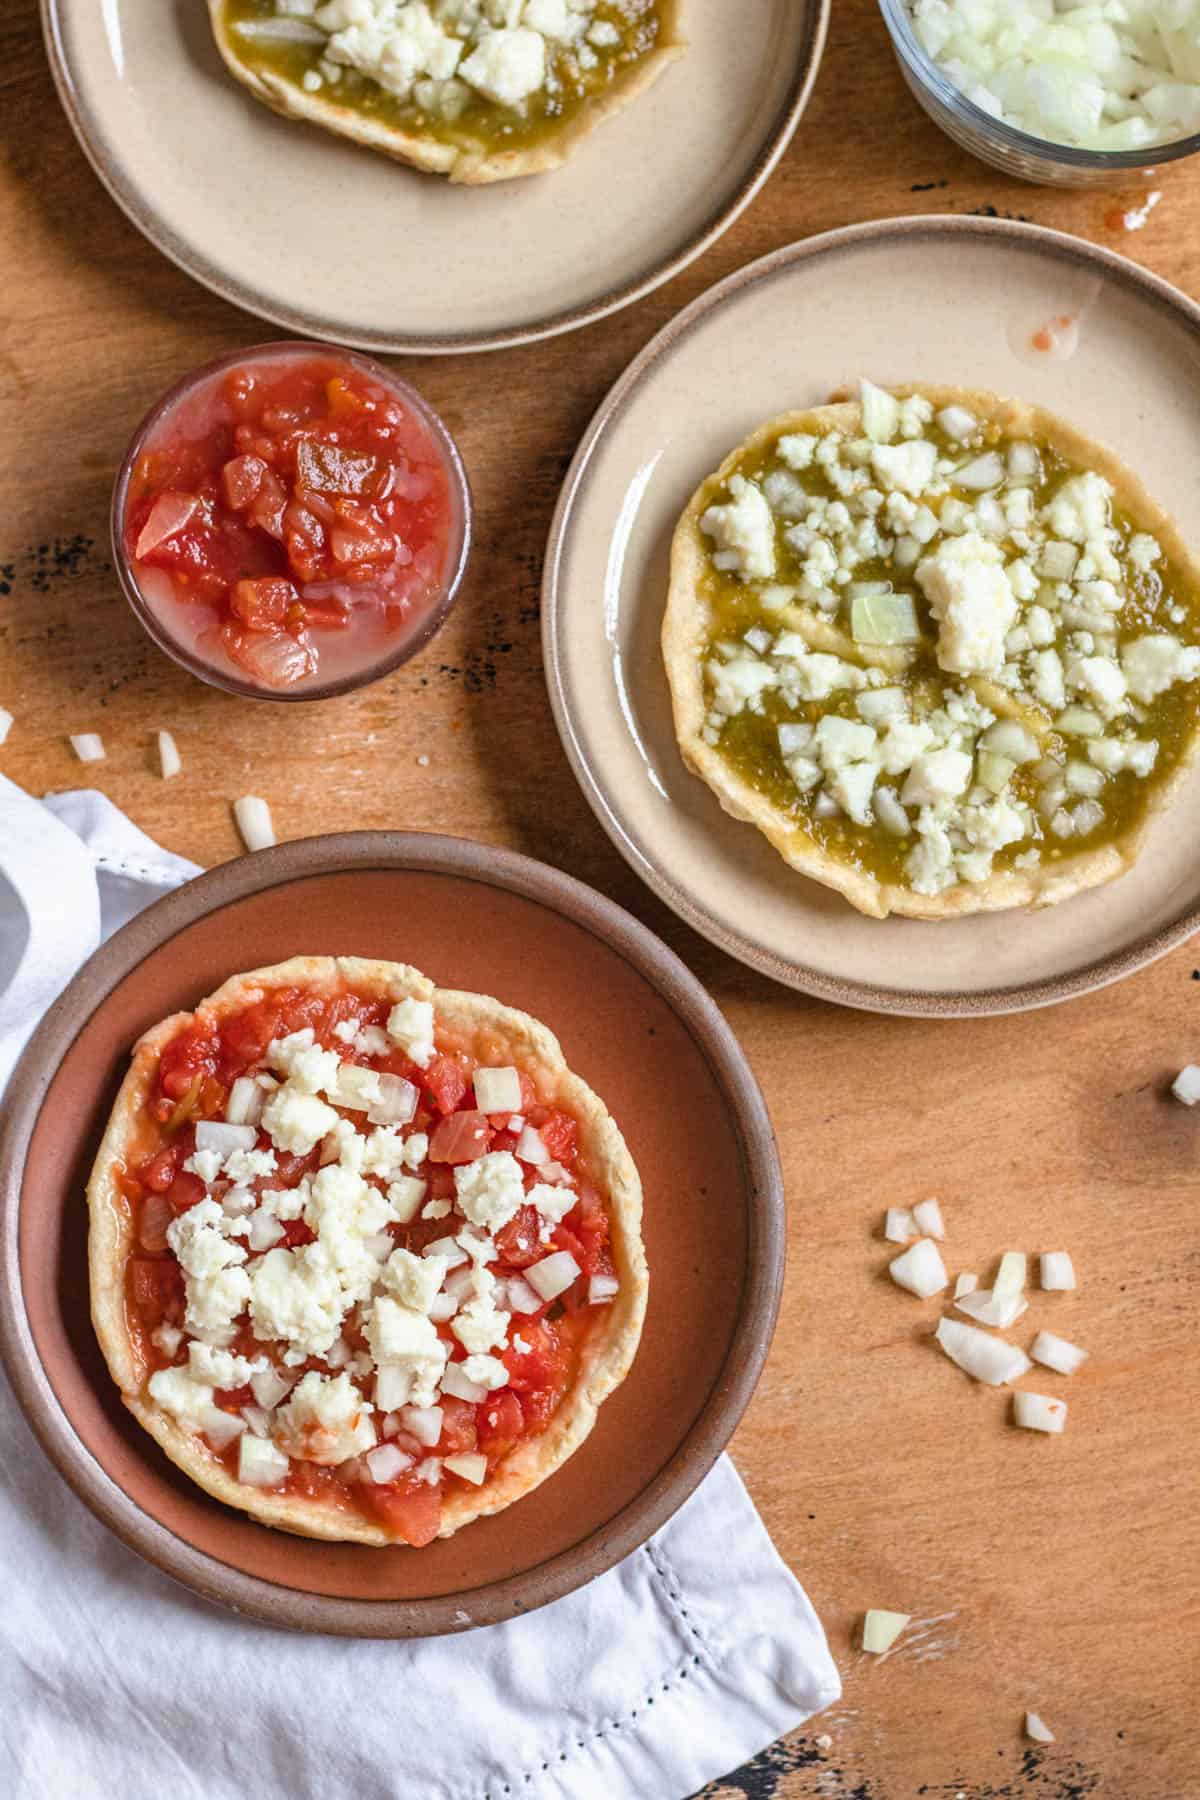
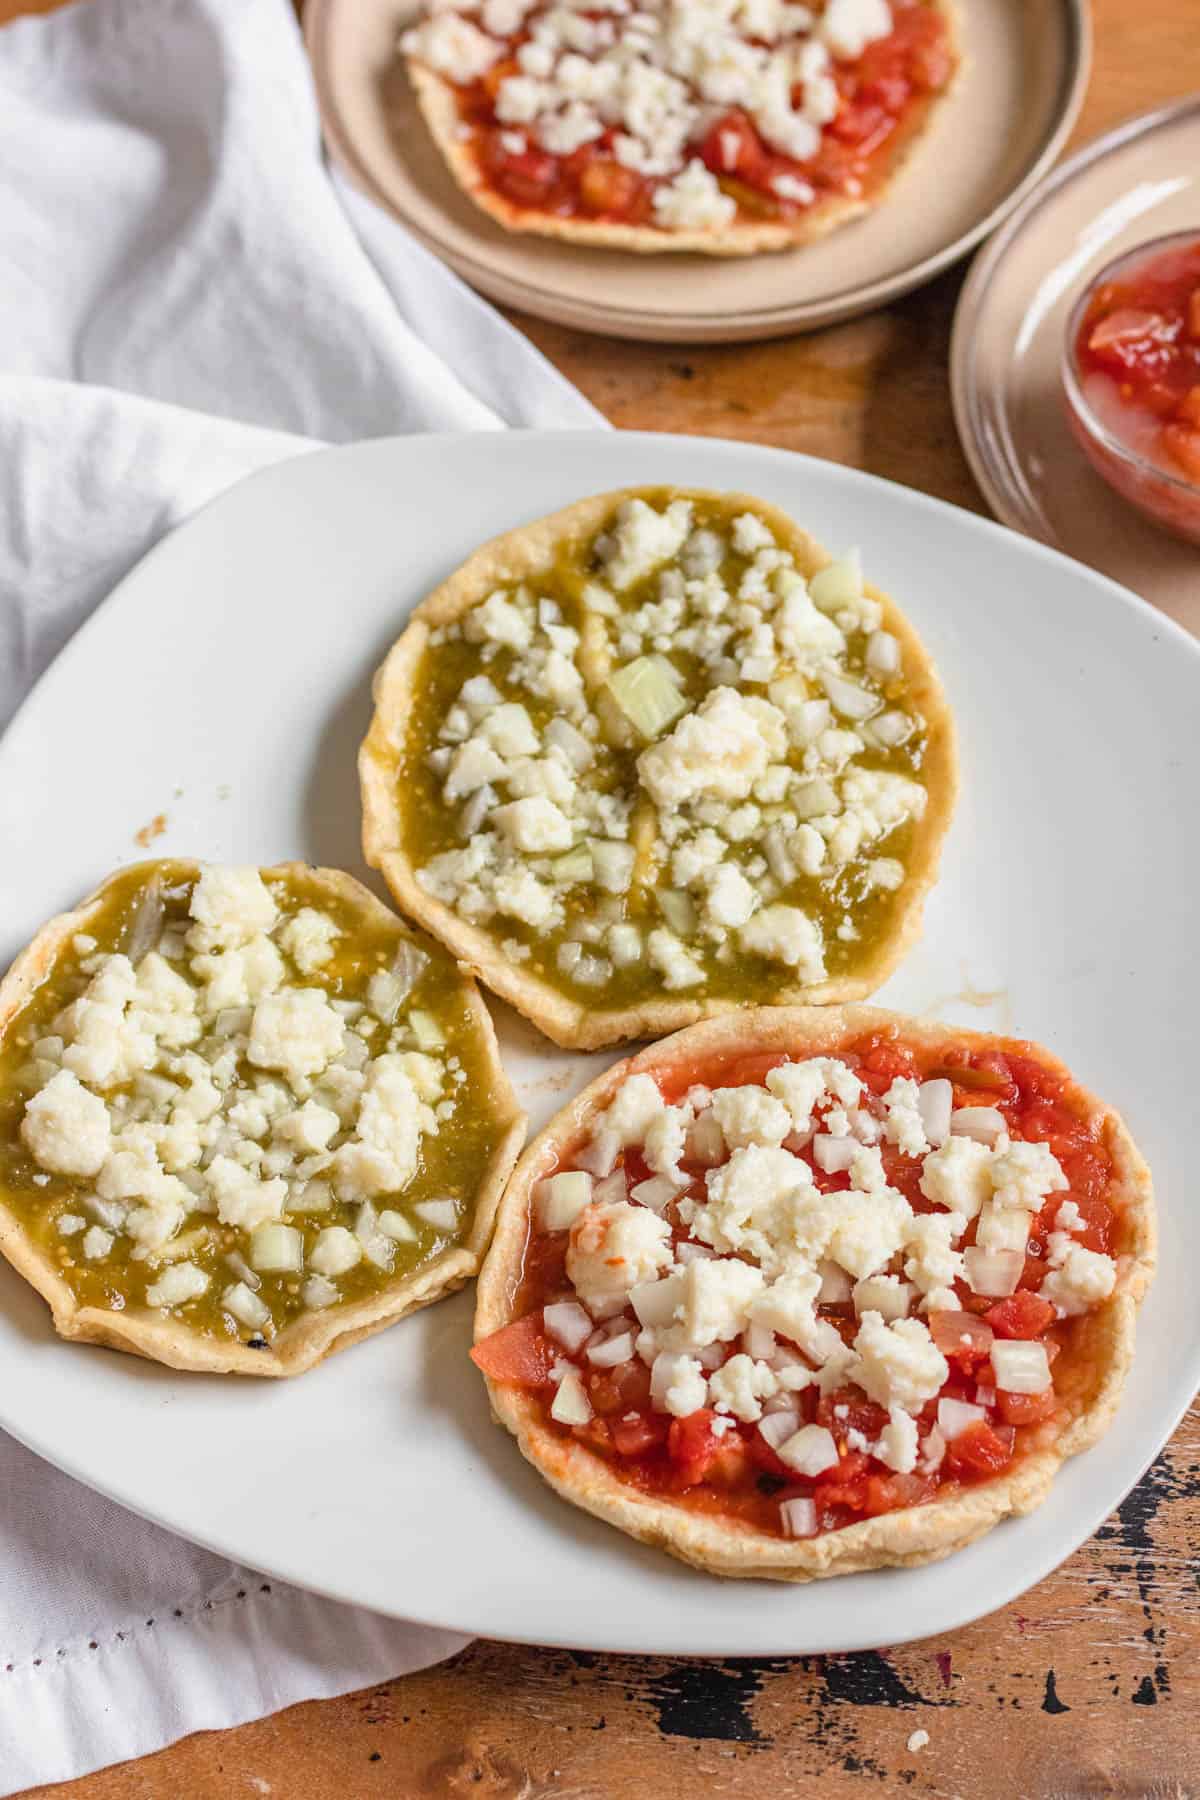
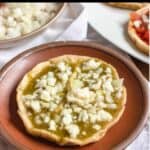
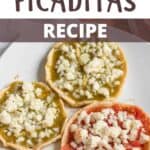
A simple corn cake forms the base of the dish, topped with green or red salsa.
The name picaditas comes from the word “picar” which means “pinched”. That’s because the edge of the picadita is pinched to better hold whatever toppings are added.
Over generations, picadita recipes have spread all over Mexico. Each region has their own variation, with toppings that are most popular in that area. The simple salsa and queso topping is most common in the state of Veracruz.
Picaditas are often considered an antojito which is a snack, or handheld food like a taco or empanada. They are often sold by street vendors, offering a quick hot snack to those on the go.
Picaditas vs Sopes
Picaditas are often confused with another Mexican antojito, a sope. The biggest difference between the two is in the preparation.
Both dishes are made with a masa base and both resemble thick corn tortillas.
Sopes are fried while picaditas are cooked on a griddle and topped with a bit of pork lard for added flavor.
Sopes are typically thicker than picaditas and picaditas have pinched edges. Picaditas is also made slightly larger than sopes.
The toppings for both dishes also vary. You can top either one with whatever you want, but traditionally picaditas are topped with a simple red or green salsa, onions and cheese while sopes may feature meat, beans, lettuce and sour cream.
While there are some differences, the names of these dishes are often used interchangeably, even by locals.
Why Make This Recipe
- Simple Ingredients: It doesn’t take much to put a picadita together, but it’s still a dish that is sure to leave you craving more.
- Filling Snack: This Picaditas Recipe is the perfect afternoon snack, served warm off the griddle and topped with just a hint of spice!
- Taste of Mexico: Picaditas are a Mexican antojito, just like an empanada or taco. If you’re looking for a new, simple way to get a taste of Mexico in your home, picaditas are a great option to try!
What Do I Need to Make This Recipe
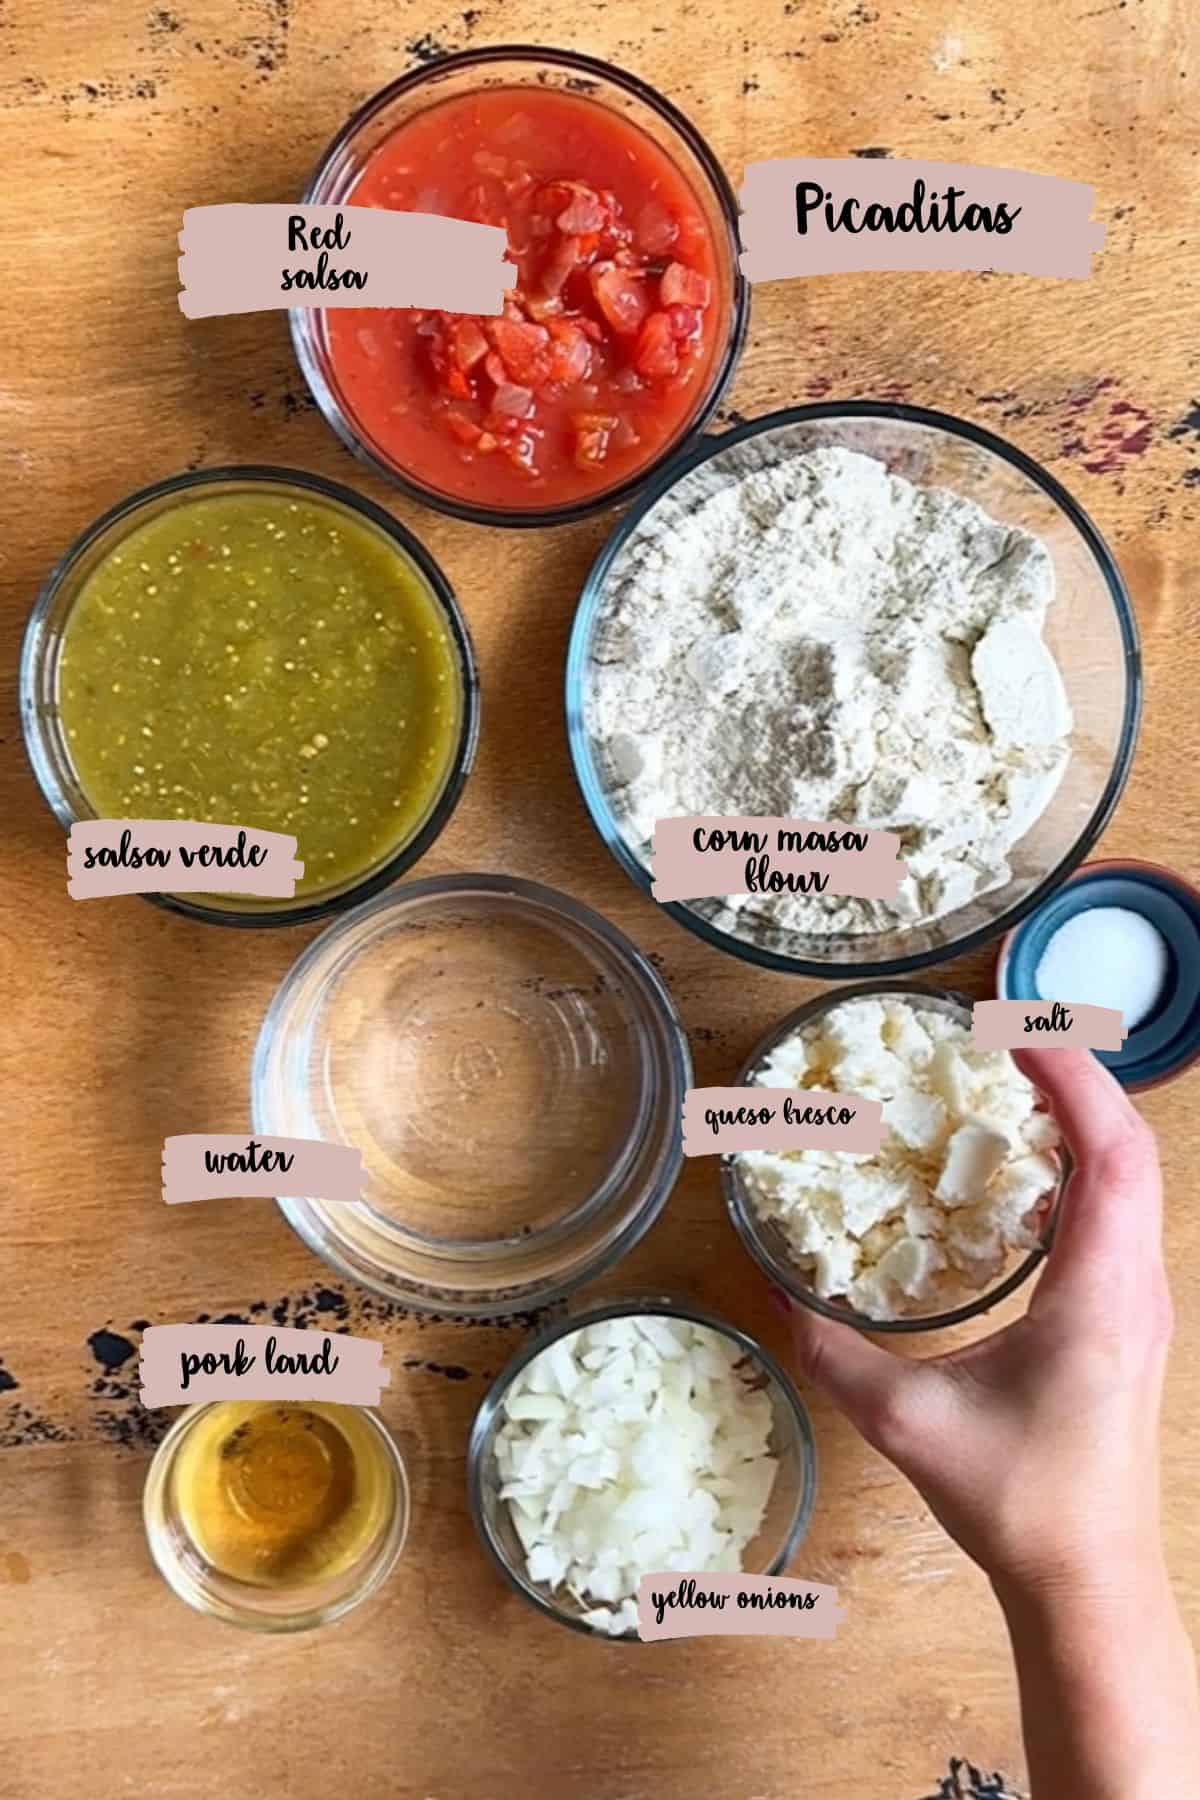
Here is a visual overview of the ingredients in the recipe. Scroll down to the recipe at the bottom for quantities.
Corn Tortilla Ingredients
- Corn Masa Flour: Masa flour is a staple in Mexican cuisine. Grab a bag for this recipe and use the rest for tortillas, empanadas, tamales, or pupusas. You can usually find masa flour (or masa harina) in the Hispanic section of the grocery store or you can order it online.
- Warm Water: This flour binds together very easily with just a bit of water
Topping Ingredients
- Pork Lard: You can find pork lard at a Mexican grocery store or butcher shop. You can also substitute bacon fat. I used pork belly and melted down the fat.
- Salsa Verde: You can make this from home or purchase some from the store.
- Red Salsa: You can make this fresh at home or use your favorite brand.
- Queso Fresco: You could substitute feta cheese if that is what you have on hand or even mozzarella. Queso Fresco is a good Mexican option, but the others will work in a pinch.
- Yellow Onion: You could substitute white onion or red onion. I would not use a sweet onion.
Tools
- Tortilla Press or Heavy Pan: For flattening your tortillas
- Griddle: You can also use a cast iron skillet.
How to Make This Recipe
Step One: Make Your Dough
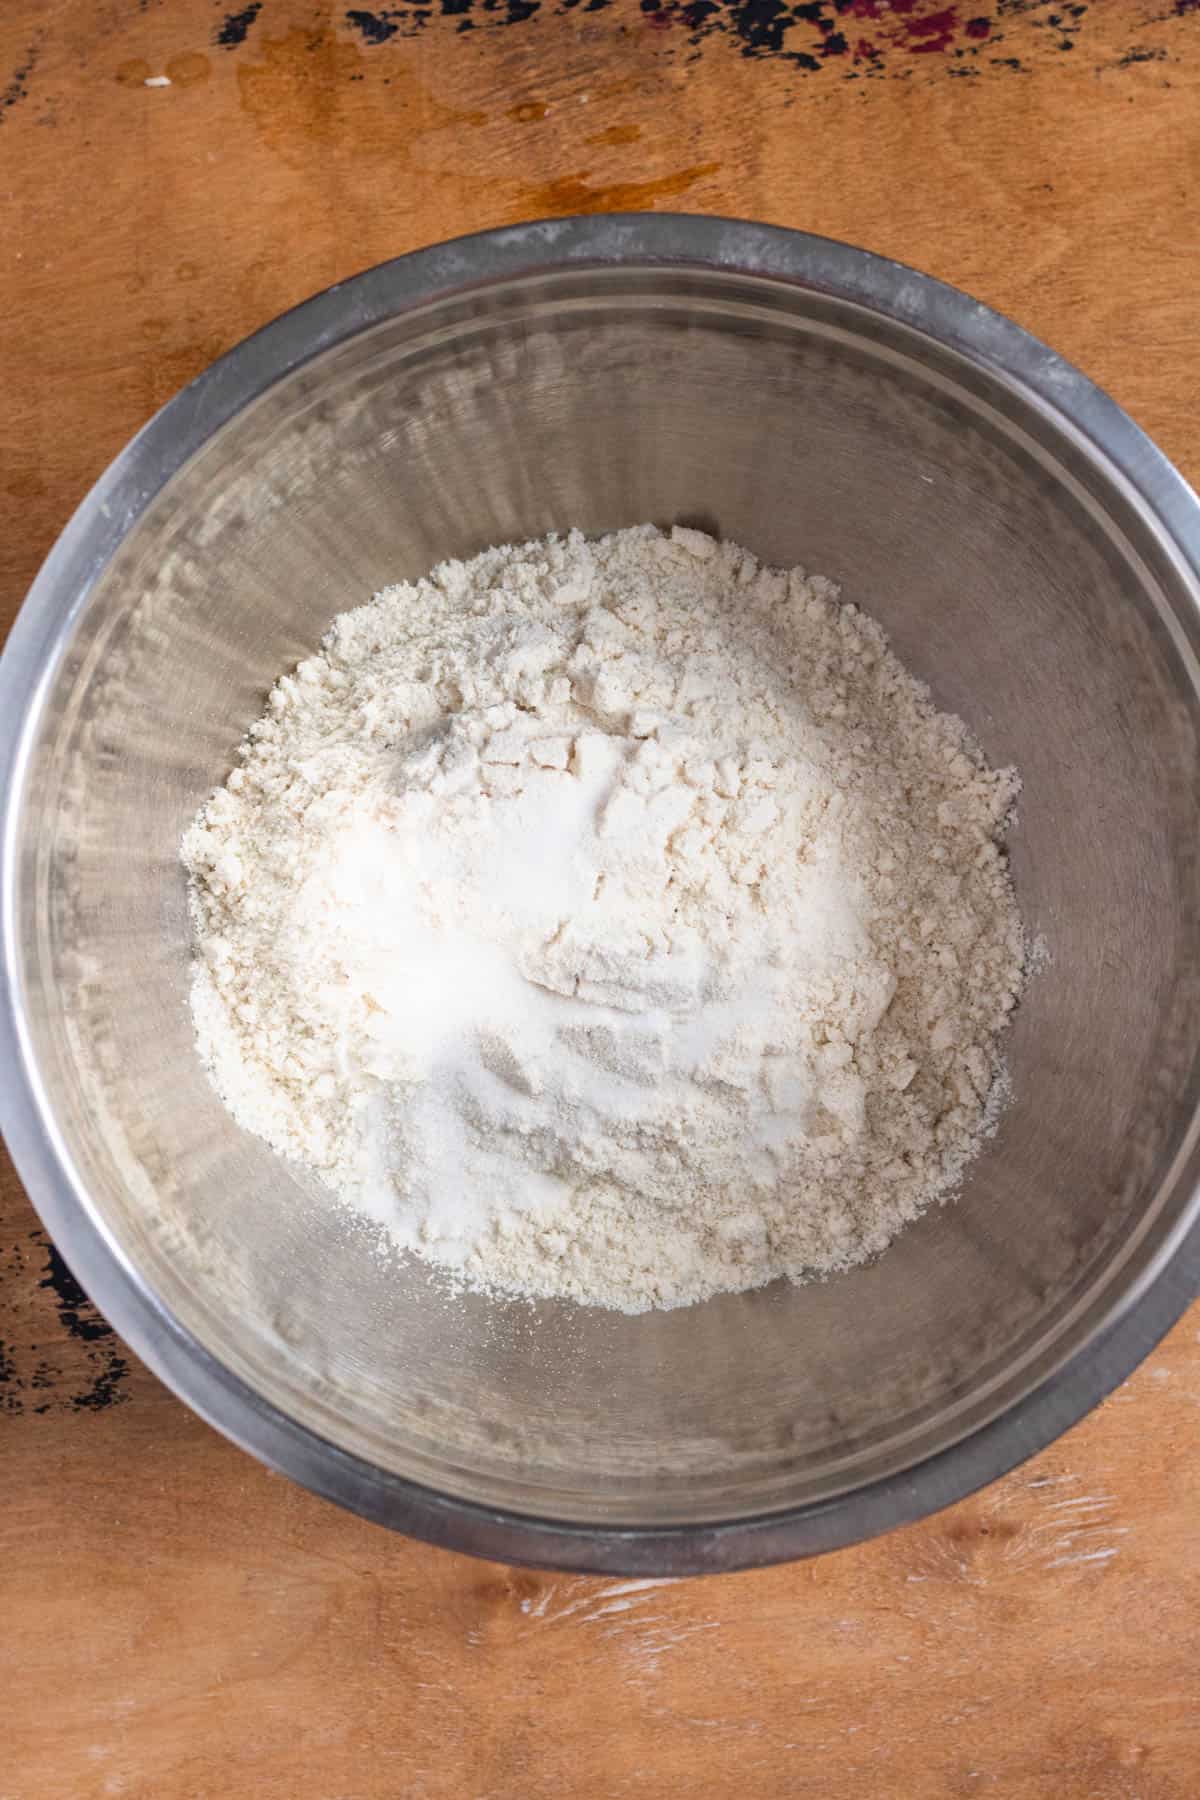
Mix the corn masa flour with the salt and whisk to combine. Then add the water to the flour.
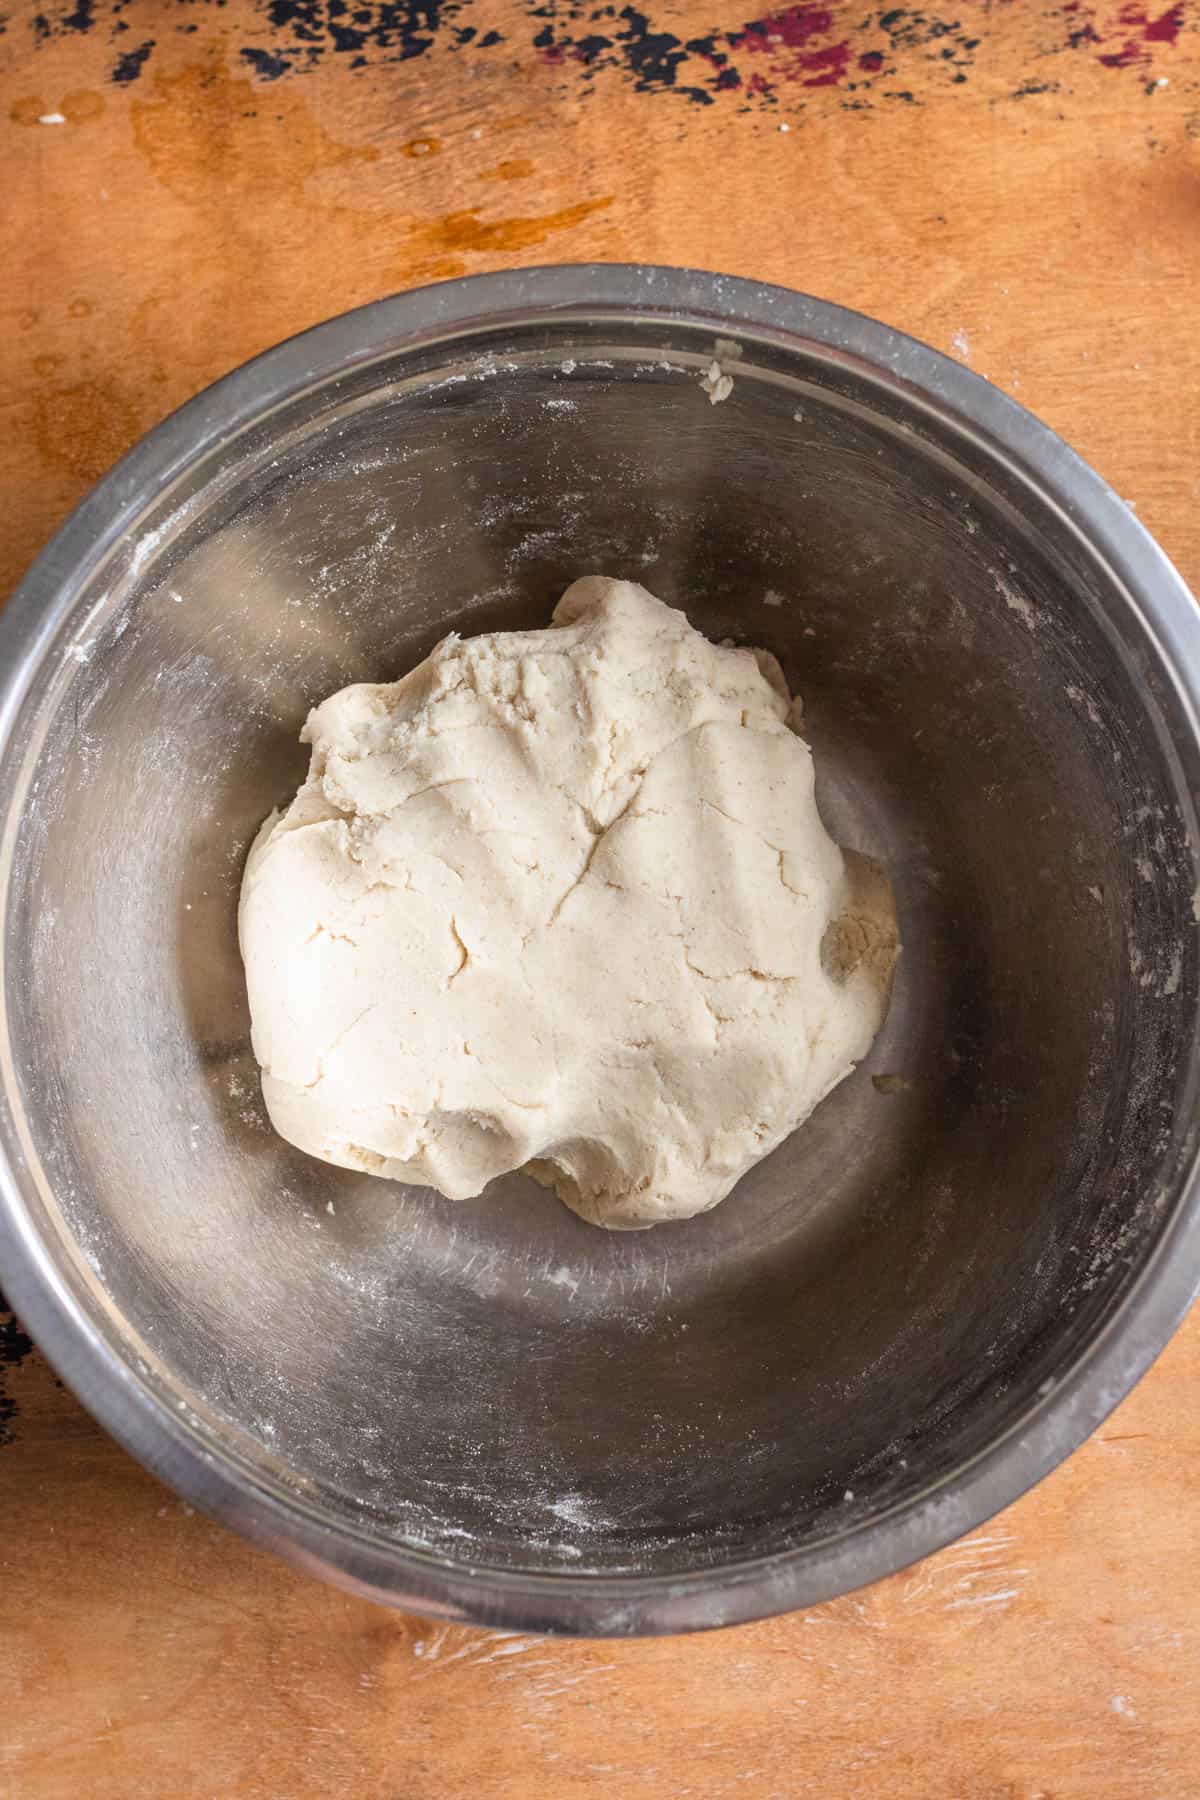
Using your hands, continue mixing the flour and water together until a dough forms. If the dough is dry, add water in 1 tablespoon measurements until the dough forms a playdoh-like consistency. If the dough is sticking to your hands, it is too wet. In that case, add a little bit more corn flour 1 tablespoon at a time (I had to add an extra 2 tbsp of masa flour).
Knead the dough in the bowl for about 2 minutes, then cover the dough with a damp kitchen towel and let it sit for 15-20 minutes to rest.
Step Two: Form Tortillas
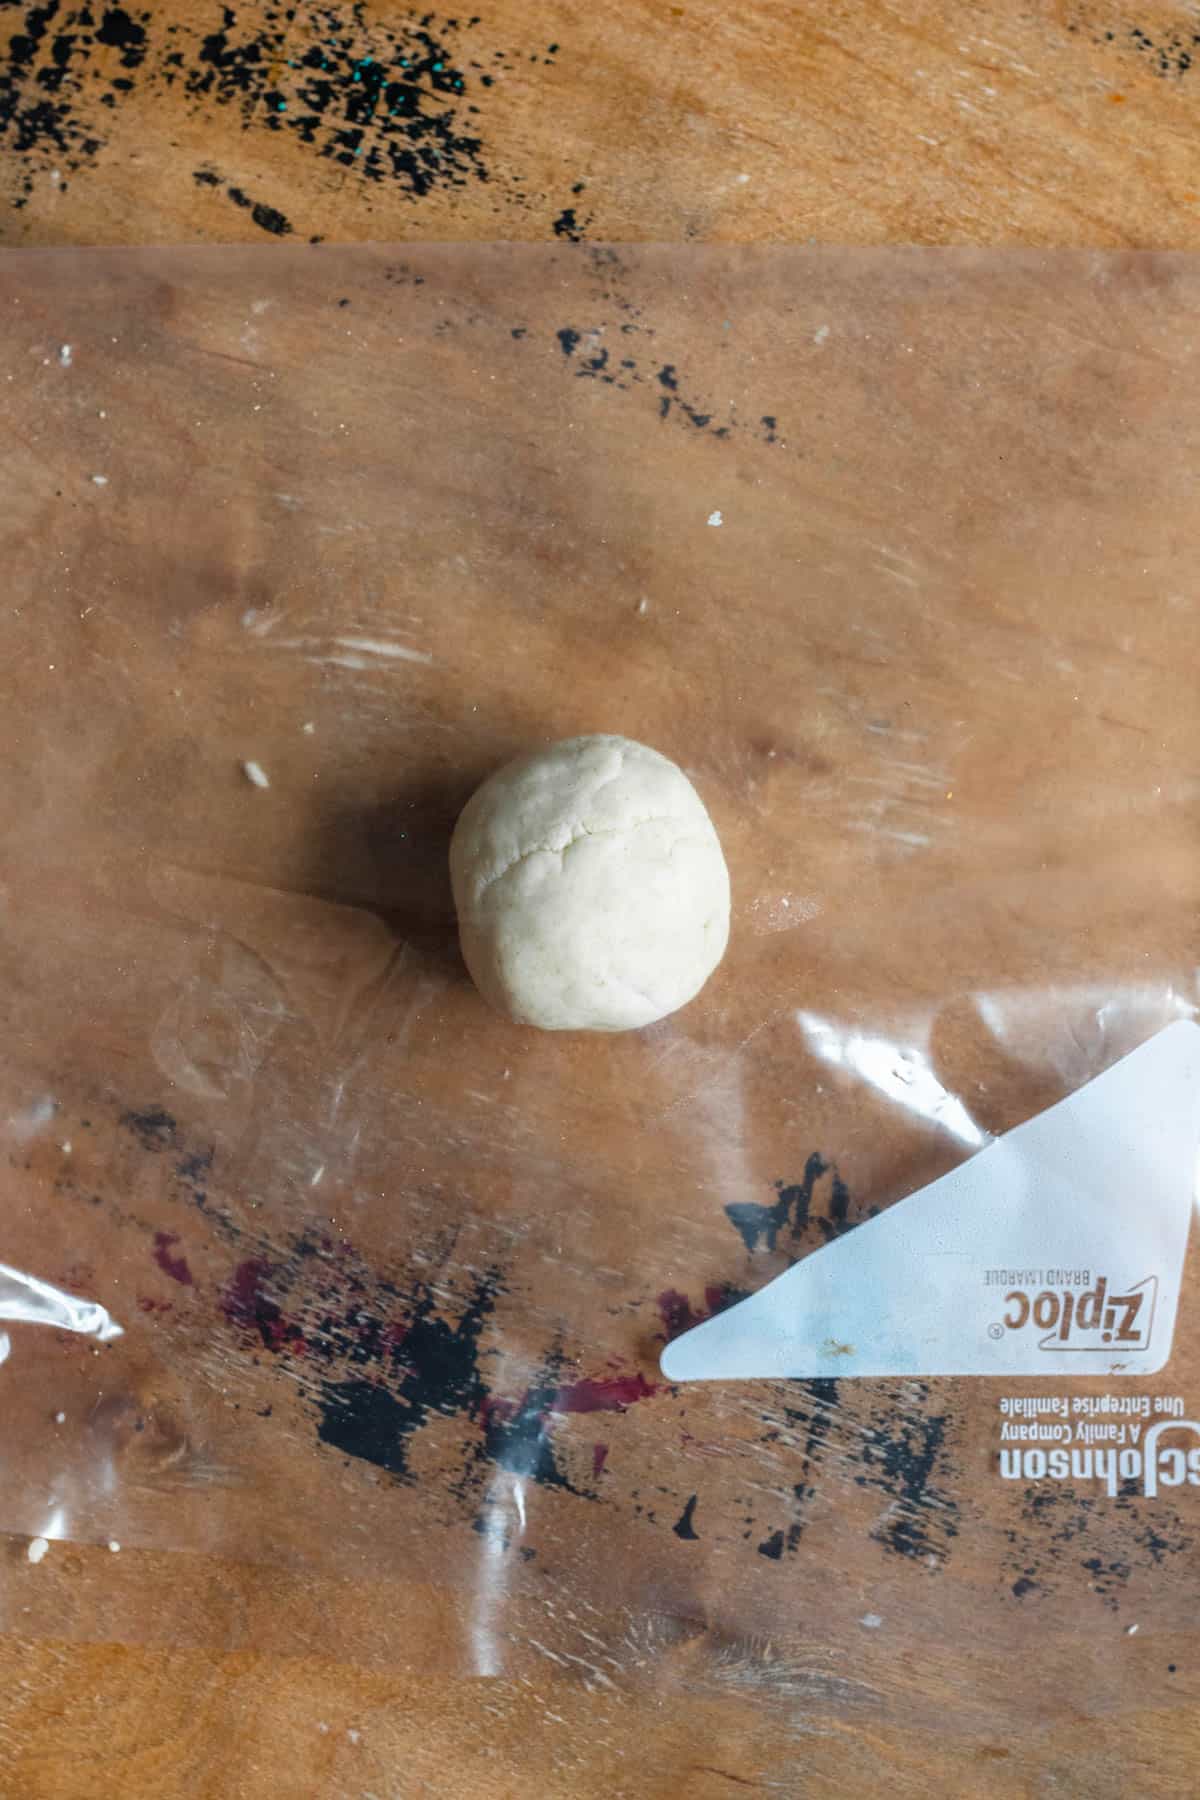
When the dough is done resting, portion the dough into 2-3 tbsp sized balls and continue forming the ball in your hands until it is smooth.
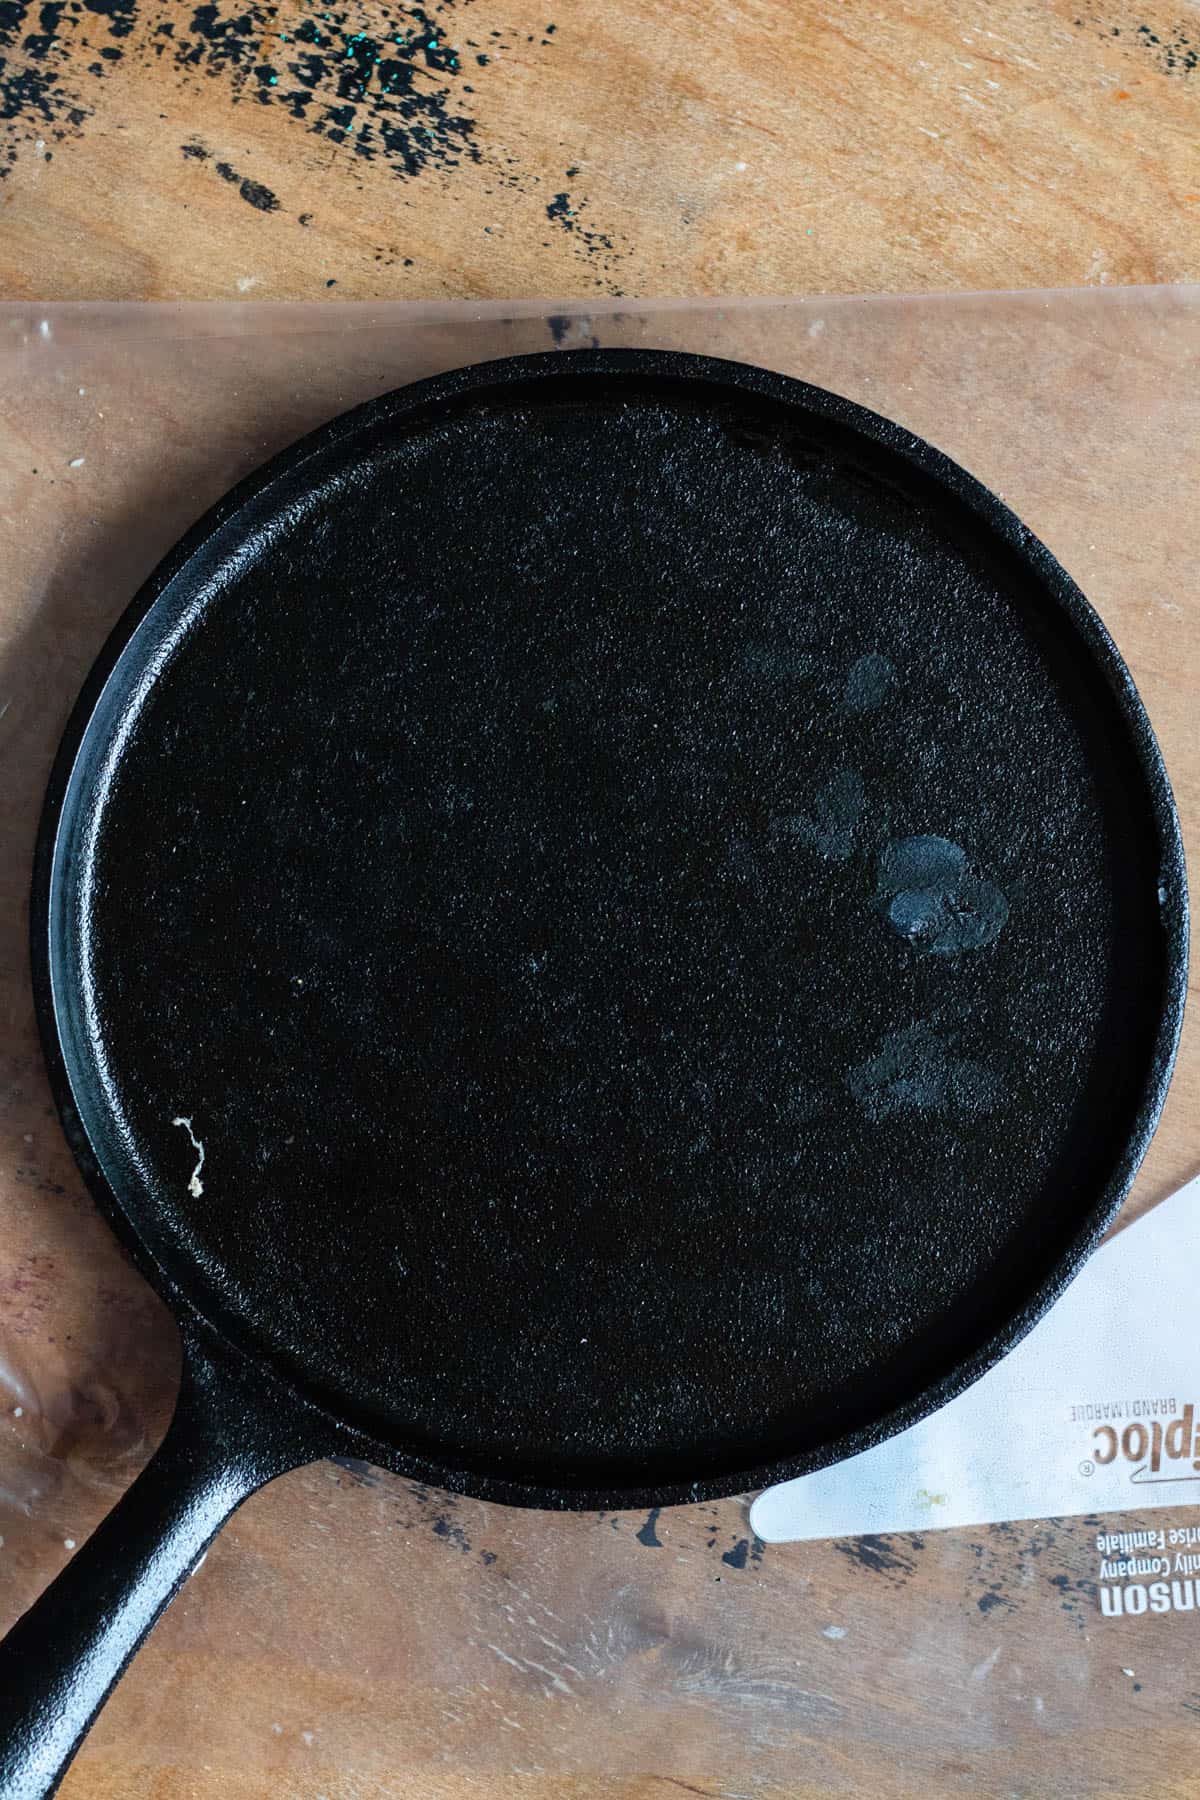
Using a tortilla press or a heavy-bottomed pan (like a cast iron), place a piece of plastic on the bottom of the tortilla press, or on the table (if using a cast iron). Place one of the masa balls on the plastic, then cover with the second sheet of plastic.
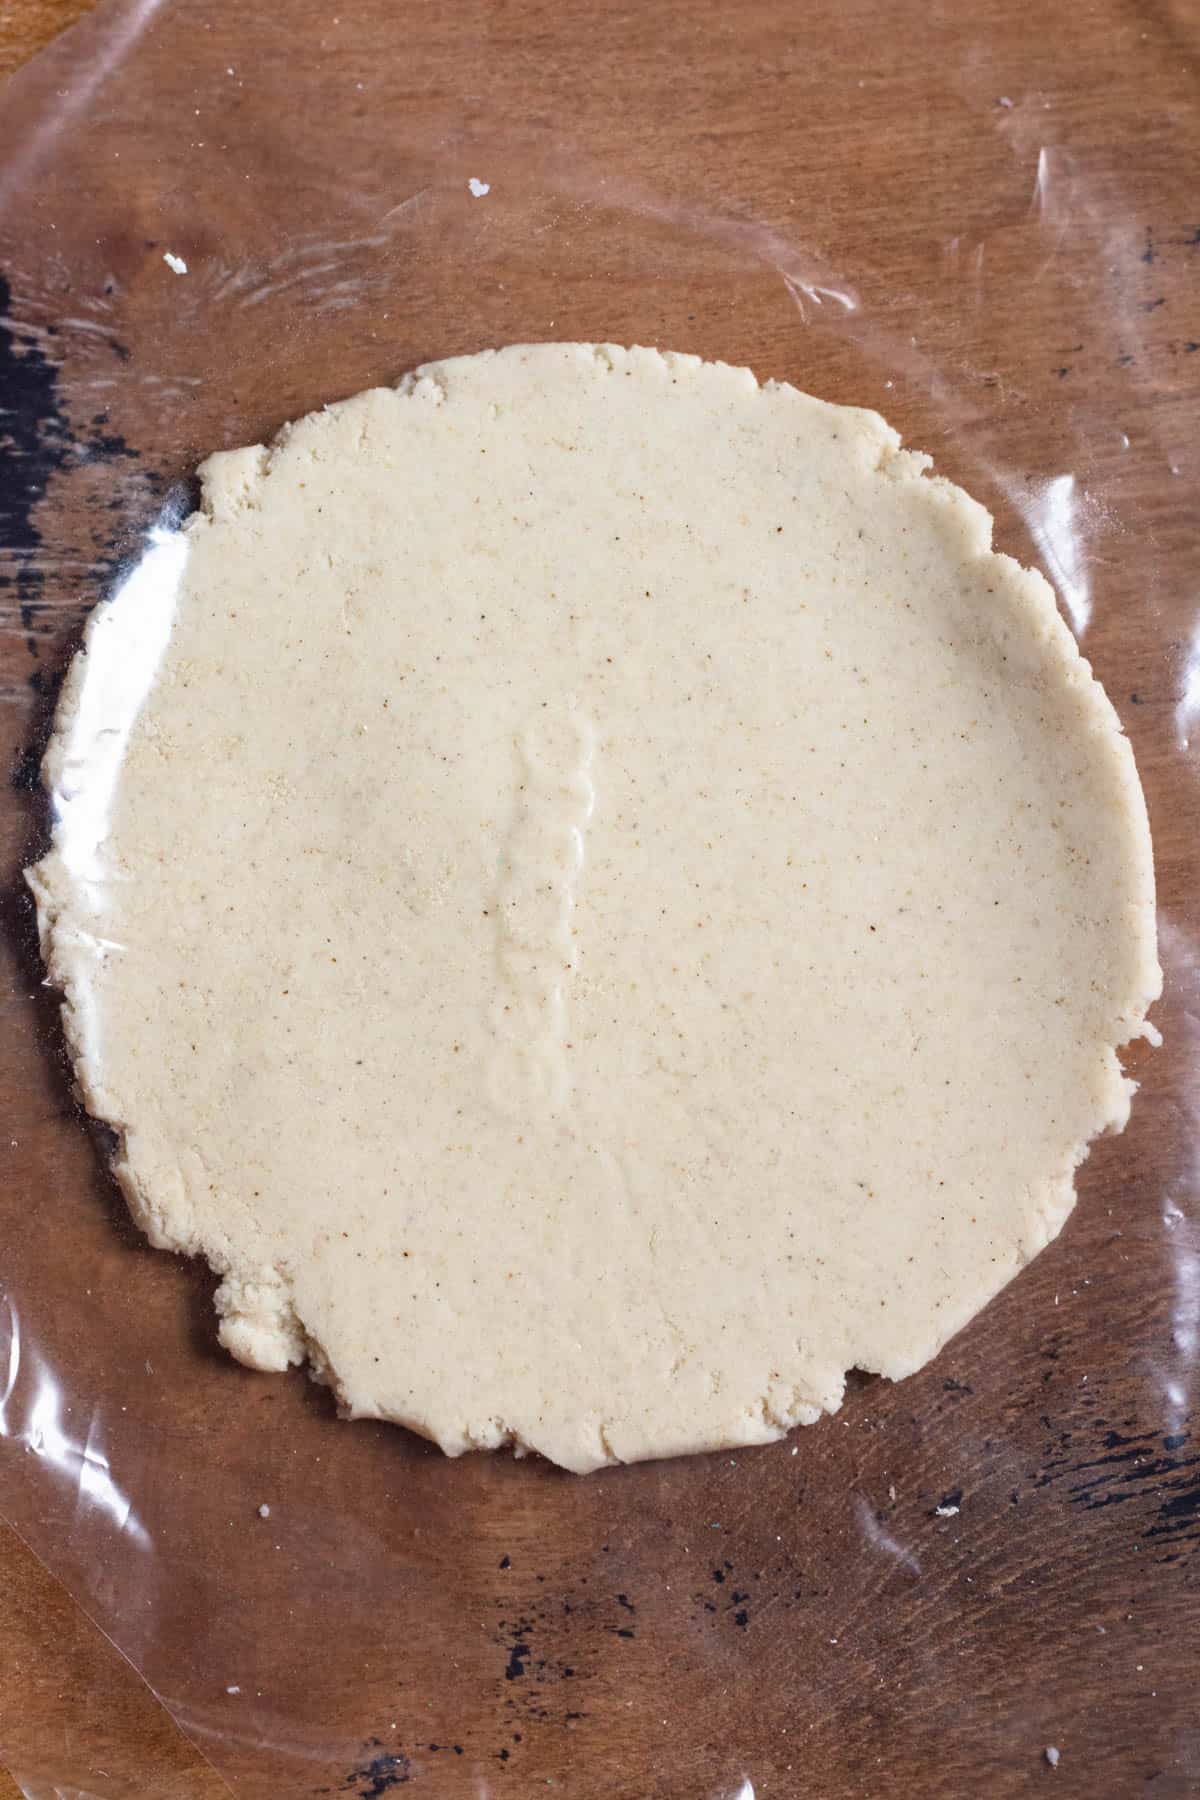
Press using your tortilla press or your cast iron until the masa ball is smooth and flat (and in the shape of a corn tortilla!).
Step Three: Cook the Tortillas
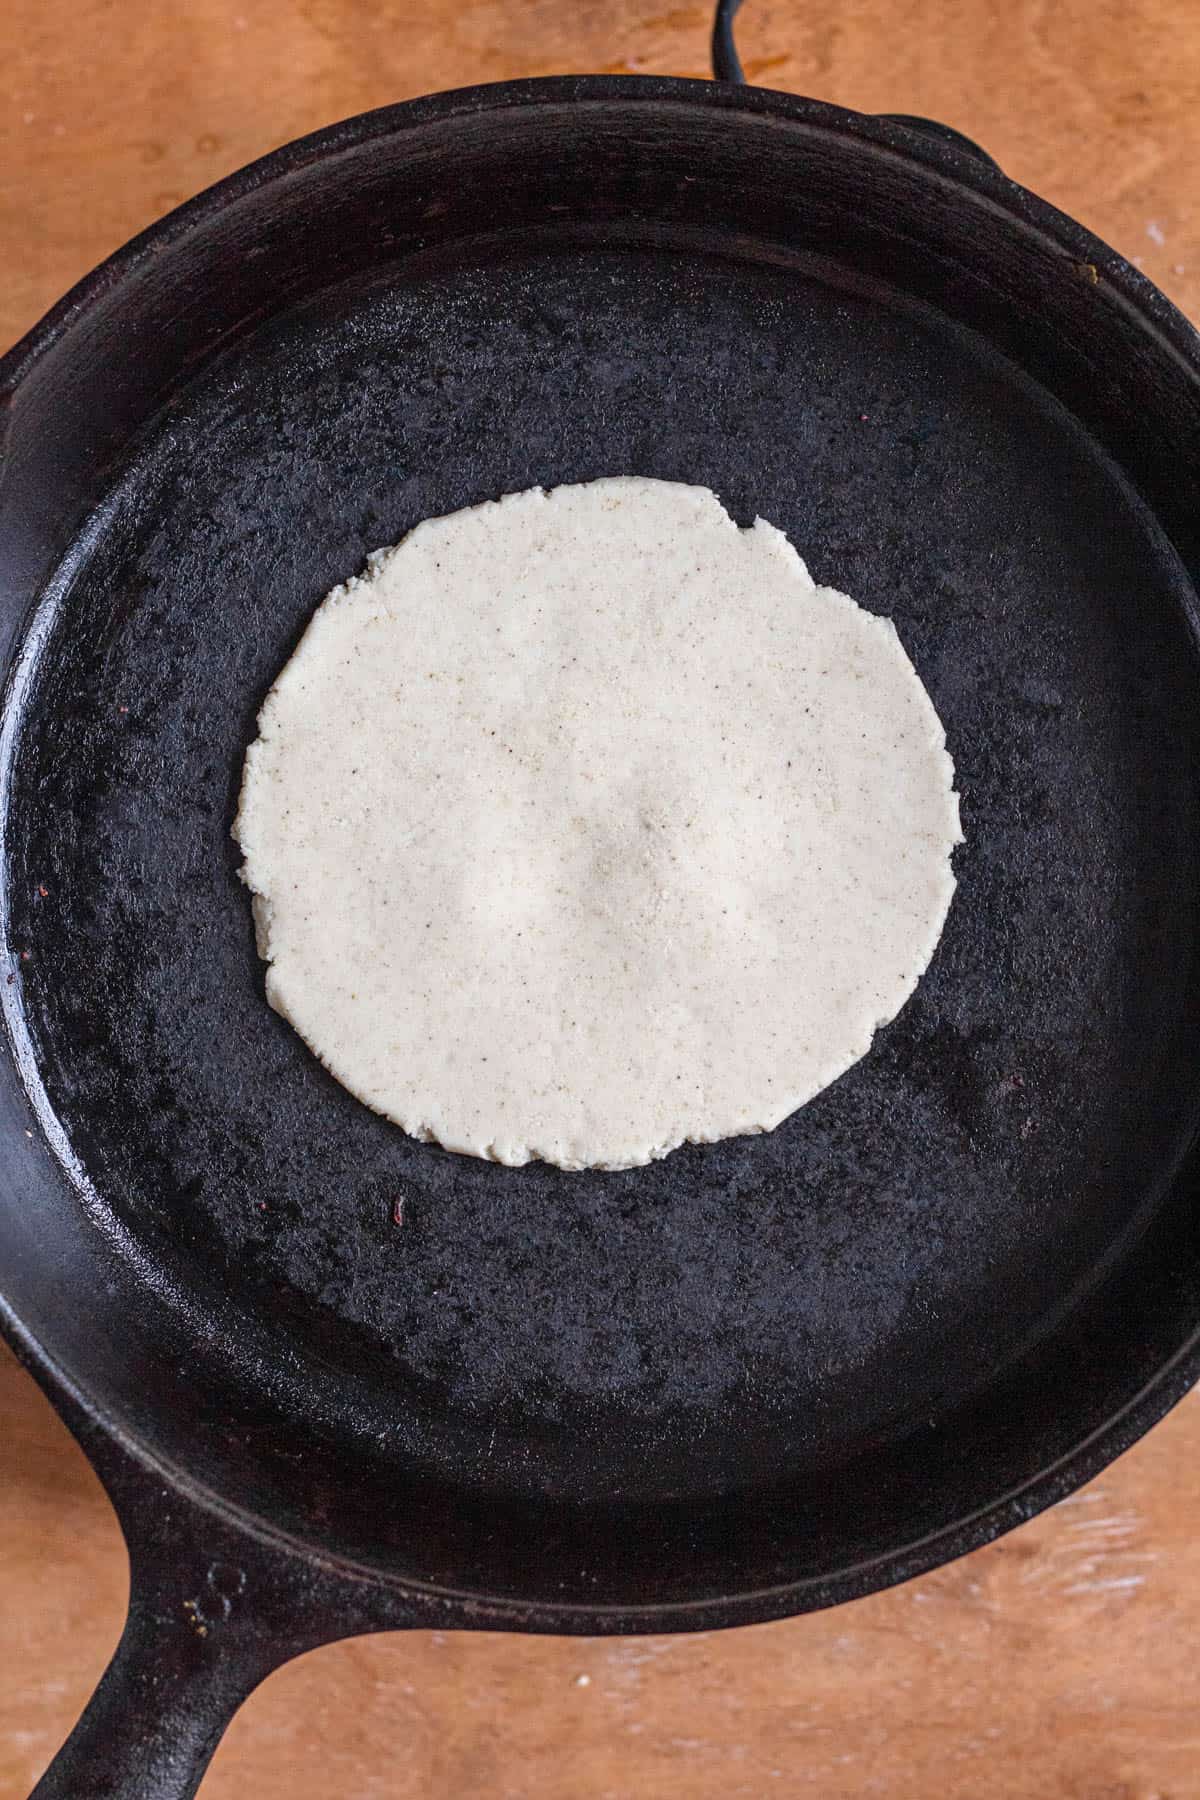
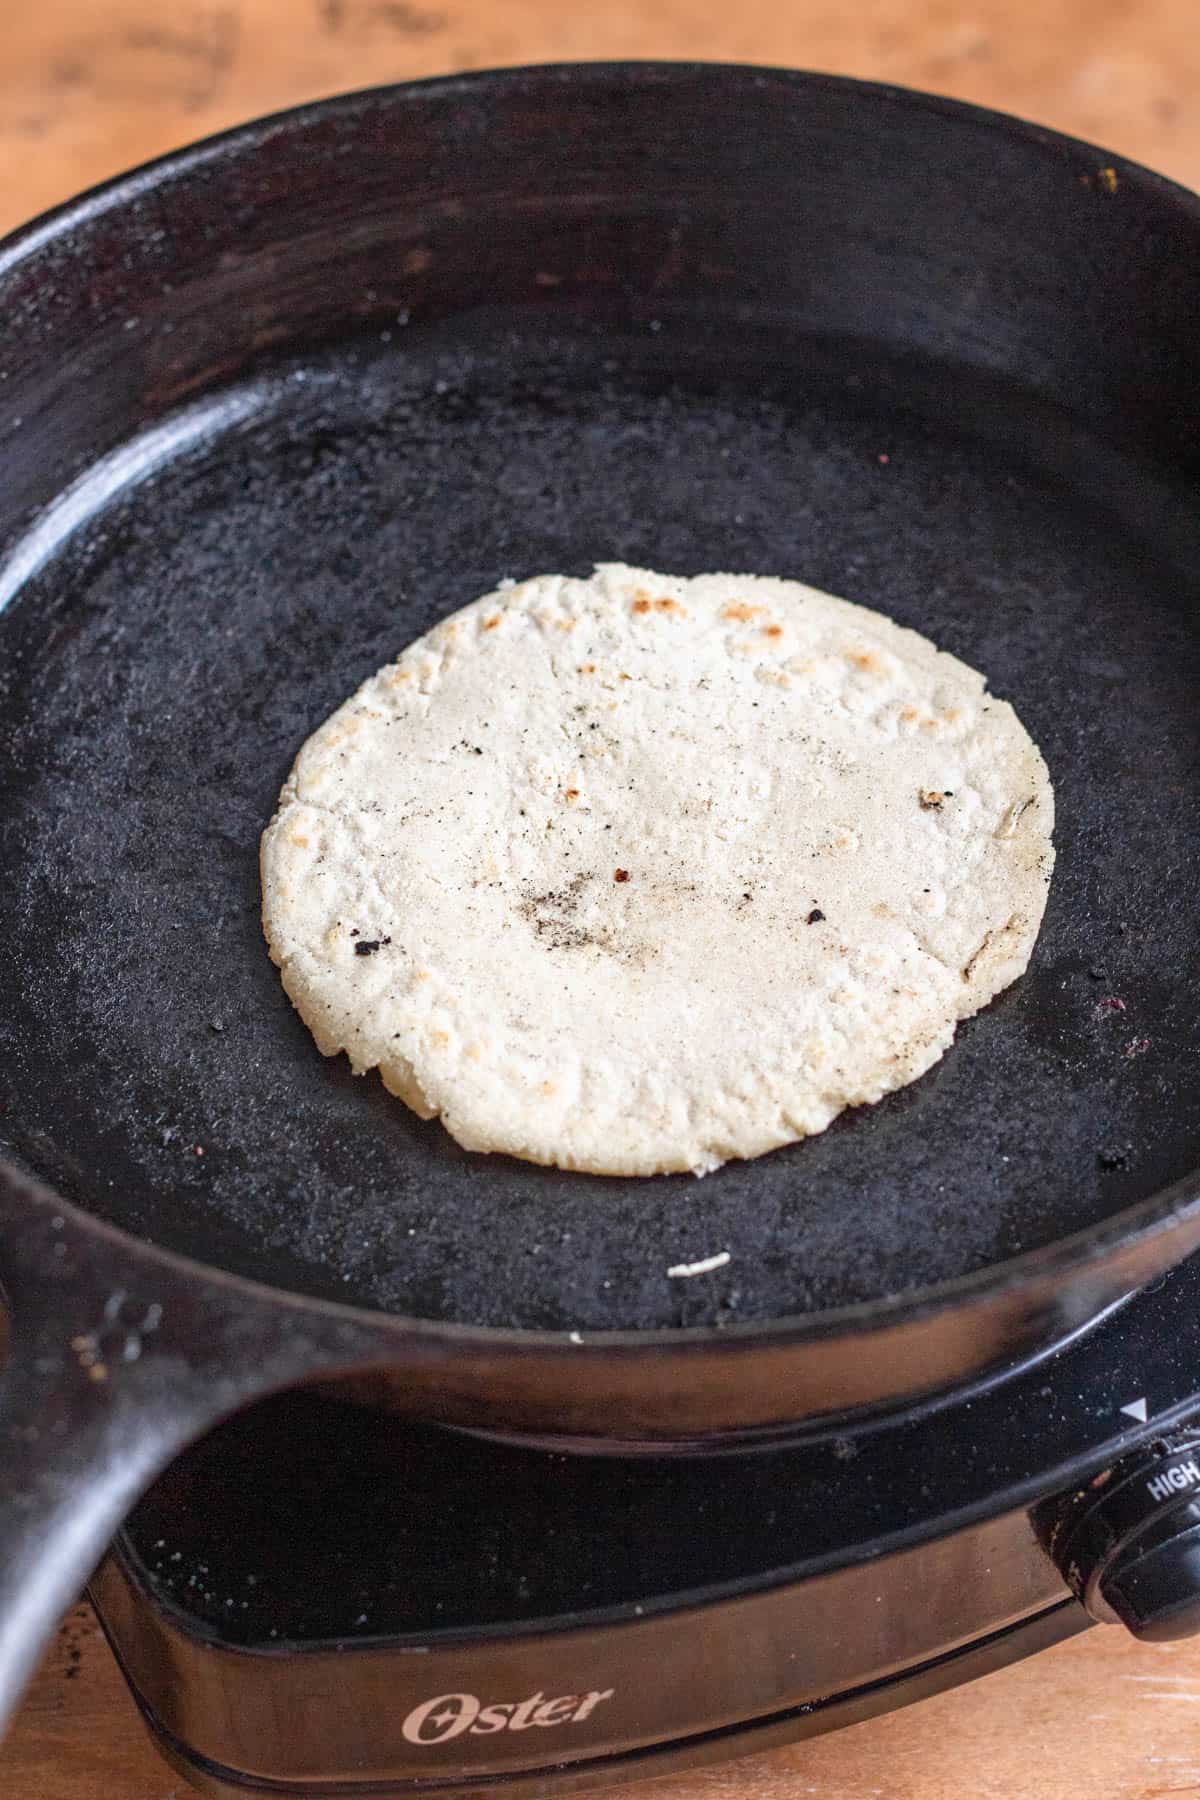
Heat a large hot griddle over medium-high heat. Add the uncooked corn tortillas into the pan and cook for about 30-40 seconds, then flip. Cook for 30-40 seconds again, until slight brown char marks start to form on each side. Flip and cook for a final 30-40 seconds.
On this last turn, your tortilla may also rise as you’re cooking it (that’s a good thing!).
When the tortilla is slightly beginning to brown, remove it from the heat. As quickly as you are able (but be careful because the tortilla will be hot!) use your fingers to pinch the edges of the tortilla until a little wall is raised around the entire circumference. Also use your fingers to pinch the interior to create some small pockets and barriers on the tortilla center (great for storing salsa!).
Step Four: Add Toppings
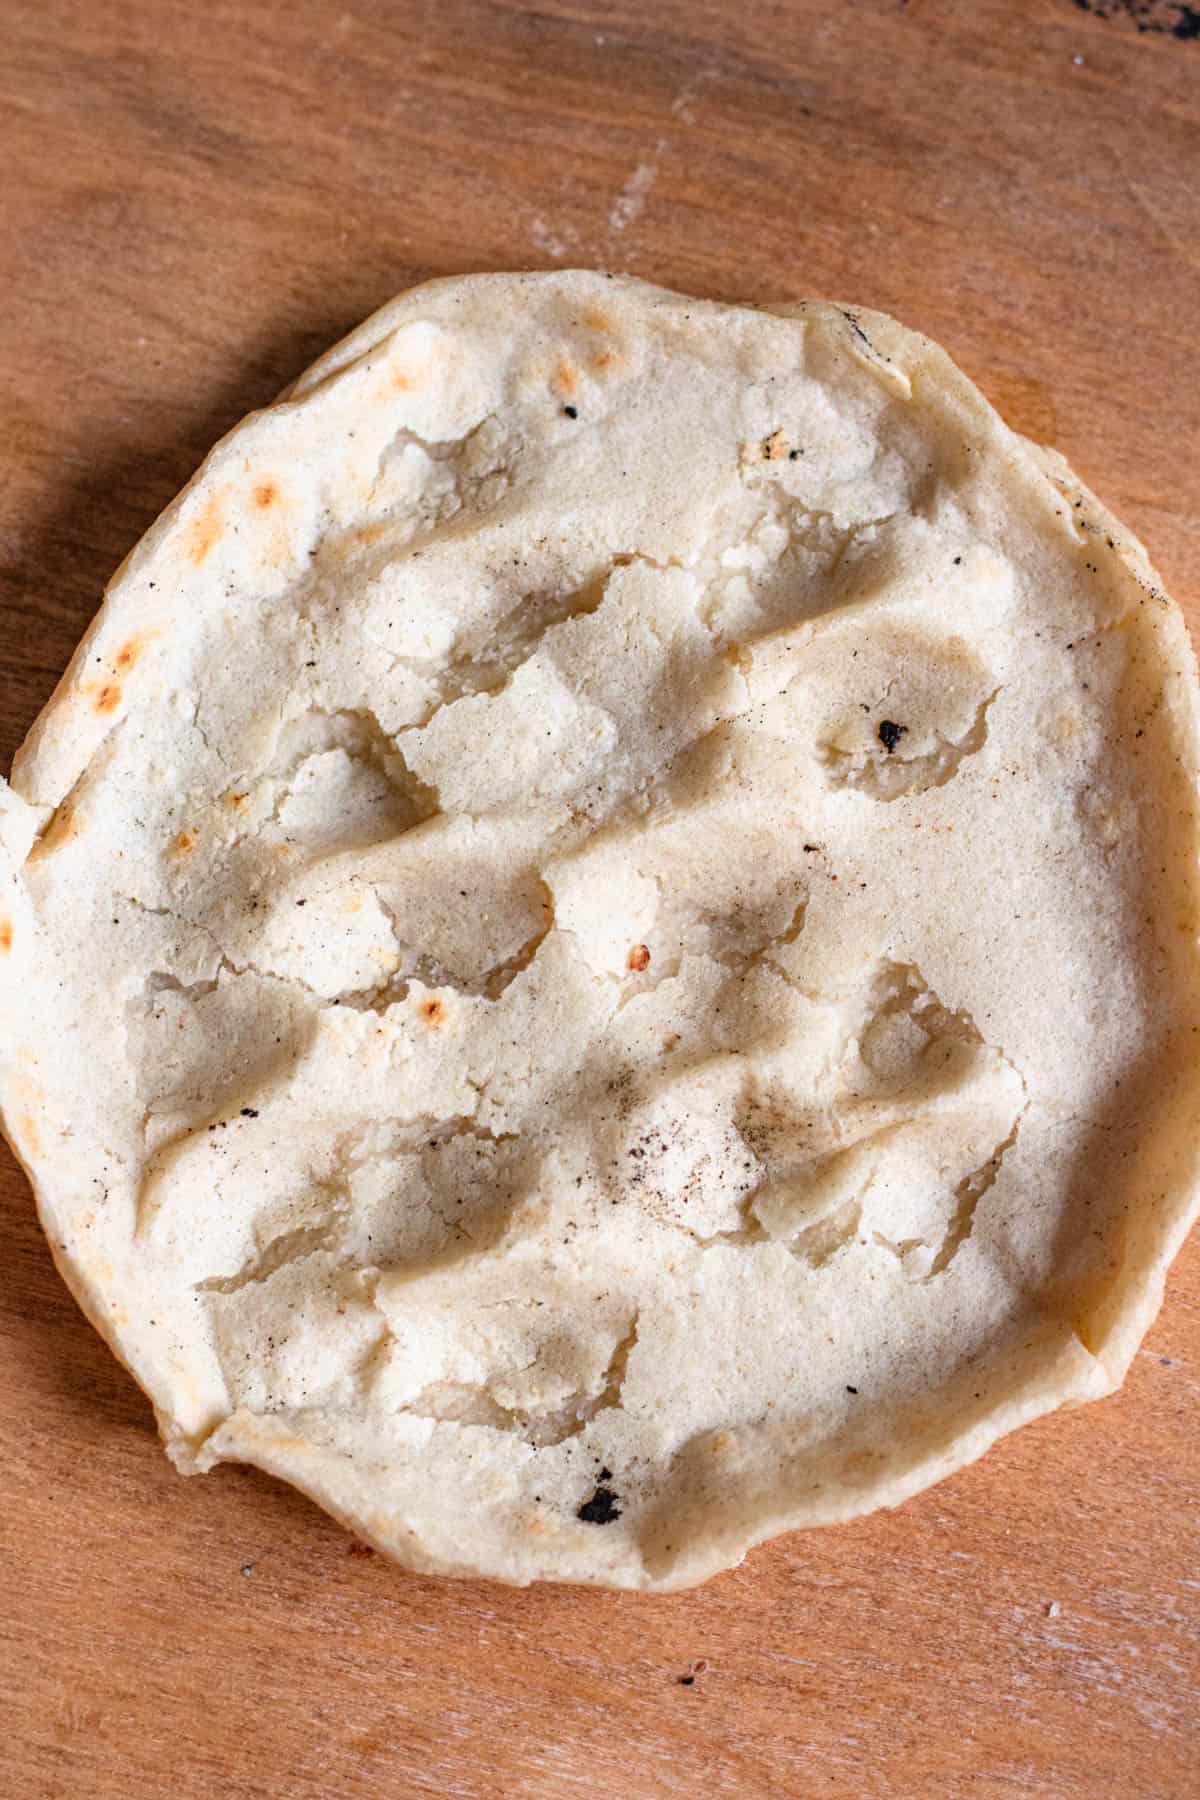
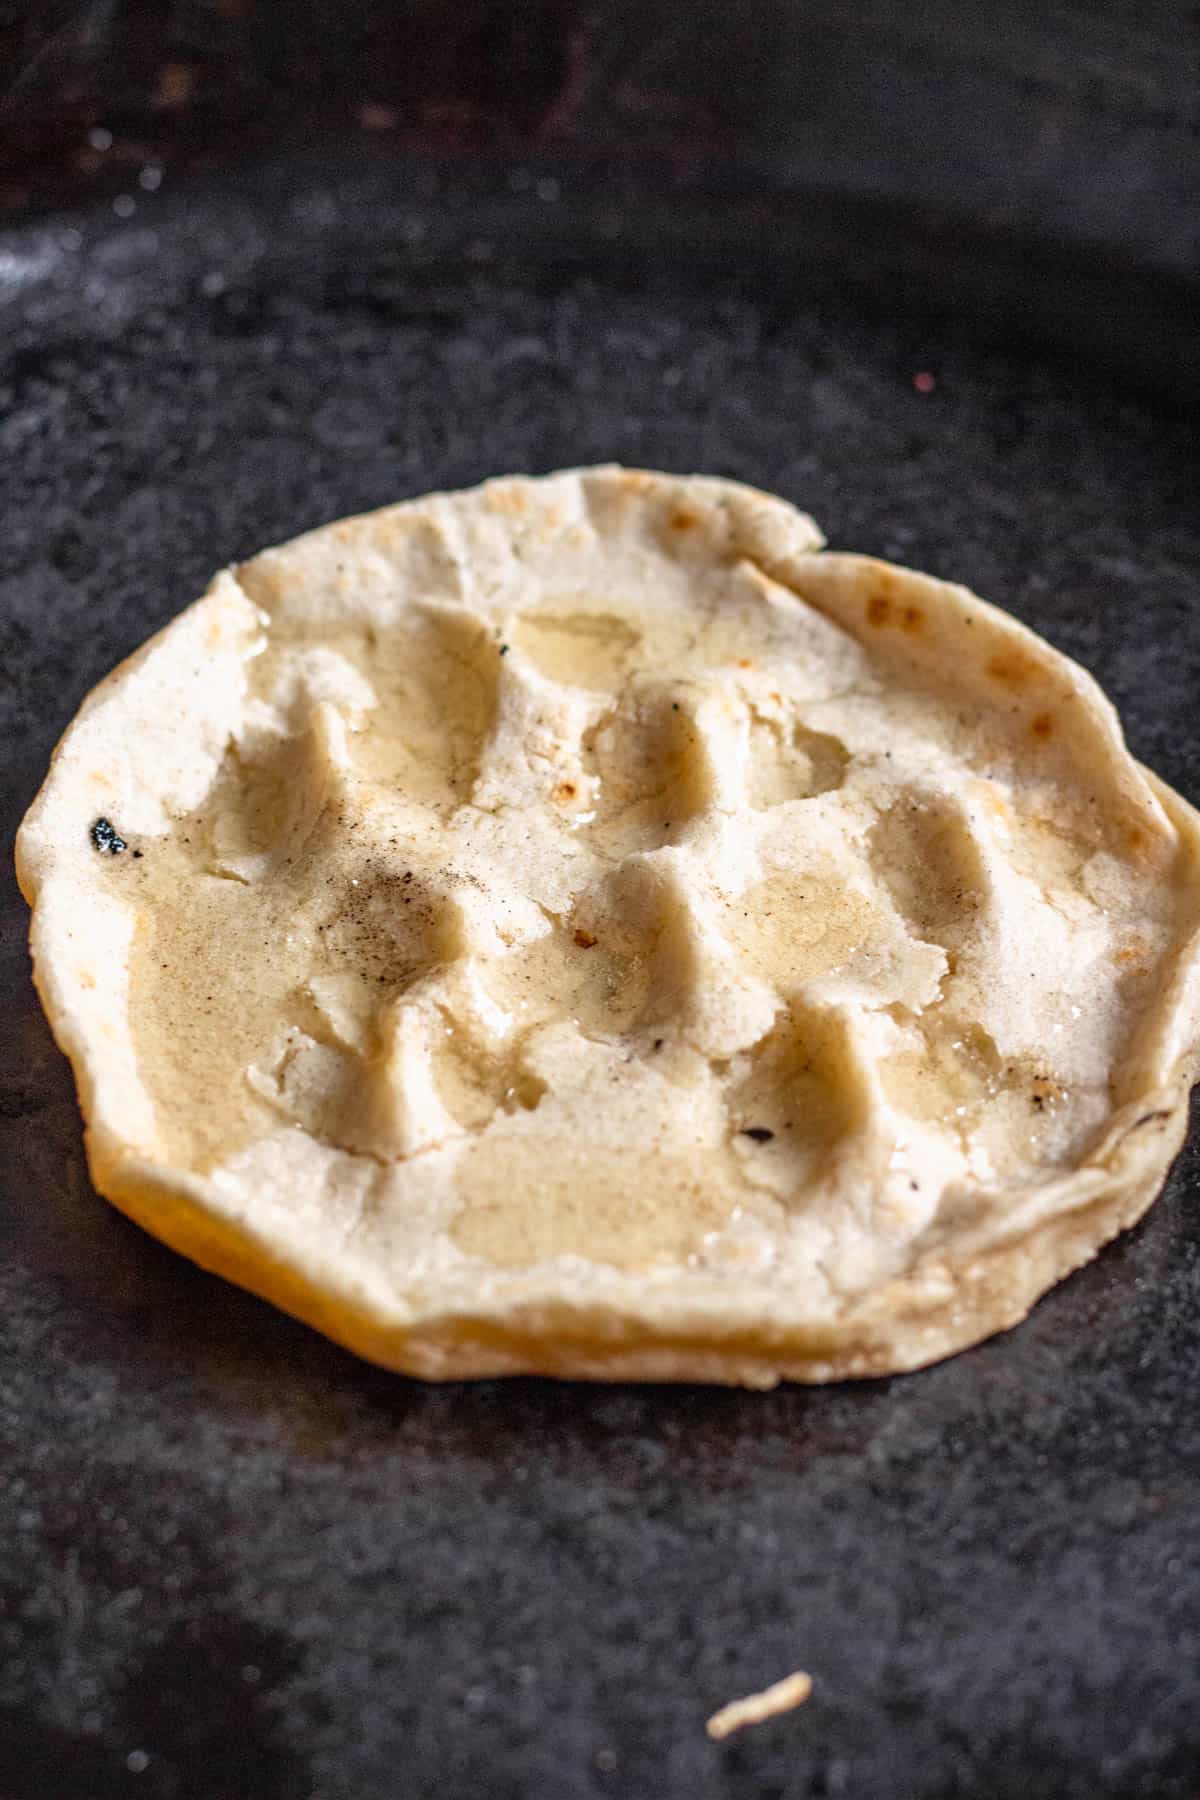
Rub some pork fat on the bottom of the tortilla and place it back on the griddle. Drizzle a bit more pork fat on the top of the corn tortilla and cook until you can see the pork fat beginning to bubble.
Spoon either of the salsas into your corn tortillas while still on the griddle. Sprinkle with chopped onion and queso fresco to taste.
Remove the picaditas from the griddle and eat hot! Enjoy!
Recipe researched using Jauja Cocina Mexicana, Cooking con GloriaSofía, and Cocinando con Amor.
Forming Tortillas

Getting your tortillas to the right thickness without allowing them to crack or stick can be tricky. I like to use a plastic bag to help.
Take a large ziploc bag and separate the two sides by cutting along the edge. Use one side of the bag for the bottom of your ball and the other side for the top.
Press down on the ball until it reaches the right thickness and try to distribute your pressure evenly so the entire tortilla is consistent.
Then simply peel the plastic sheets off your dough and your dough is ready to cook.
Ziploc bags are much thicker than plastic wrap so they are less likely to stick to your dough and much easier to get off. You can reuse the same bag for each tortilla.
Variations
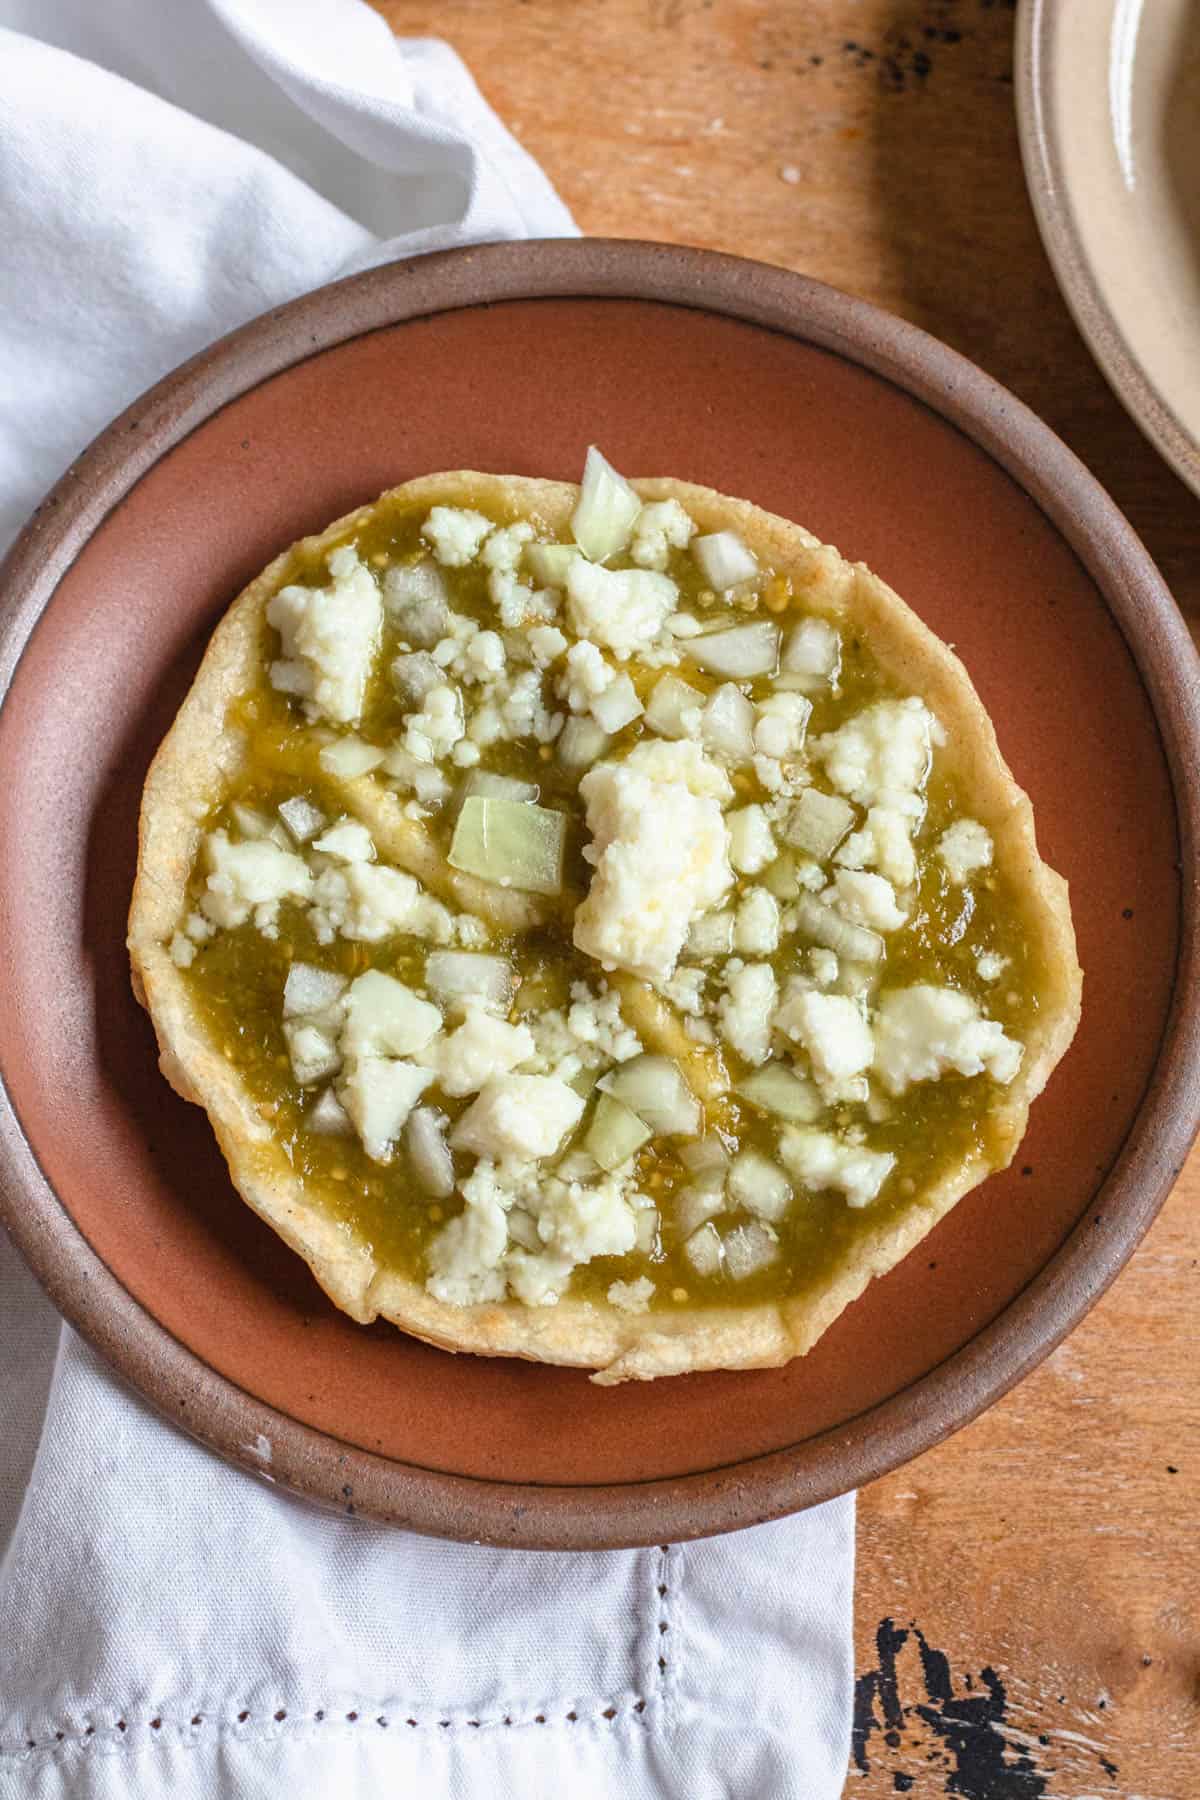
Picaditas/Picadas are a very versatile dish and they can be enjoyed in so many different ways! Try them with any of the below options:
- Refried beans
- Taco meat
- Mexican crema
- Shredded beef
- Mole poblano
- Fish (A favorite topping in Acapulco)
- Fajita meat
- Caramelized onions
- Bell peppers
- Cheddar cheese
- Taco sauce
You could also top a picadita with enchilada sauce instead of salsa or give it a real American spin with some pulled pork and barbeque sauce.
Making Salsa at Home
You can use any store-bought salsa for this dish but if you want to make it more authentic, try making your salsa at home. Mexican salsas are made with very simple ingredients blended together in a blender or food processor and you may be surprised by the results.
Salsa Verde is typically made with tomatillos, green chilies, cilantro, lime juice, and salt. Play around with the measurements of each to reach the perfect balance for your taste buds.
A simple red sauce can be made with tomatoes, onion, salt, and spicy red peppers. Chile de Arbol is an excellent choice but be careful not to use too much.
Expert Tips
- Pinching the edges of a hot tortilla can be very difficult. I used a paper towel as a barrier between the hot tortilla and my fingers when I was pinching. If you wait for the tortilla to cool down, it won’t be malleable anymore and you won’t be able to form it correctly.
- Feel free to adjust the amount of oil in this recipe. You can make picaditas without any oil at all if that is your preference.
- If you have a cast iron pan, use it to cook your picaditas to add even more depth to the flavor.
- Make sure to have your toppings prepared before you begin cooking your picaditas. You want all your toppings to be added before you remove the picaditas from the heat so they can all warm together.
- If you plan to make a large batch of picaditas, you can wait to add the toppings and keep the tortillas warm in an oven at a very low heat.
FAQs
Picaditas Mexicanas are usually made with pork lard and topped with queso so they are not vegan. Feel free to substitute these two items for your favorite vegan ingredients.
Store your toppings separately from the masa cakes.
Allow the tortillas to cool before wrapping them and storing them in the refrigerator. They will also freeze well for up to two months.
To reheat, allow them to thaw to room temperature, add a bit of oil or lard to a pan and cook until warm. You can also reheat without oil. Add toppings at the very end.
Picaditas
Equipment
- Tortilla Press or Heavy Pan
- Griddle
- Whisk
- Mixing Bowl(s)
Ingredients
Corn Tortilla Ingredients
- 2 cups corn masa flour
- 1 tsp salt
- 1 ½ cups hot water
Topping Ingredients
- 6 tbsp pork lard, I bought pork belly and melted down the fat
- 1 cup Salsa Verde
- 1 cup Red Salsa
- 10 oz Queso Fresco, crumbled
- 1 yellow onion, diced
Instructions
- Mix 2 cups corn masa flour with 1 tsp salt and whisk to combine. Then add 1 ½ cups hot water into the flour.
- Using your hands, continue mixing the flour and water together until a dough forms. If the dough is dry, add water in 1 tablespoon measurements until the dough forms a playdoh-like consistency. If the dough is sticking to your hands, it is too wet. In that case, add a little bit more corn flour 1 tablespoon at a time (I had to add an extra 2 tbsp of masa flour).
- Knead the dough in the bowl for about 2 minutes, then cover the dough with a damp kitchen towel and let it sit for 15-20 minutes to rest.
- When the dough is done resting, portion the dough into 2-3 tbsp sized balls and continue forming the ball in your hands until it is smooth.
- Using a tortilla press or a heavy-bottomed pan (like a cast iron), place a piece of plastic on the bottom of the tortilla press, or on the table (if using a cast iron). Place one of the masa balls on the plastic, then cover with the second sheet of plastic.
- Press using your tortilla press or your cast iron until the masa ball is smooth and flat (and in the shape of a corn tortilla!).
- Heat a large hot griddle over medium-high heat. Add the uncooked corn tortillas into the pan and cook for about 30-40 seconds, then flip. Cook for 30-40 seconds again, until slight brown char marks start to form on each side. Flip and cook for a final 30-40 seconds. On this last turn, your tortilla may also rise as you’re cooking it (that’s a good thing!).
- When the tortilla is slightly beginning to brown, remove it from the heat. As quickly as you are able (but be careful because the tortilla will be hot!) use your fingers to pinch the edges of the tortilla until a little wall is raised around the entire circumference. Also use your fingers to pinch the interior to create some small pockets and barriers on the tortilla center (great for storing salsa!).
- Rub some pork fat on the bottom of the tortilla and place it back on the griddle. Drizzle a bit more pork fat on the top of the corn tortilla and cook until you can see the pork fat beginning to bubble.
- Spoon either of the salsas into your corn tortillas while still on the griddle. Sprinkle with chopped onion and queso fresco to taste.
- Remove the picaditas from the griddle and eat hot! Enjoy!
Notes
- Corn Masa Flour: Masa flour is a staple in Mexican cuisine. Grab a bag for this recipe and use the rest for tortillas, empanadas, tamales, or pupusas. You can usually find masa flour (or masa harina) in the Hispanic section of the grocery store or you can order it online.
- Warm Water: This flour binds together very easily with just a bit of water
- Pinching the edges of a hot tortilla can be very difficult.
- I used a paper towel as a barrier between the hot tortilla and my fingers when I was pinching. If you wait for the tortilla to cool down, it won’t be malleable anymore and you won’t be able to form it correctly.
- Feel free to adjust the amount of oil in this recipe. You can make picaditas without any oil at all if that is your preference. If you have a cast iron pan, use it to cook your picaditas to add even more depth to the flavor.
- Make sure to have your toppings prepared before you begin cooking your picaditas. You want all your toppings to be added before you remove the picaditas from the heat so they can all warm together.
- If you plan to make a large batch of picaditas, you can wait to add the toppings and keep the tortillas warm in an oven at very low heat.




Leave a Reply