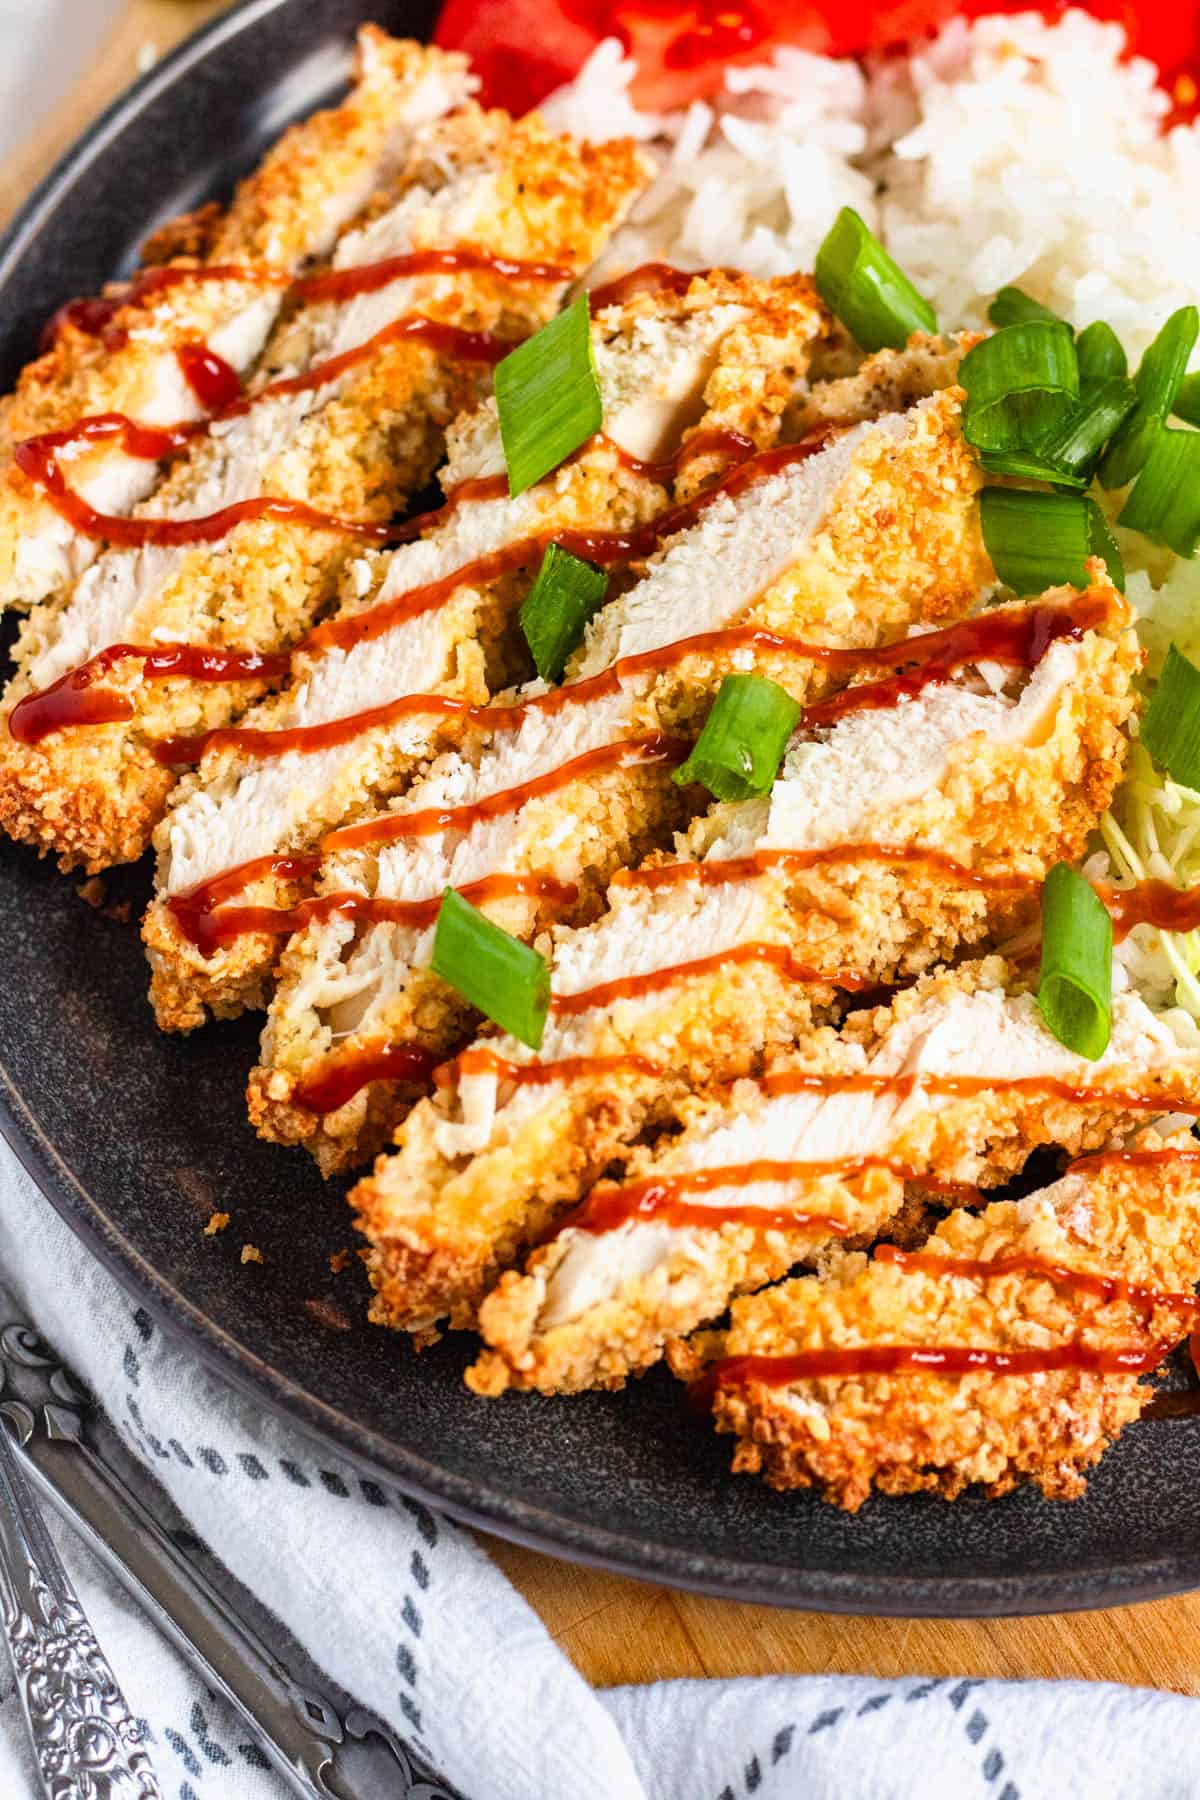
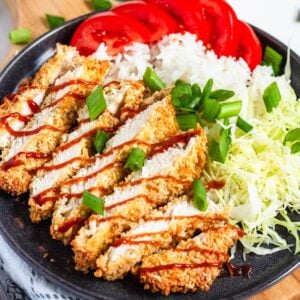
Chicken Katsu is a Japanese recipe for juicy, tender chicken coated in a crispy breading. It’s a versatile main dish that comes together easily in the air fryer and makes a tasty, quick weeknight dinner.

Hello Reader! I try my hardest to research recipes as best as I can before posting to ensure I am representing each culture correctly. If this recipe is from your country and I have made a mistake or you have suggestions for how to make it more authentic, I would love to hear! Please leave a comment below letting me know what should be different, and I will rework the recipe. It is always my intention to pay homage and respect to each cultural dish that I cook. Thanks for reading!
You know those nights when you just don’t want to cook after a long day of work? This easy air fryer katsu chicken is the perfect meal for those nights.
It’s simple, quick, delicious and still tastes like restaurant-quality. Perfect!
Chicken Katsu is Japanese fried chicken, and it’s an incredibly popular dish on the menu of just about any Japanese restaurant. This recipe is also SO popular in Hawaii! In fact, I had my very first katsu ever at a restaurant on The Big Island.
All you need for this dish is simple ingredients: chicken breasts, salt, pepper, egg and panko bread crumbs. Nothing fancy, nothing strange, and even the pickiest eaters can enjoy a dish that is essentially Japanese chicken tenders.
While this dish is traditionally fried, this Air Fryer Chicken Katsu recipe makes it even easier by using the air fryer and less oil than the traditional method.
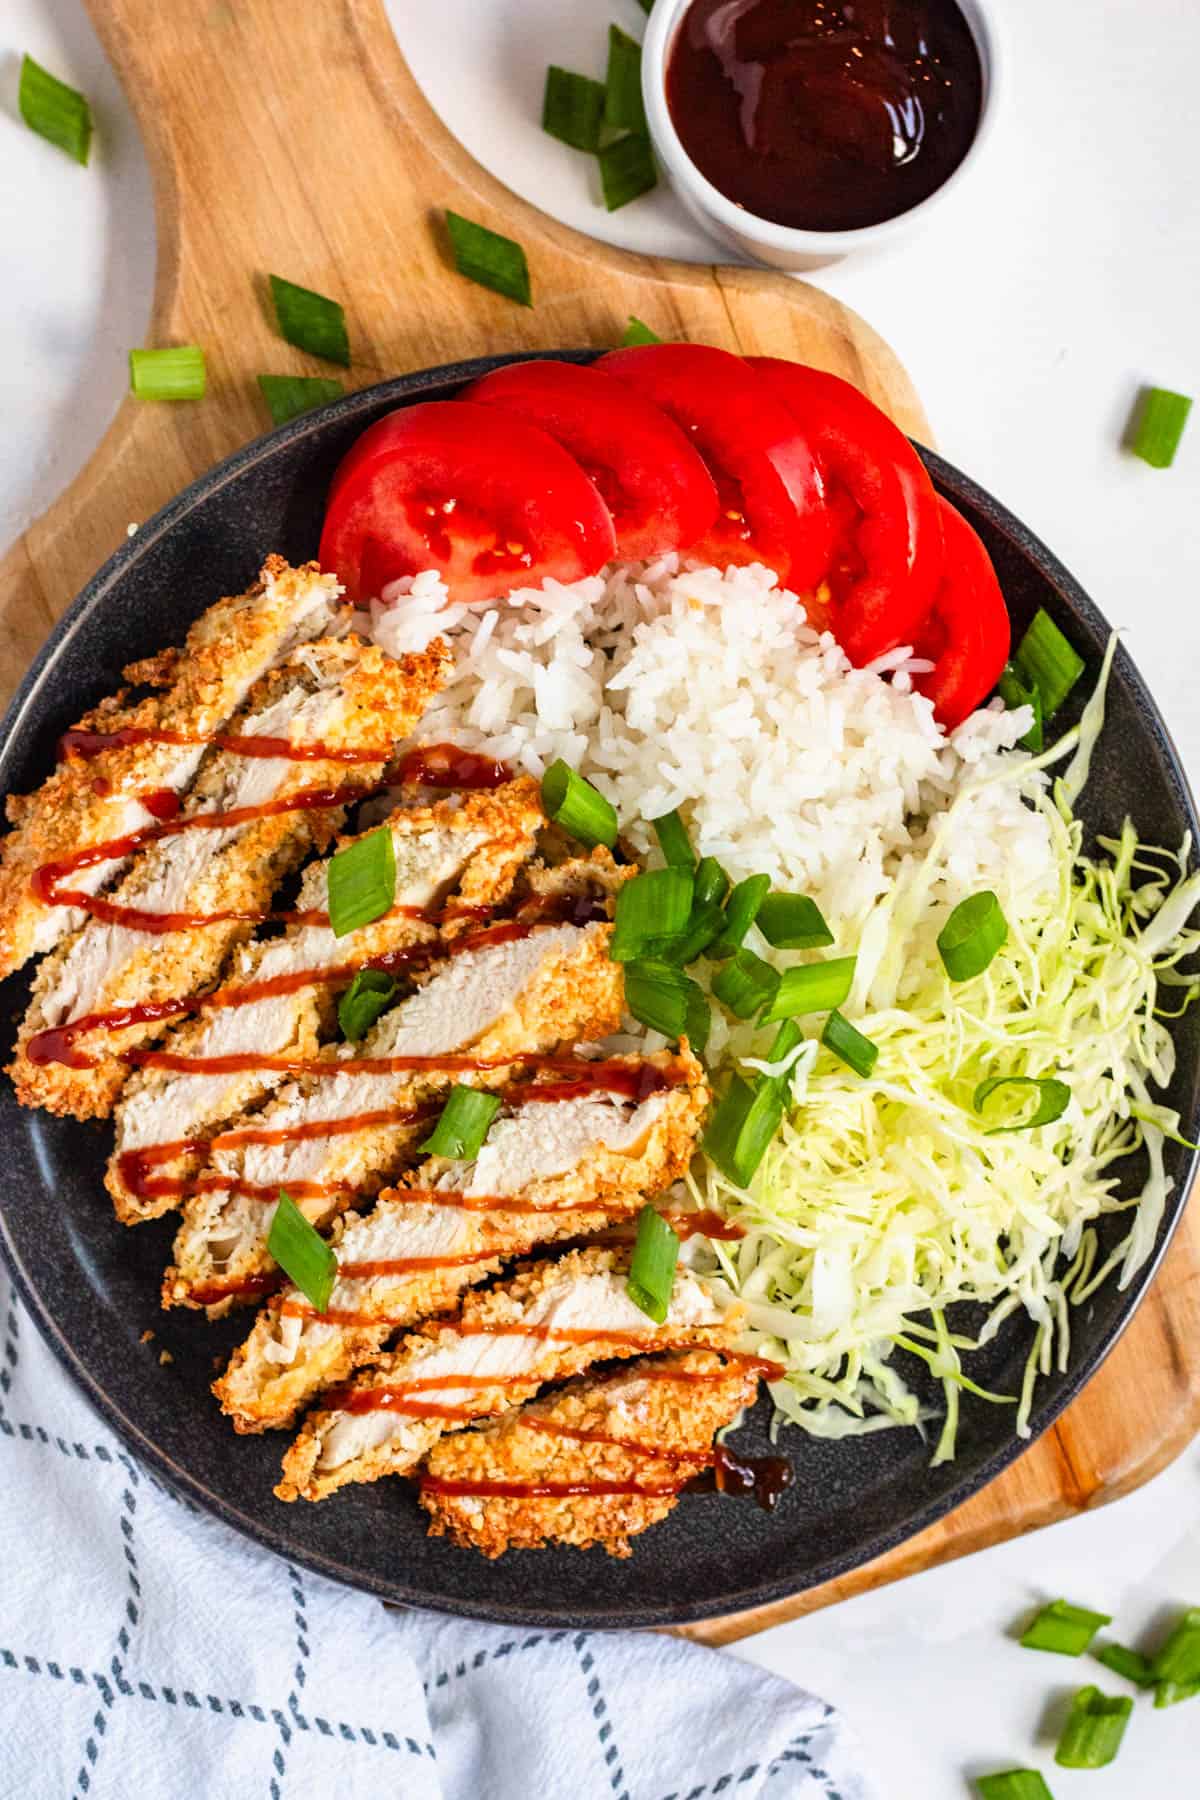
Add some fresh tomatoes and cabbage, Katsu Sauce, white rice (or fried rice) or any other Asian side dish, and you can have dinner on the table in less than 30 minutes.
I made this recipe again a few weeks ago, and my husband and I were amazed at how delicious the entire meal was when we mixed it all together and topped it with yum yum sauce! I kept saying “wow this is delicious… wow this is REALLY delicious!” hahaha.
Recipe Origins
Katsu, which comes from the Japanese word for cutlet, katsuretsu, is a general term used to describe any fried cut of meat. In Japan, katsu can be made with beef, fish, chicken or pork cutlets (the last of which is called tonkatsu). The dish is based on Wiener Schnitzel from Germany, but what makes katsu special is the use of panko bread crumbs which are extra crispy, light and flaky.
It is usually served with katsu sauce or Japanese curry (to make this Chicken Katsu Curry Recipe) and rice. It pairs perfectly with just about any Japanese cuisine.
Why Make This Recipe
- Easy: I love the ease of using an air fryer. It delivers juicy, tender meat with a perfectly crisp exterior and hardly any effort.
- Versatile: I’ve seen this recipe served with so many different sauces and side dishes and even sliced and added to a sandwich. It’s the perfect dish for picky eaters because it can be dressed up or eaten as is!
- Taste of Japan: This recipe delivers the elegance of a traditional Japanese flavor but is easy enough for any home cook to master!
Key Ingredients for Katsu Chicken
Here is a visual overview of the ingredients in the recipe. Scroll down to the recipe at the bottom for quantities.
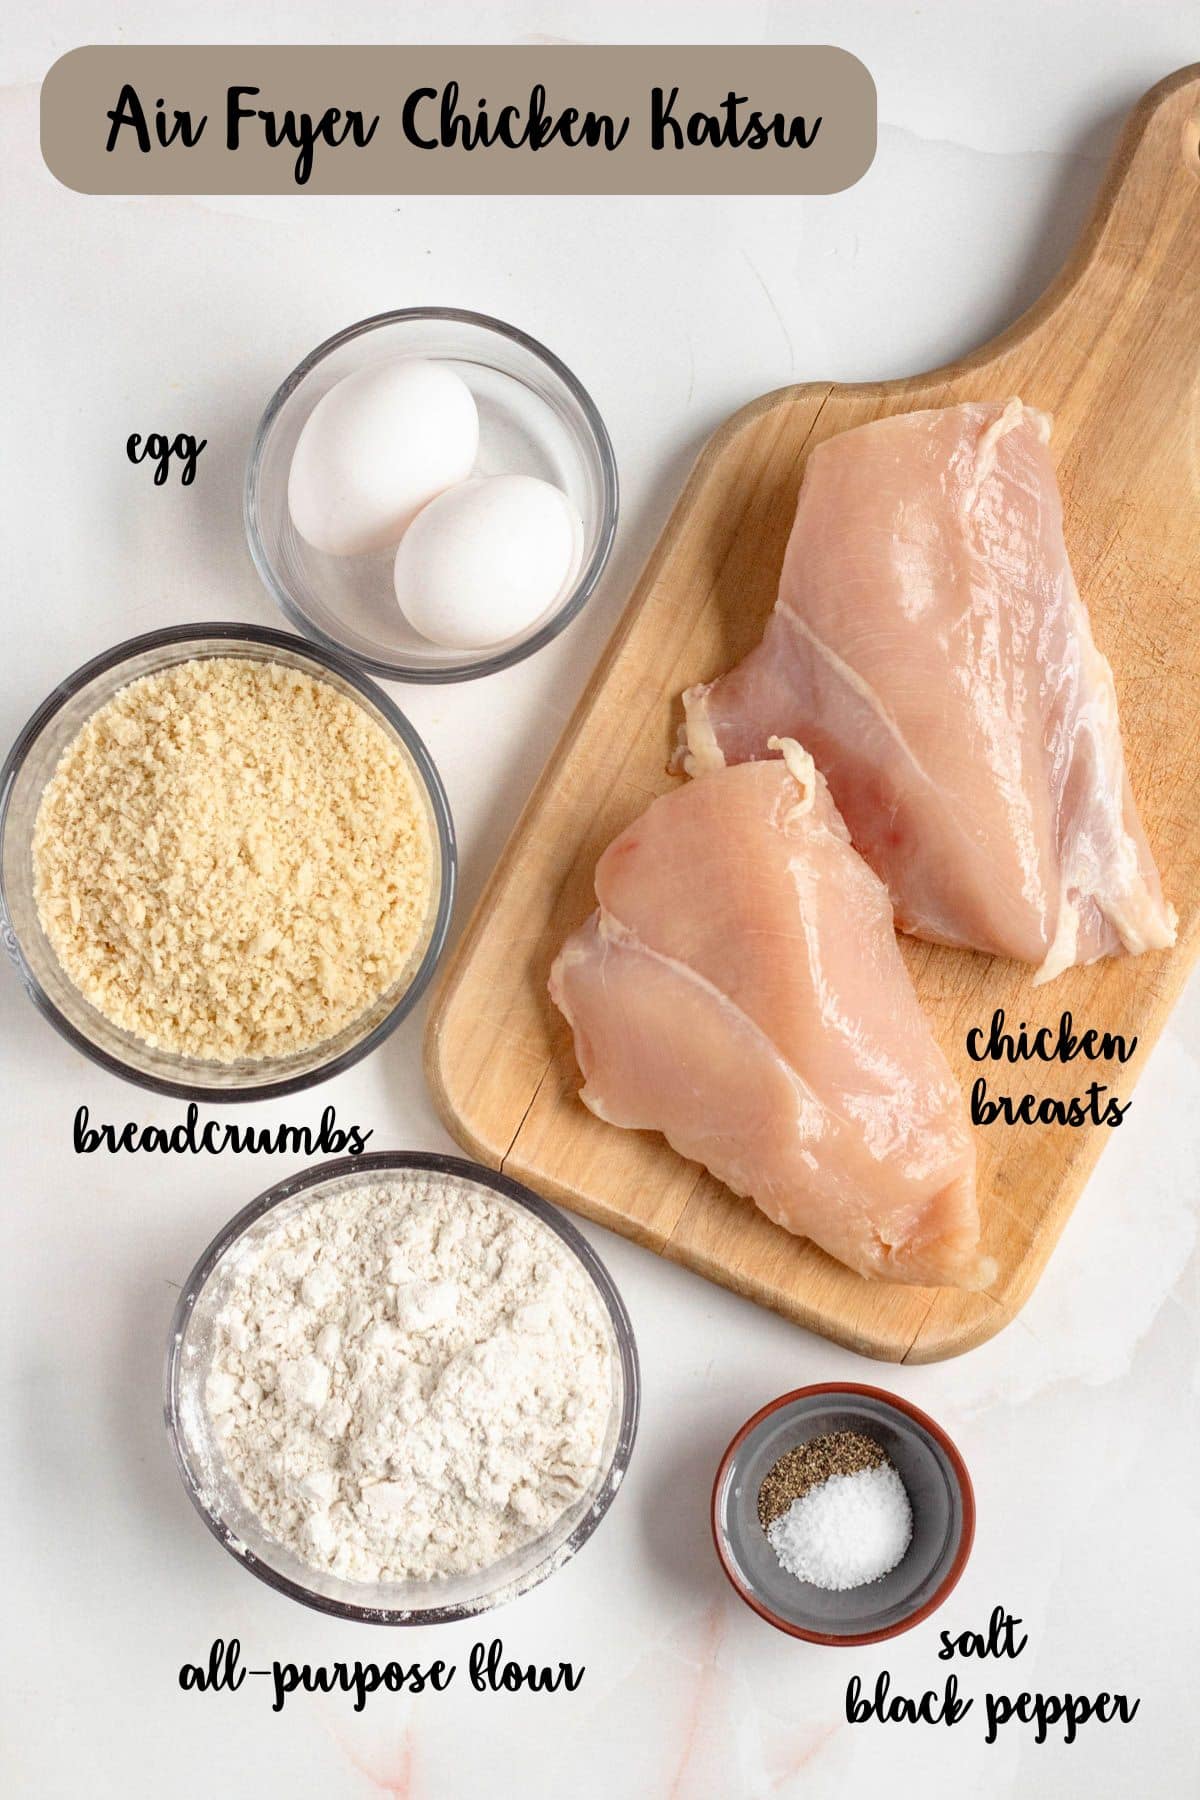
- Chicken: I use boneless, skinless chicken breasts. You could use chicken thighs but your cooking time will vary. Chicken thighs tend to be juicer and more forgiving. Chicken breasts are healthier but may come out a little drier if not cooked perfectly.
- Egg: Egg helps the bread crumbs stick to the chicken.
- Flour: I use all-purpose flour, but you can easily substitute gluten free flour instead if desired.
- Panko Bread Crumbs: Panko bread crumbs are what make katsu chicken unique. They have a lighter, crispier texture than normal bread crumbs. You can buy them at an Asian grocery store or in the Asian aisle of your standard grocery store. I’ve also seen them right on the shelf next to regular bread crumbs at the grocery store.
Tools
- Plastic Wrap
- Meat Mallet
- Air Fryer
How to Make This Recipe
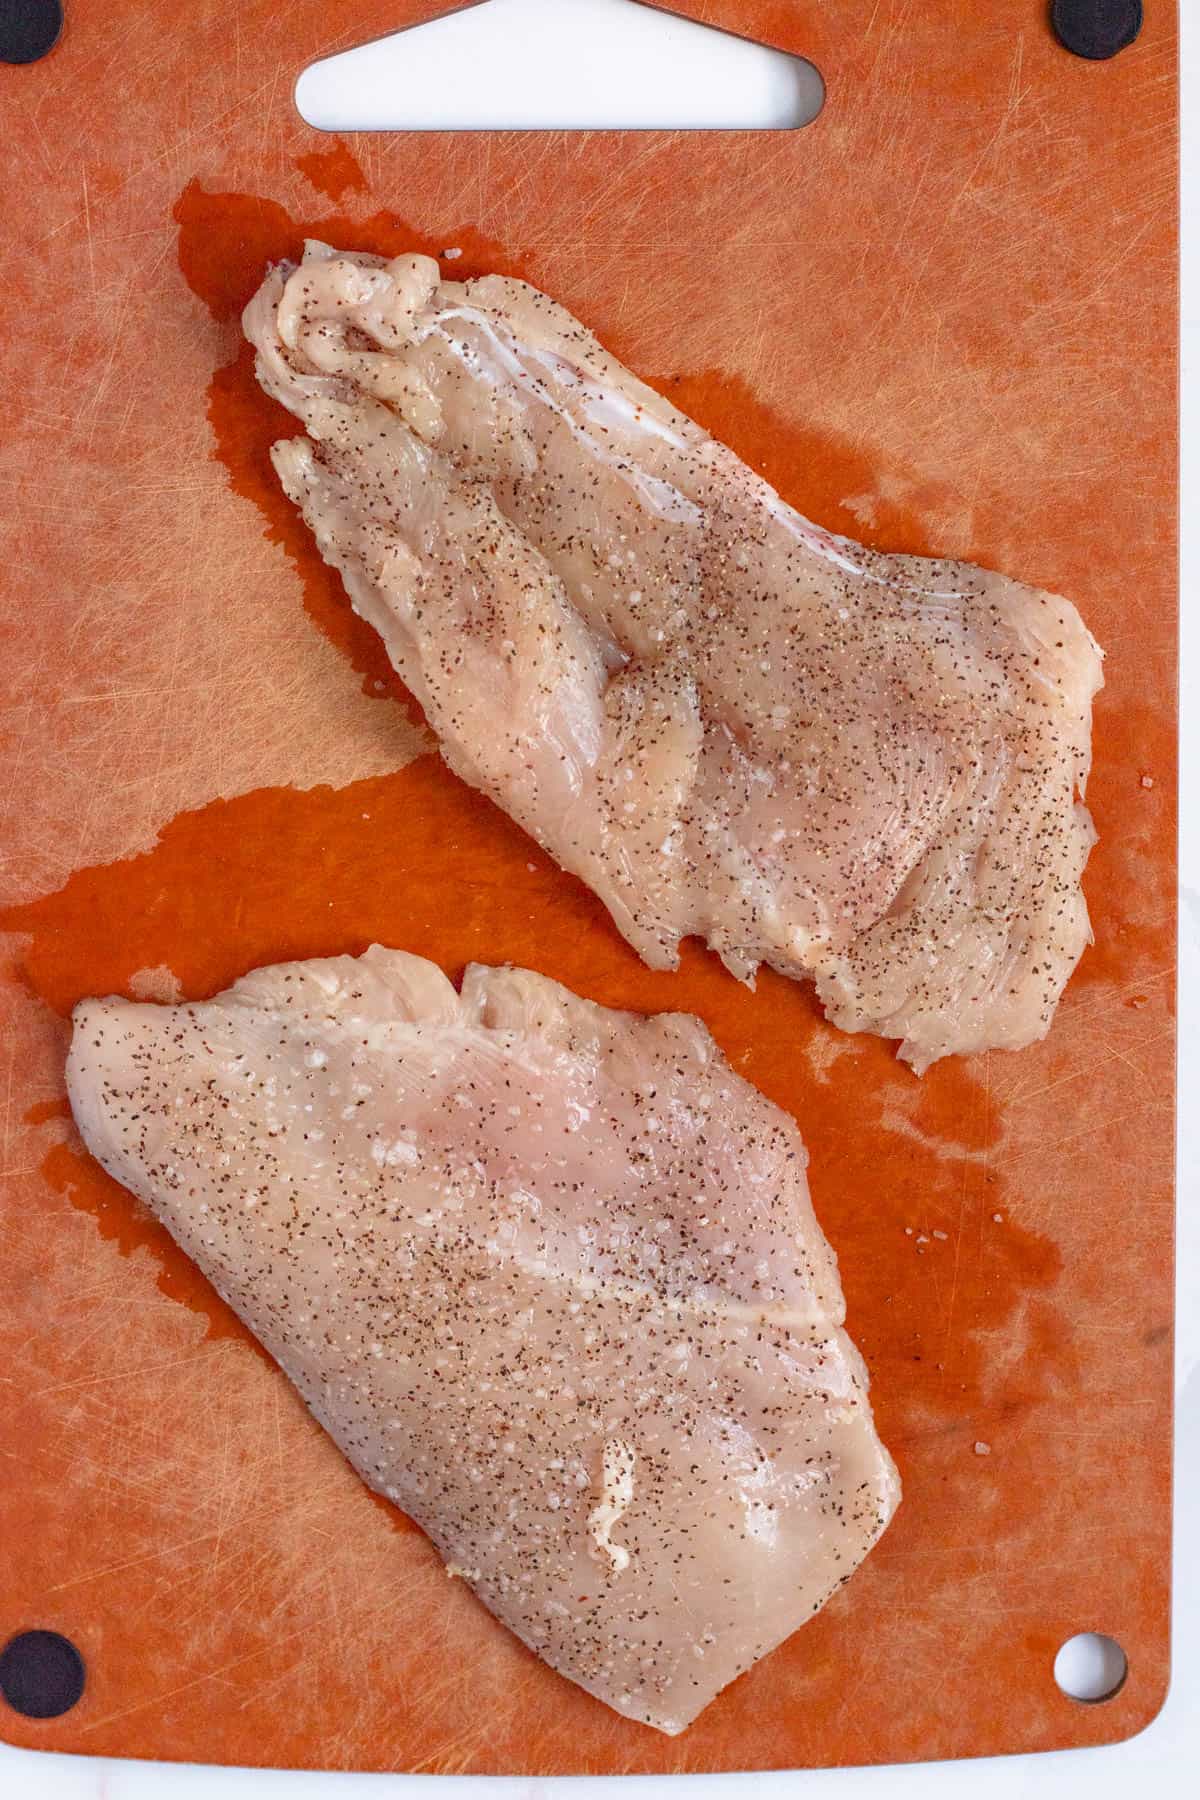
Step One: Cut your chicken in half width-wise to create thin chicken cutlets. Then use a meat mallet to pound them to a similar thickness. Sprinkle them with salt and pepper.
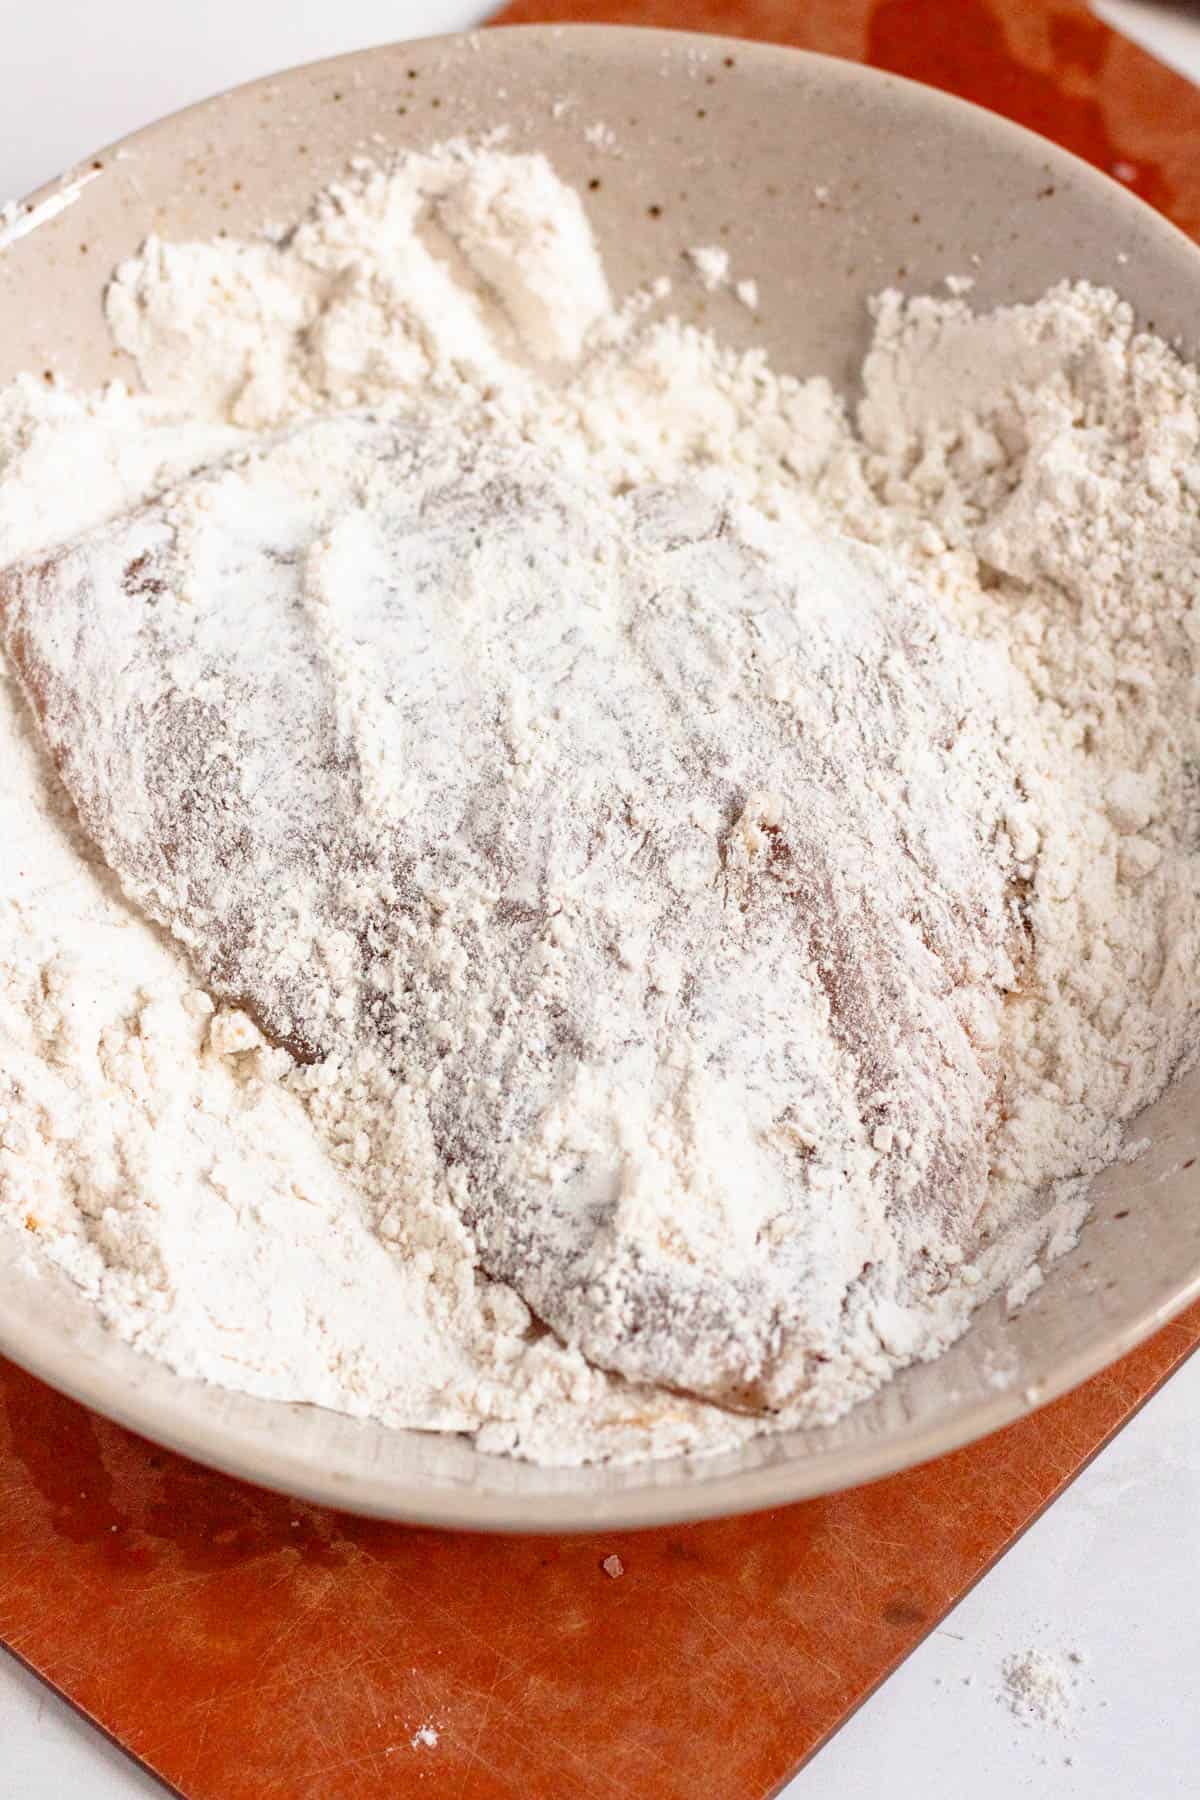
Step Two: Coat both sides of your chicken in flour.
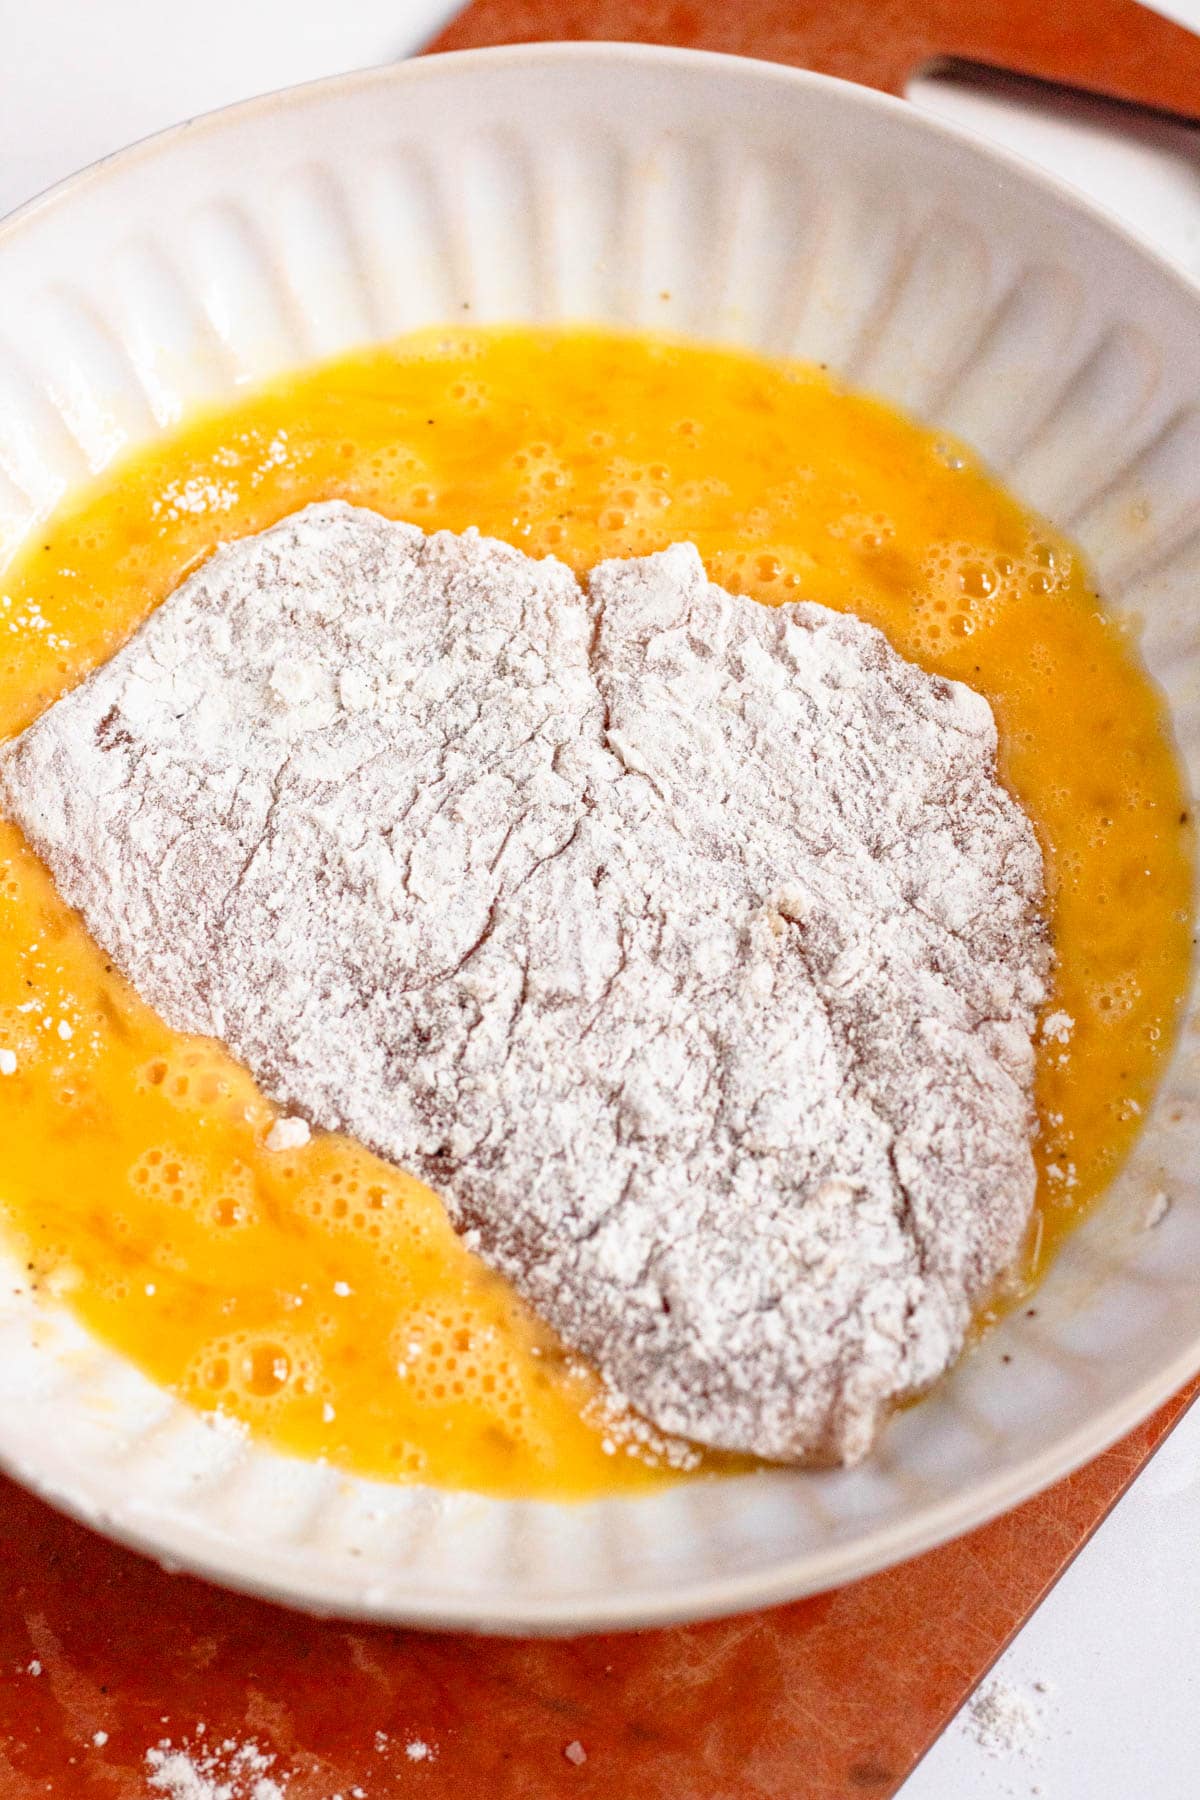
Step Three: Coat both sides in egg.
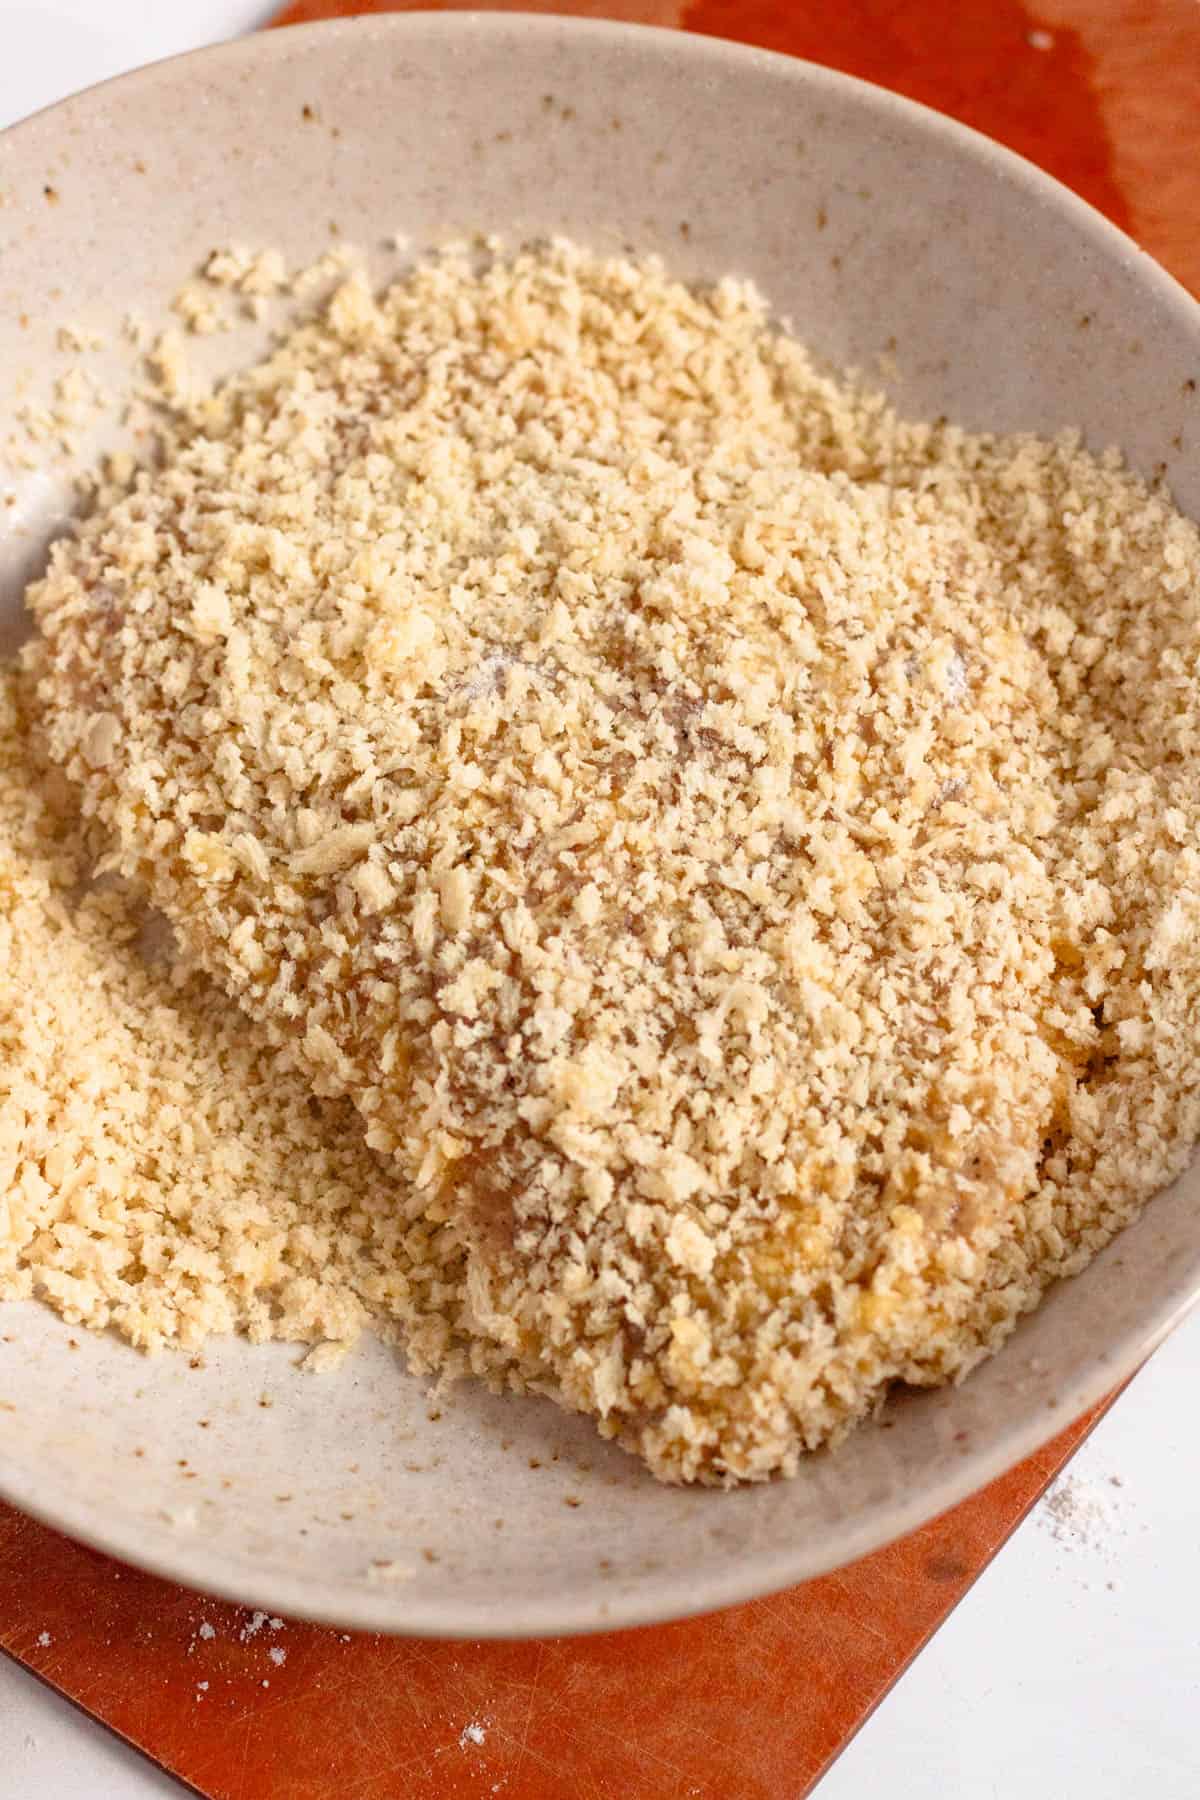
Step Four: Coat both sides in panko bread crumbs.
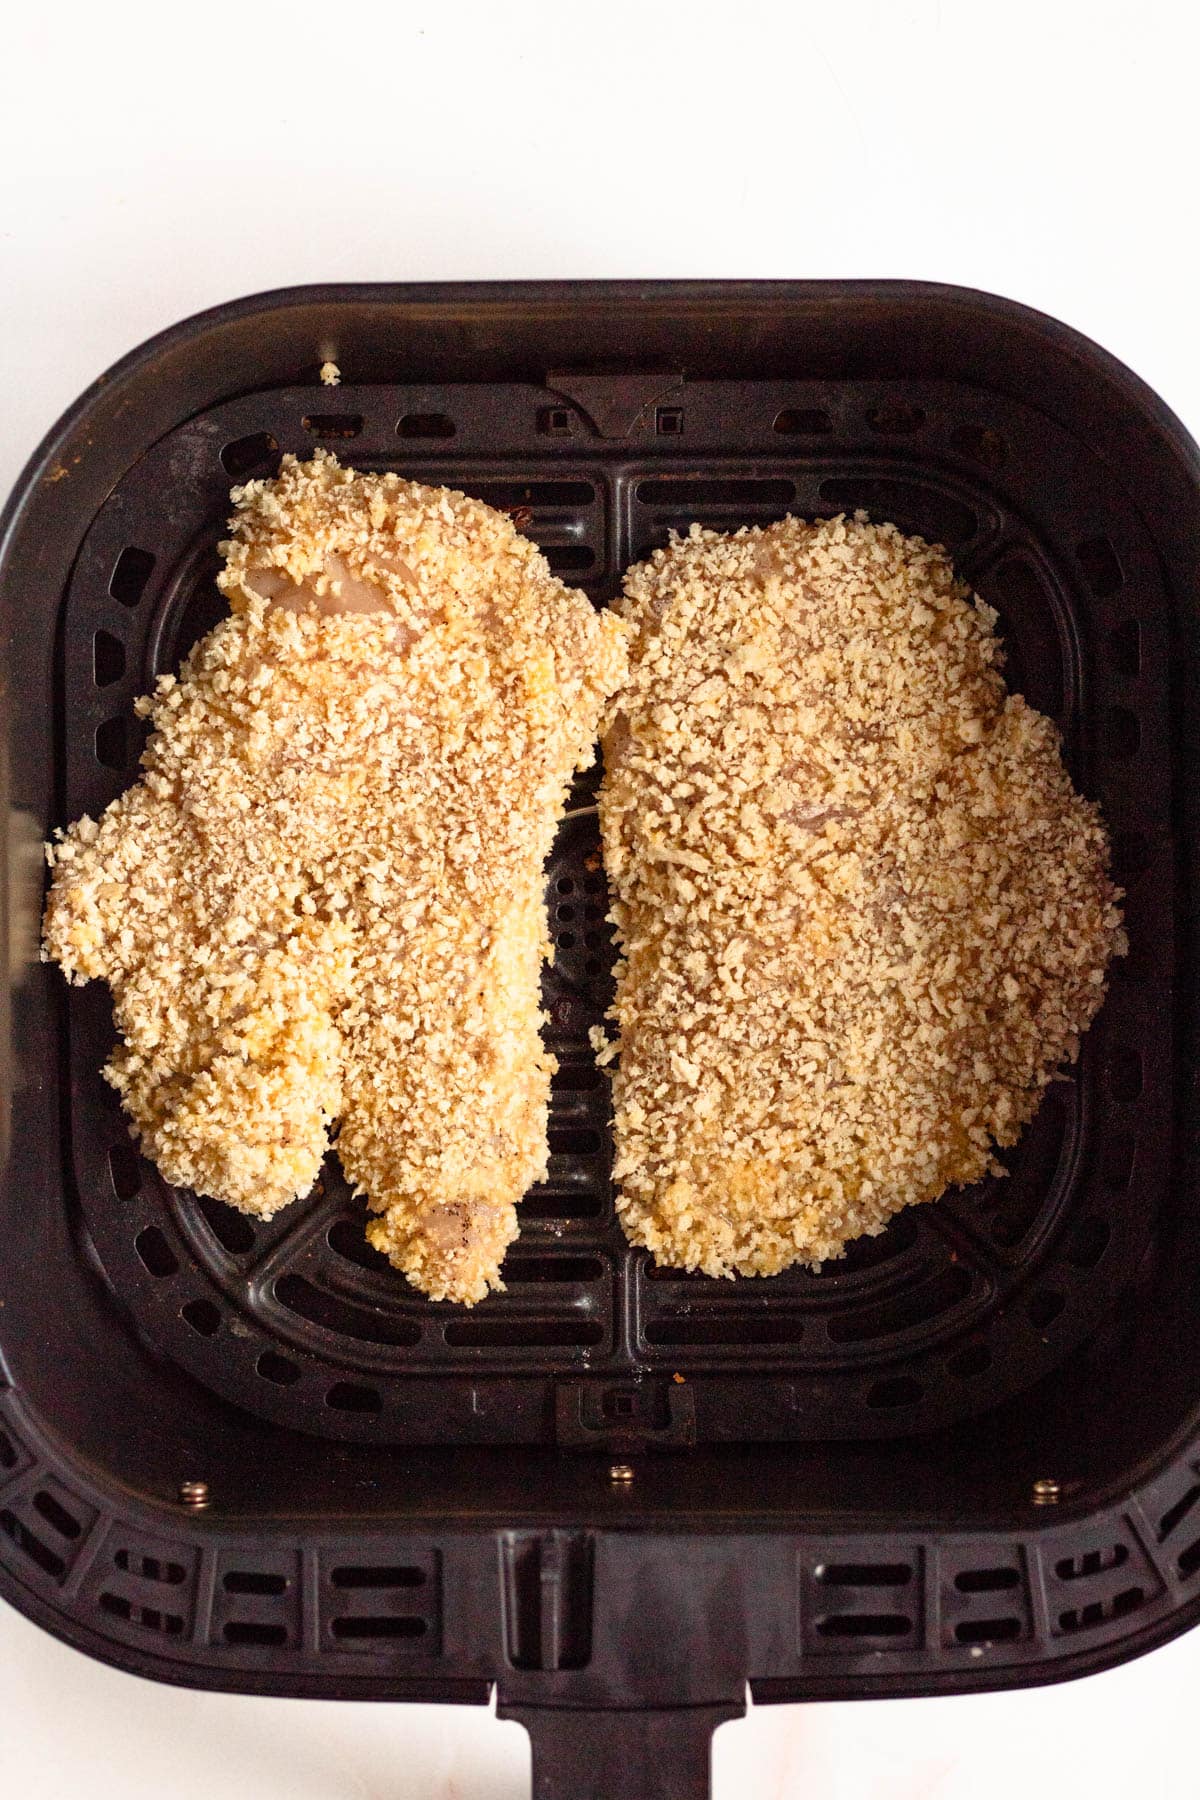
Step Five: Fry in the air fryer at 350 degrees for ten minutes on one side and five minutes on the other.
Expert Tips
- Place your flour, eggs and bread crumbs into shallow bowls before you begin dipping to make the process easier and smoother.
- Do not coat the chicken in flour, egg, and breadcrumbs until you are ready to place it in the air fryer and fry immediately. Coating the chicken and then leaving it on the counter to sit while the other pieces cook will result in soggy breading.
- Some people feel like chicken breasts are too dry. You could try brining your chicken breasts for a few hours before you use them. Brining helps chicken soak up a bit more salt and makes the meat extra tender
- Keep the chicken in a single layer. Do not overlap the chicken or it will not cook correctly.
- Make sure to carefully flip the Katsu, as you do not want to peel the breading off of the chicken. Use tongs or chopsticks.
Recipe FAQs
What makes Air Fryer Chicken Katsu special is the use of panko bread crumbs. Regular breadcrumbs will not provide the same delicious crispy coating. It’s best to stick to panko crumbs for this recipe.
Classic katsu sauce is most common, but it also pairs well with Japanese curry, tonkatsu sauce, or even sweet chili sauce.
You can definitely make gluten free katsu chicken. You will just need to find a gluten free flour and gluten free panko bread crumbs to use as a substitute.
You can store the Chicken Katsu in an airtight container in the fridge for 3-4 days. To reheat, place the katsu back in the air fryer and heat for 2-3 minutes on each side until warm and crispy.
Did you enjoy this recipe for Air Fryer Chicken Katsu? If so, make sure to check out these other recipes I picked out just for you:
If you tried this Air Fryer Chicken Katsu Recipe or any other recipe on my website, please leave a 🌟 star rating and let me know how it went in the 📝 comments below!
Air Fryer Chicken Katsu
Equipment
- Plastic Wrap
- Meat mallet
- Air Fryer
Ingredients
- 2 boneless, skinless chicken breasts,
- kosher salt
- freshly ground black pepper
- 1 cup all-purpose flour
- 2 eggs , beaten
- 2 cups panko breadcrumbs
Instructions
- Preheat your air fryer to 350 degrees Fahrenheit.
- Place 2 boneless, skinless chicken breasts on a cutting board. Cut them in half, width-wise so that you have four thin chicken cutlets.
- Place a piece of plastic wrap over all of the chicken pieces on the cutting board. Use a meat mallet to pound the chicken until they are about ¼ – ½” thick.
- Remove the plastic wrap. Then sprinkle both sides of the chicken with kosher salt and freshly ground black pepper.
- Get out 3 separate shallow bowls (I sometimes use cake pans or pie tins) and pour 1 cup all-purpose flour in one, 2 eggs in another, and 2 cups panko breadcrumbs in the final pan.
- Pick up one of the chicken pieces and first dip it in the all purpose flour, making sure it is evenly coated on both sides.
- Next, rub the chicken in the beaten egg, making sure it is evenly coated on both sides.
- Finally, dip the floured and egged chicken in the panko breadcrumbs. Press the chicken into the breadcrumbs so that the breadcrumbs stick and the chicken is evenly coated. Make sure there is no surface area without breadcrumbs.
- Repeat this process with as many chicken pieces as can fit in your air fryer. Place the chicken in a single layer in your air fryer basket. Cook for 10 minutes on the first side.
- When the 10 minutes are up, turn the chicken over. Continue cooking for another 5 minutes until both sides of the chicken are brown and the interior of the chicken is cooked through to an interior temperature of 160 degrees Fahrenheit.
- Repeat steps 5-10 until all of the chicken katsu is cooked. Enjoy!
Video
Notes
- Chicken: I use boneless, skinless chicken breasts. You could use chicken thighs but your cooking time will vary. Chicken thighs tend to be juicer and more forgiving. Chicken breasts are healthier but may come out a little drier if not cooked perfectly.
- Gluten Free: You can easily substitute gluten-free flour and gluten free breadcrumbs instead if desired.
- Place your flour, eggs and bread crumbs into shallow bowls before you begin dipping to make the process easier and smoother.
- Do not coat the chicken in flour, egg, and breadcrumbs until you are ready to place it in the air fryer and fry immediately. Coating the chicken and then leaving it on the counter to sit while the other pieces cook will result in soggy breading.
- Some people feel like chicken breasts are too dry. You could try brining your chicken breasts for a few hours before you use them. Brining helps chicken soak up a bit more salt and makes the meat extra tender
- Keep the chicken in a single layer. Do not overlap the chicken or it will not cook correctly.
- Make sure to carefully flip the Katsu, as you do not want to peel the breading off of the chicken. Use tongs or chopsticks.


Miroslav Klouda says
While the first two people already eat, the second two have to wait for 25 minutes. This is unacceptable. And who’s got two air fryers???
Why is this meal called “Japanese” when it is cooked everywhere?