These Italian Arancini Balls are crispy, cheesy, and packed with flavor. I fell in love with Arancini during my study abroad in Italy, and became dedicated to recreating this delicious Italian street food at home. Here’s a foolproof guide on how to make this true taste of Sicily, approved by my Sicilian Sister in Law!

Hello Reader! I try my hardest to research recipes as best as I can before posting to ensure I am representing each culture correctly. If this recipe is from your country and I have made a mistake or you have suggestions for how to make it more authentic, I would love to hear! Please leave a comment below letting me know what should be different, and I will rework the recipe. It is always my intention to pay homage and respect to each cultural dish that I cook. Thanks for reading!
Arancini are the perfect Sicilian street food. Seasoned rice (or day-old risotto in a true pinch) is formed into a ball, stuffed with cheese, fried, and filled with sauce. It is nothing short of perfection.
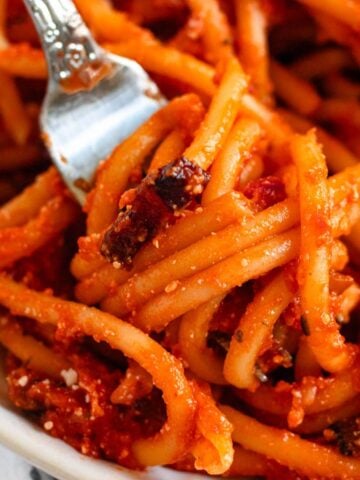
I visited Sicily once for a weekend. I had lived in Rome for about three months at the time (where the local version of Arancini is this Supplí recipe and where I had eaten a LOT of Bucatini all’Amatriciana), learning all about Italian food and how to make it.
What I learned when I got to Sicily, though, was that Sicilian food is drastically different than the rest of Italy. Sicilians cook their sauces differently, their sweets differently, their pistachios (mmmm) differently. They even cook their street food differently.
I finally got my hands on an arancino (something I had been waiting a long time for) when I arrived in Sicily. I took one bite of my long-awaited snack and was instantly transported into a fried street food heaven. If you’re a fan of fried food like Mozzarella in Carrozza, you’re going to love this one, too!
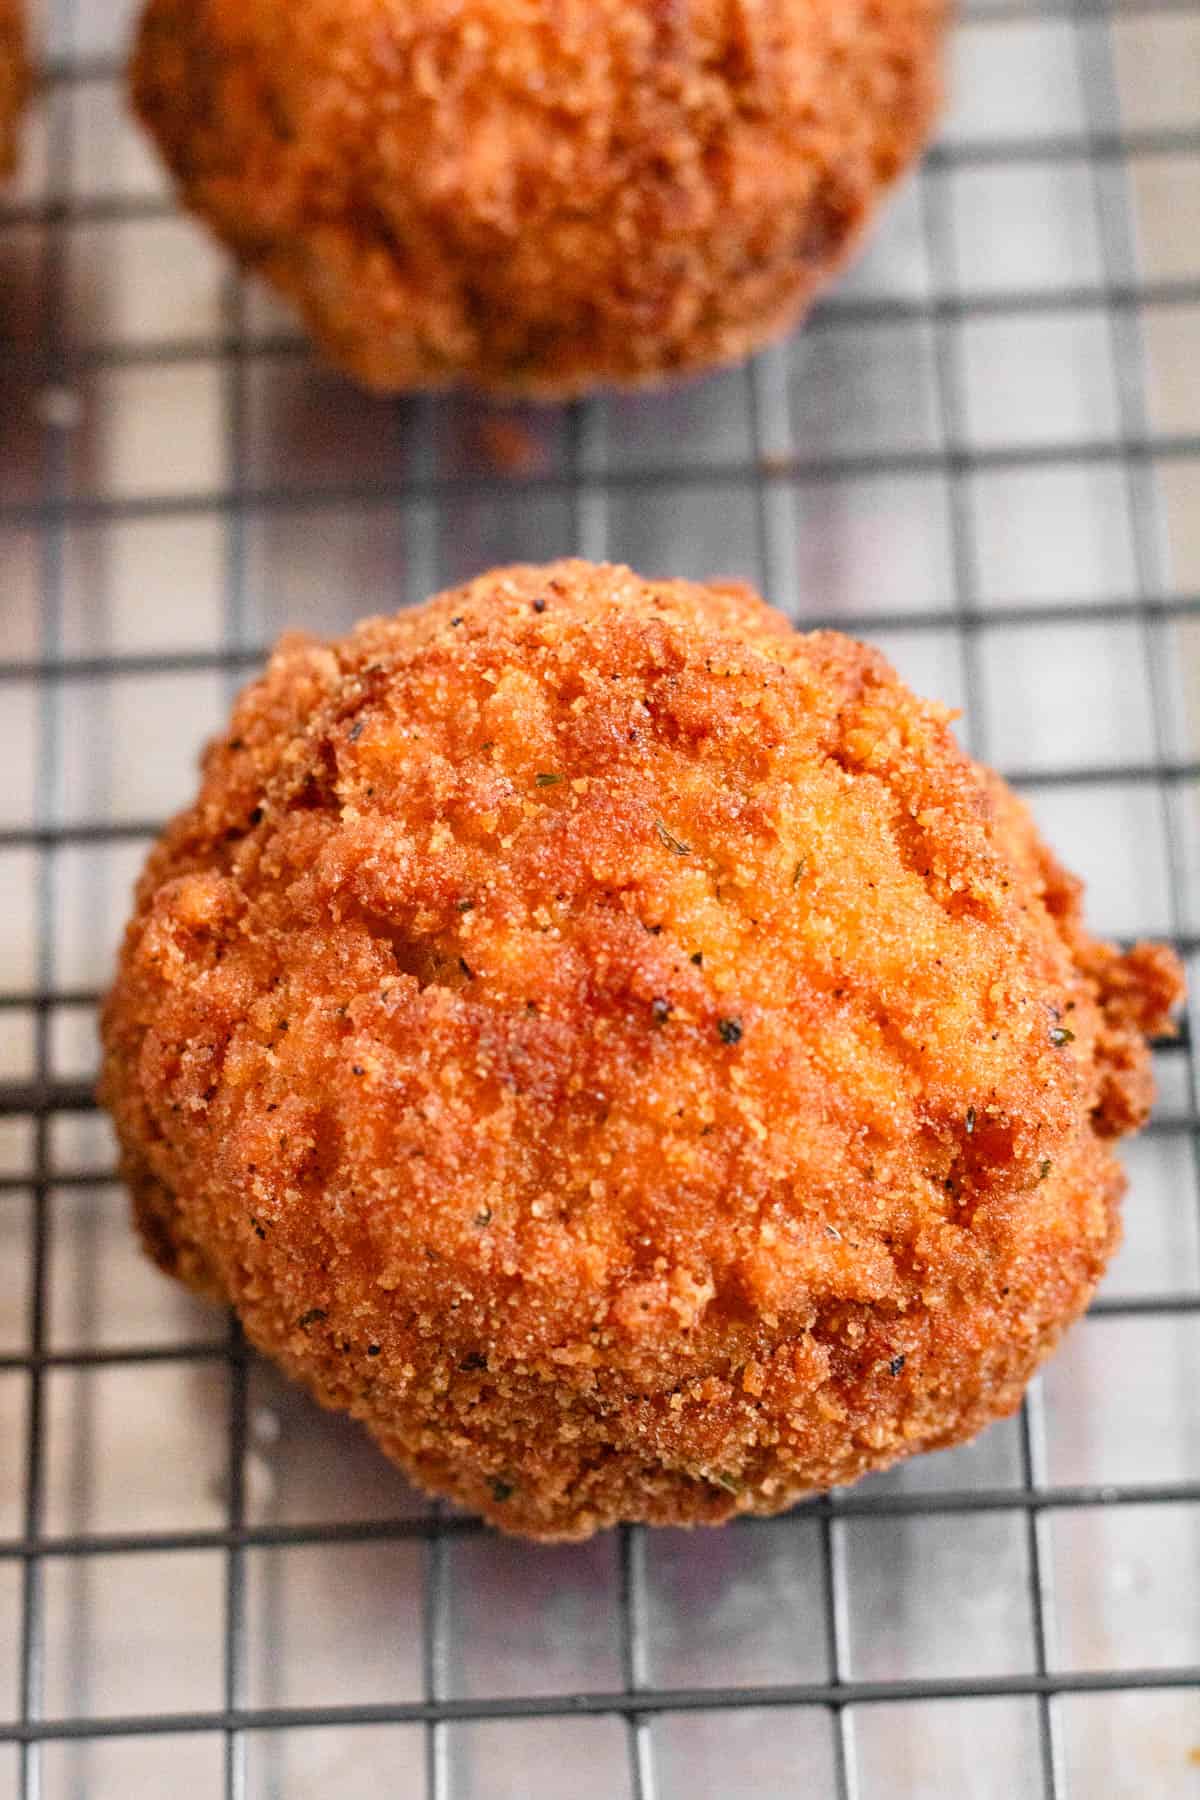
Picture golden, crispy on the outside and warm and cheesy on the inside. Arancini are one of Italy’s most beloved comfort foods. These Italian fried rice balls are filled with rich ragù, peas, and melty mozzarella, then coated in breadcrumbs and fried to perfection.
Whether served as an appetizer, snack, or part of a larger meal, this authentic arancini recipe delivers the perfect balance of crispy texture and savory, cheesy filling.
Recipe Origin

Arancino originated around the 10th century in Sicily, where it is still a very popular street food! The name “arancini” means “little oranges,” inspired by their round shape and golden color.
The Sicilian version of arancini typically contains beef and peas.
There are many modern versions of arancini. Some contain beef and peas, while others contain pistachios, pesto, spinach or ham. No matter the variations, all are delicious!
Key Ingredients for this Recipe
Here is a visual overview of the ingredients in the recipe. Scroll down to the recipe at the bottom for quantities.
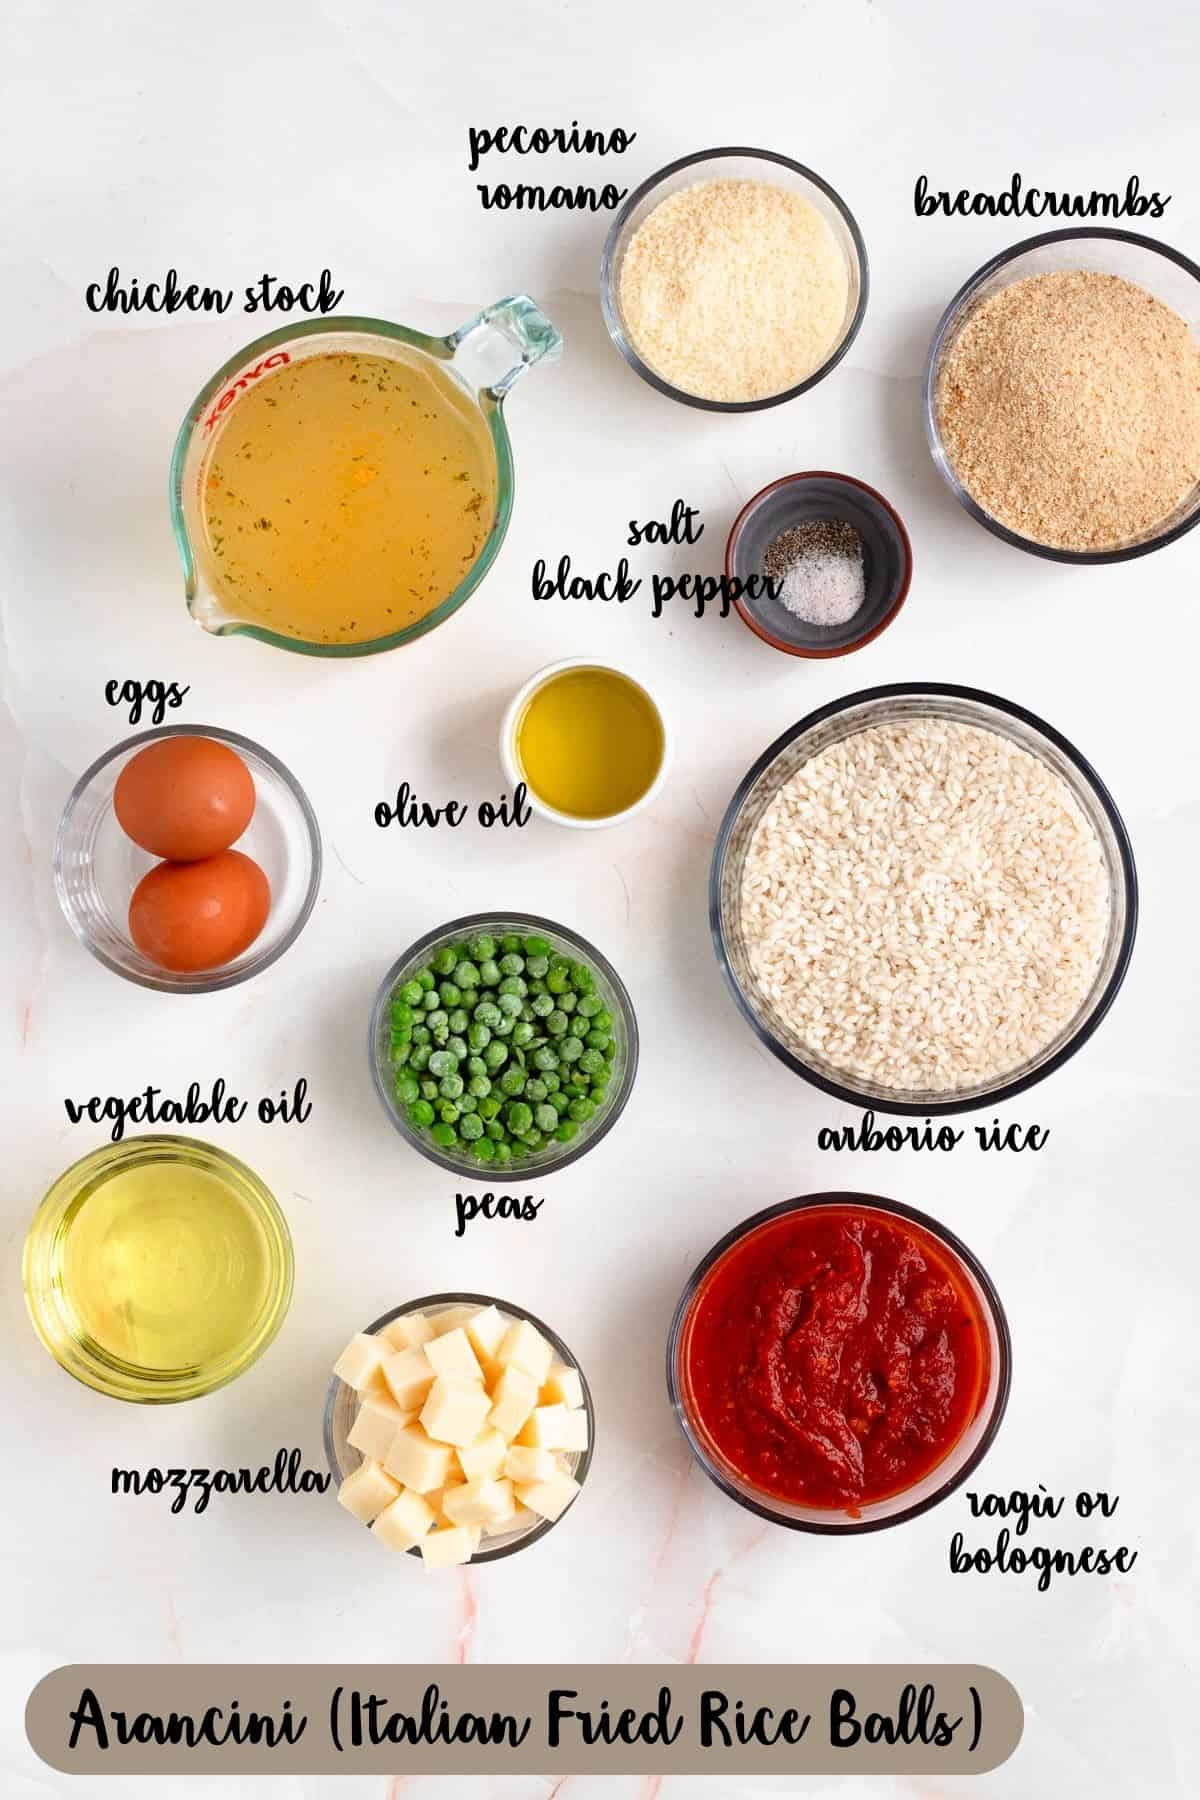
- Arborio rice: A short-grain rice works best for shaping into a ball. It’s also deliciously chewy! While some recipes for Arancini call for using a day-old risotto, this is actually incorrect. Arborio rice should be used, but it is cooked in a different way than risotto to make the correct texture for forming the ball.
- Chicken stock: Adds flavor while cooking the rice. In a pinch, you can use water.
- Pecorino Romano (or Parmesan): Brings salty, savory depth and also holds the ball together. Pecorino tastes a little tangier while parmesan is a little saltier. I personally used parmesan because it has a more mild flavor that I prefer. If you have leftover pecorino romano, use it to make this Bucatini Cacio e Pepe!
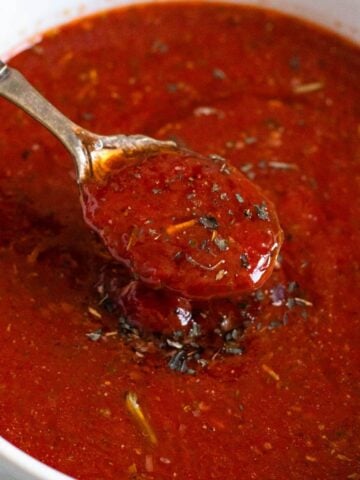
- Ragù or Bolognese: A rich meat sauce that adds incredible flavor. You can make your own or use store-bought, though of course I’d recommend you make your own if you have the time 😉
- Peas: These add a pop of sweetness and texture to the center of the arancini. I used frozen peas that I left out at room temperature to thaw for a bit and they worked perfectly.
- Low-moisture mozzarella: Low-moisture is key here, because a regular, fresh mozzarella in liquid will be too watery, and will usually release too much liquid. It’s rare for me to recommend, but in this case, a packaged mozzarella will work better.
- Eggs & breadcrumbs: Create the crispy outer coating. You can use seasoned breadcrumbs, plain breadcrumbs, or add a bit of Italian seasoning TO your plain breadcrumbs! It all works fine. I have also seen some recipes call for panko breadcrumbs, though that is not a typically authentic choice.
- Vegetable oil: For frying until golden and crisp.
How to Make Arancini
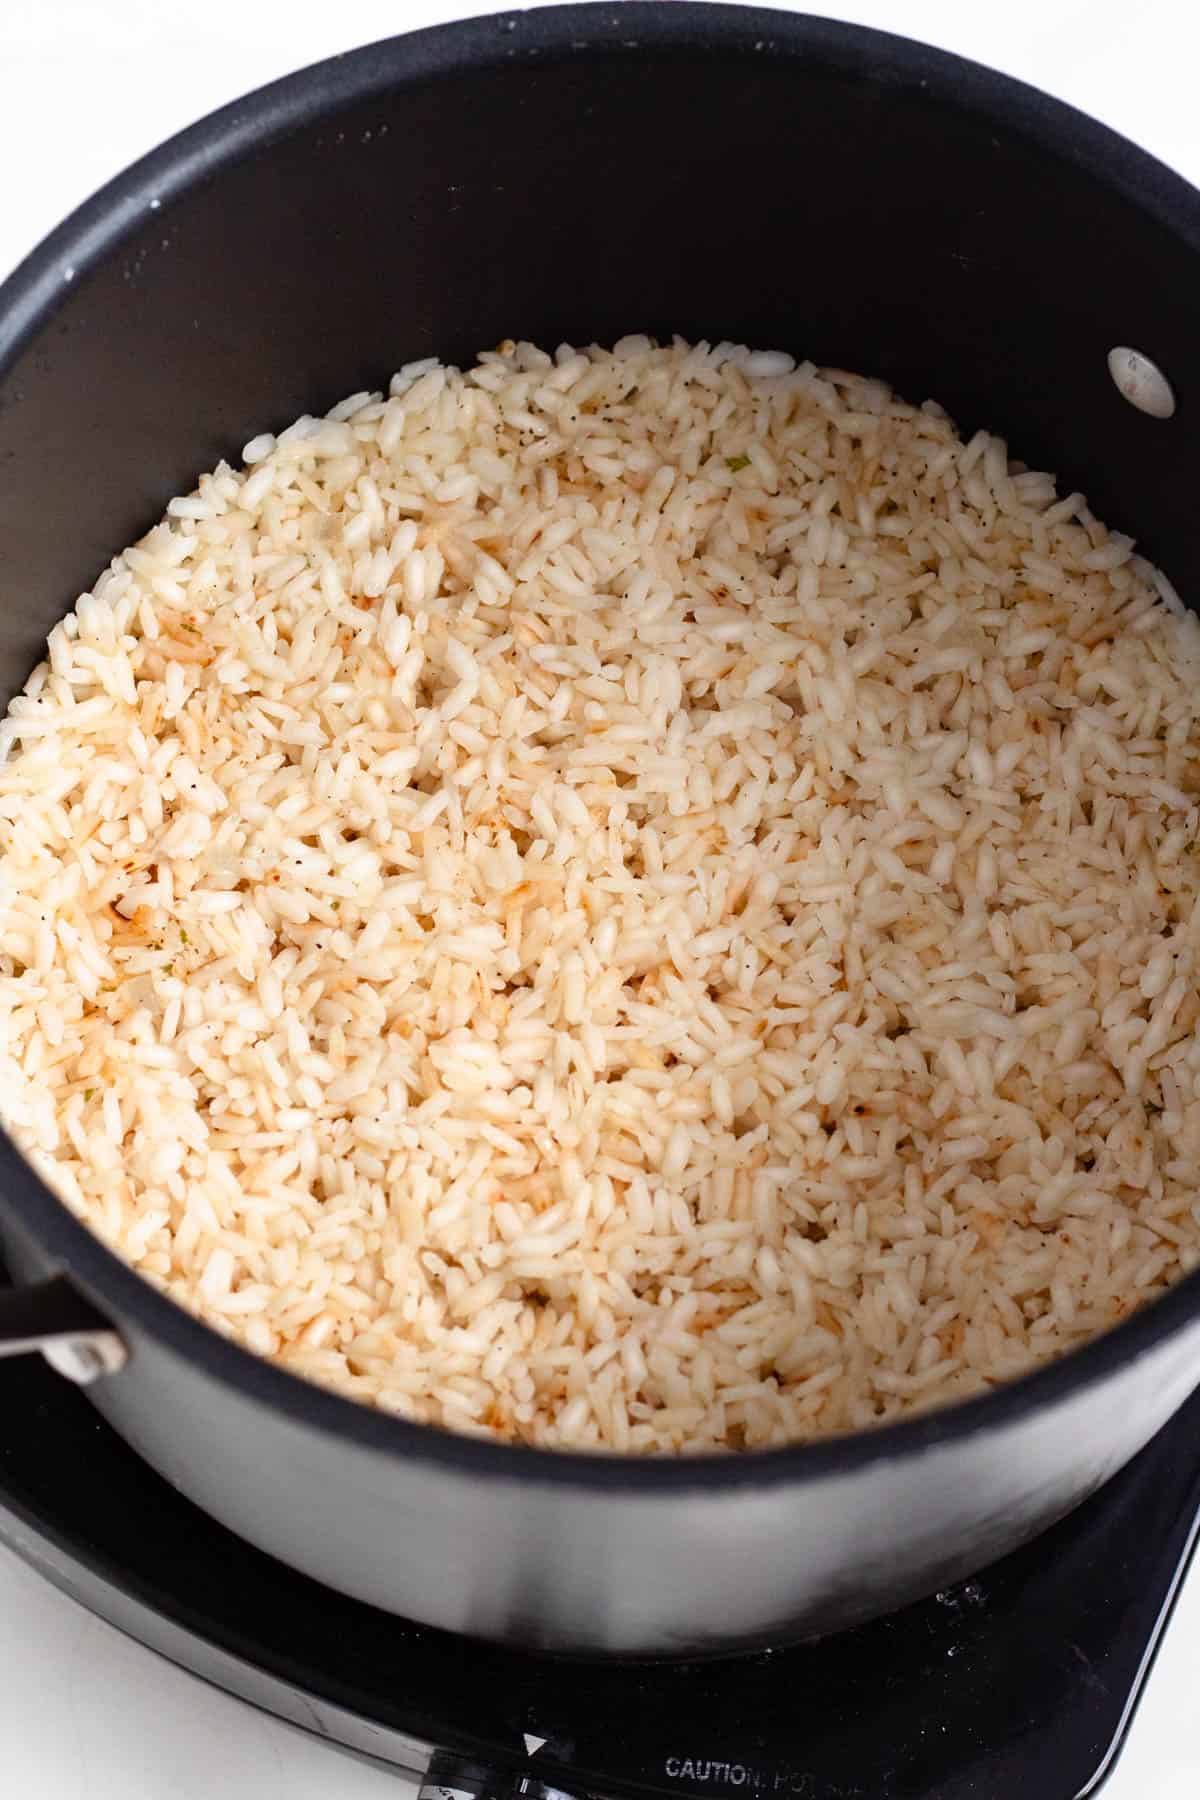
Step 1: Cook the rice in chicken stock until the liquid is absorbed. Stir in the cheese while the rice is hot.

Step 2: Cool the rice on a baking sheet until completely cold.
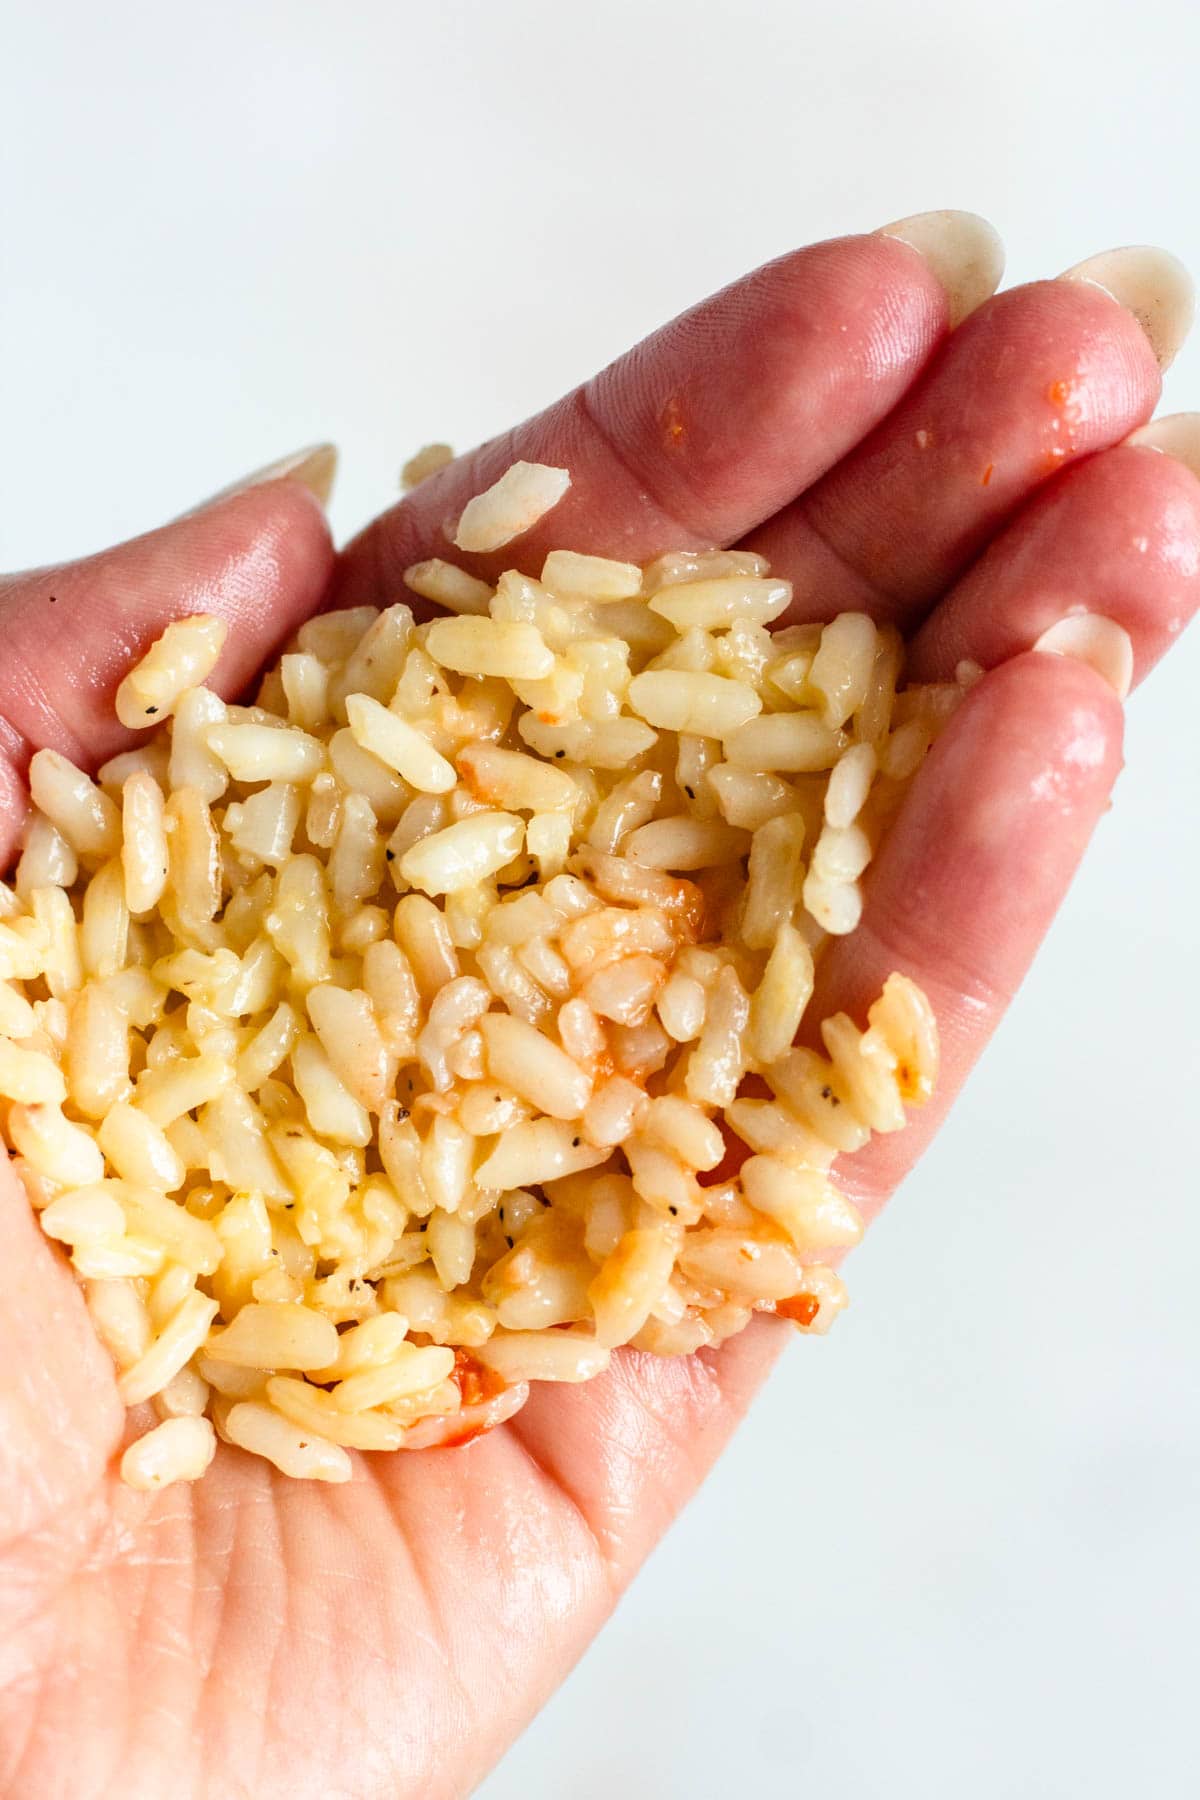
Step 3: Transfer the chilled rice to a bowl and mix in the eggs. Then, with damp hands, flatten a portion of rice.
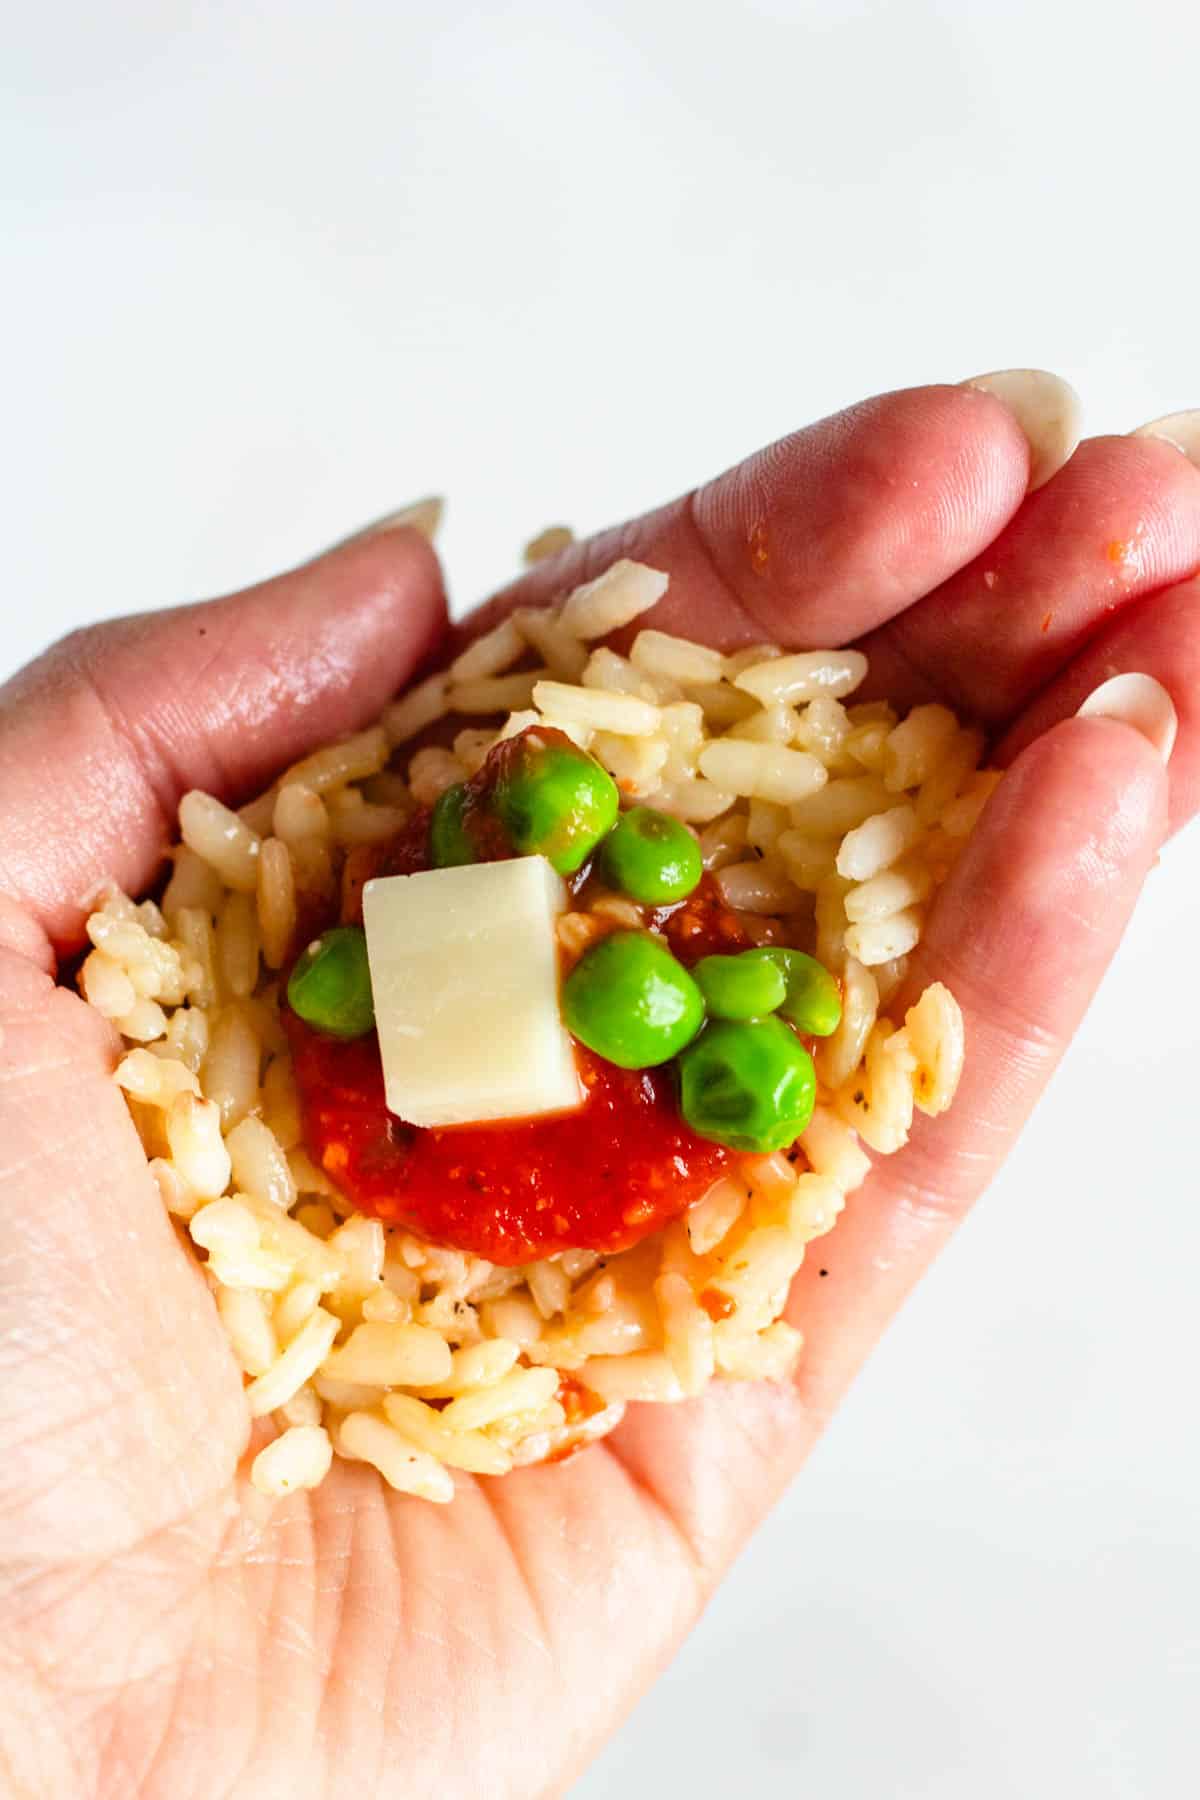
Step 4: Add ragù, peas, and a cube of mozzarella.
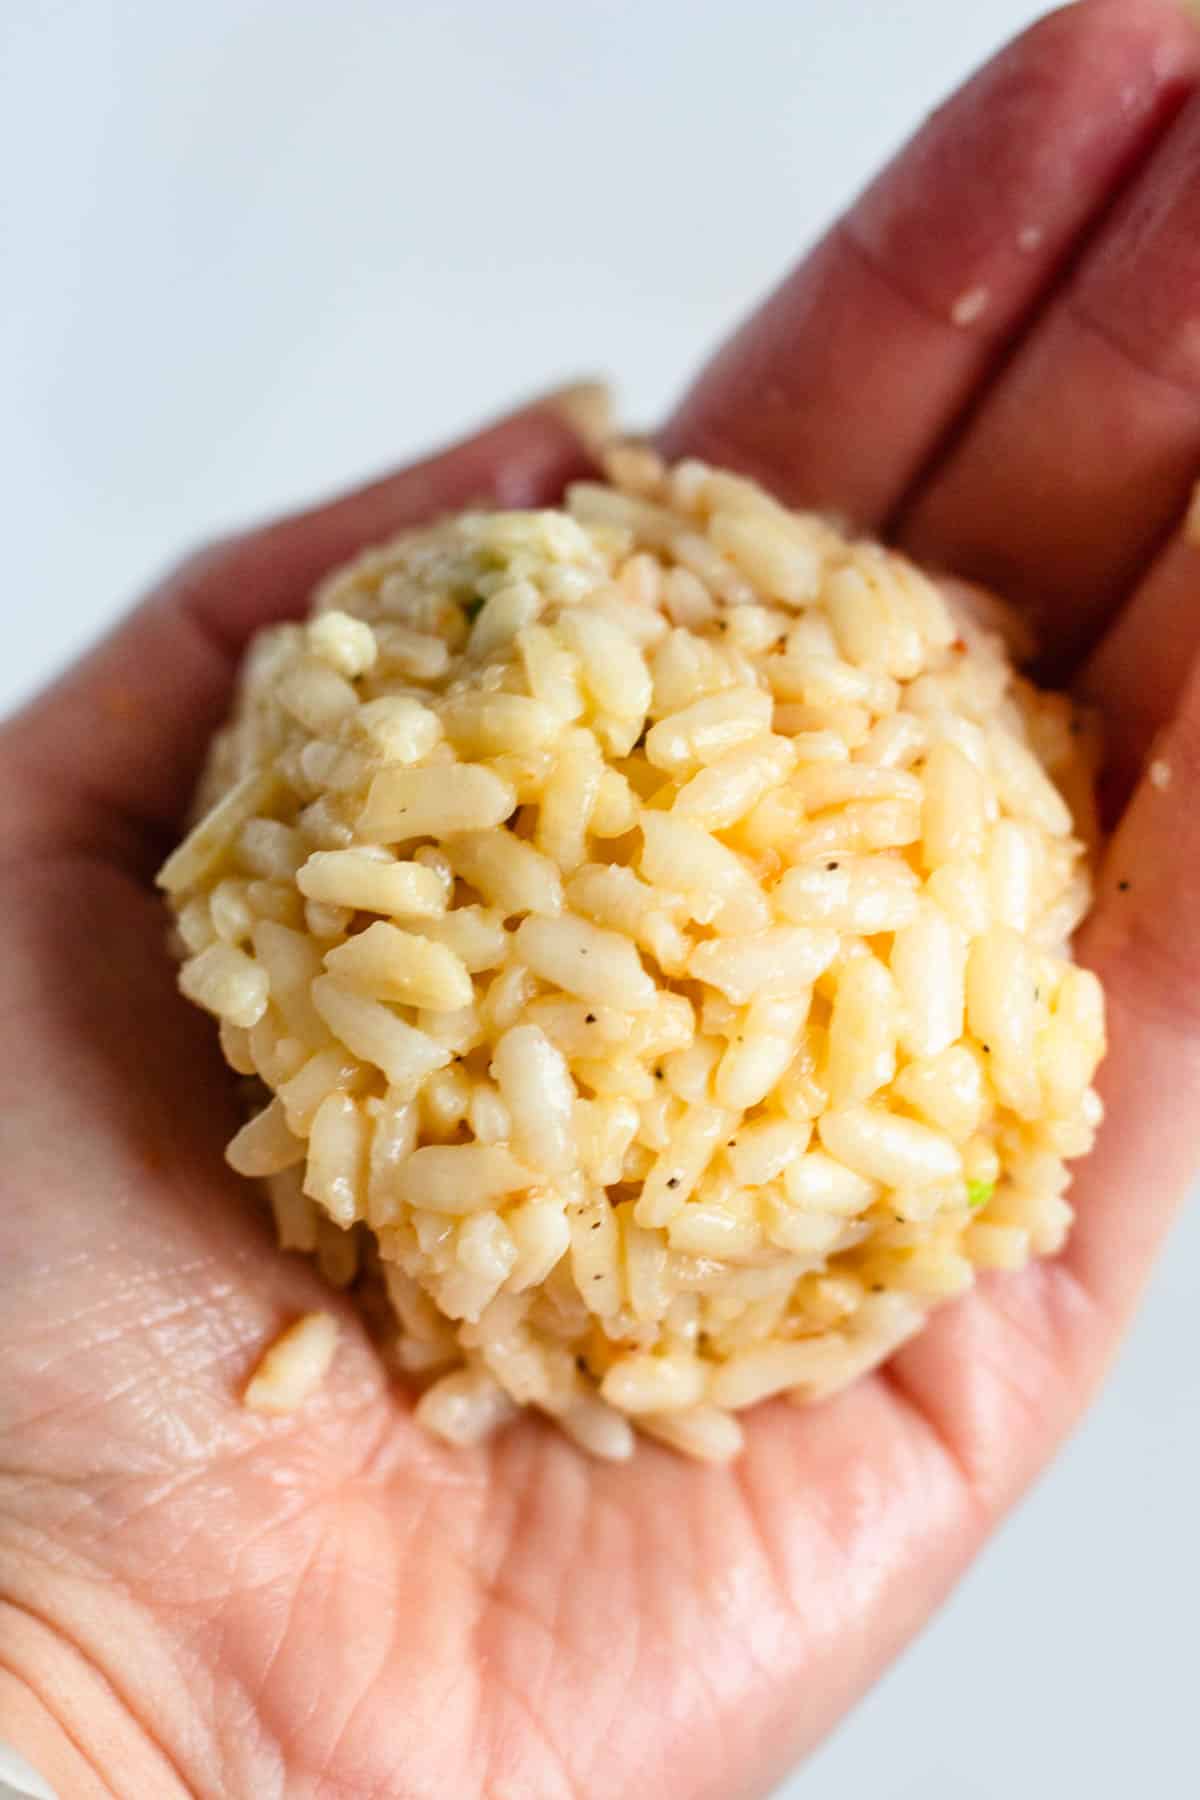
Step 5: Cover with more rice and shape into a ball or cone, sealing the filling inside.
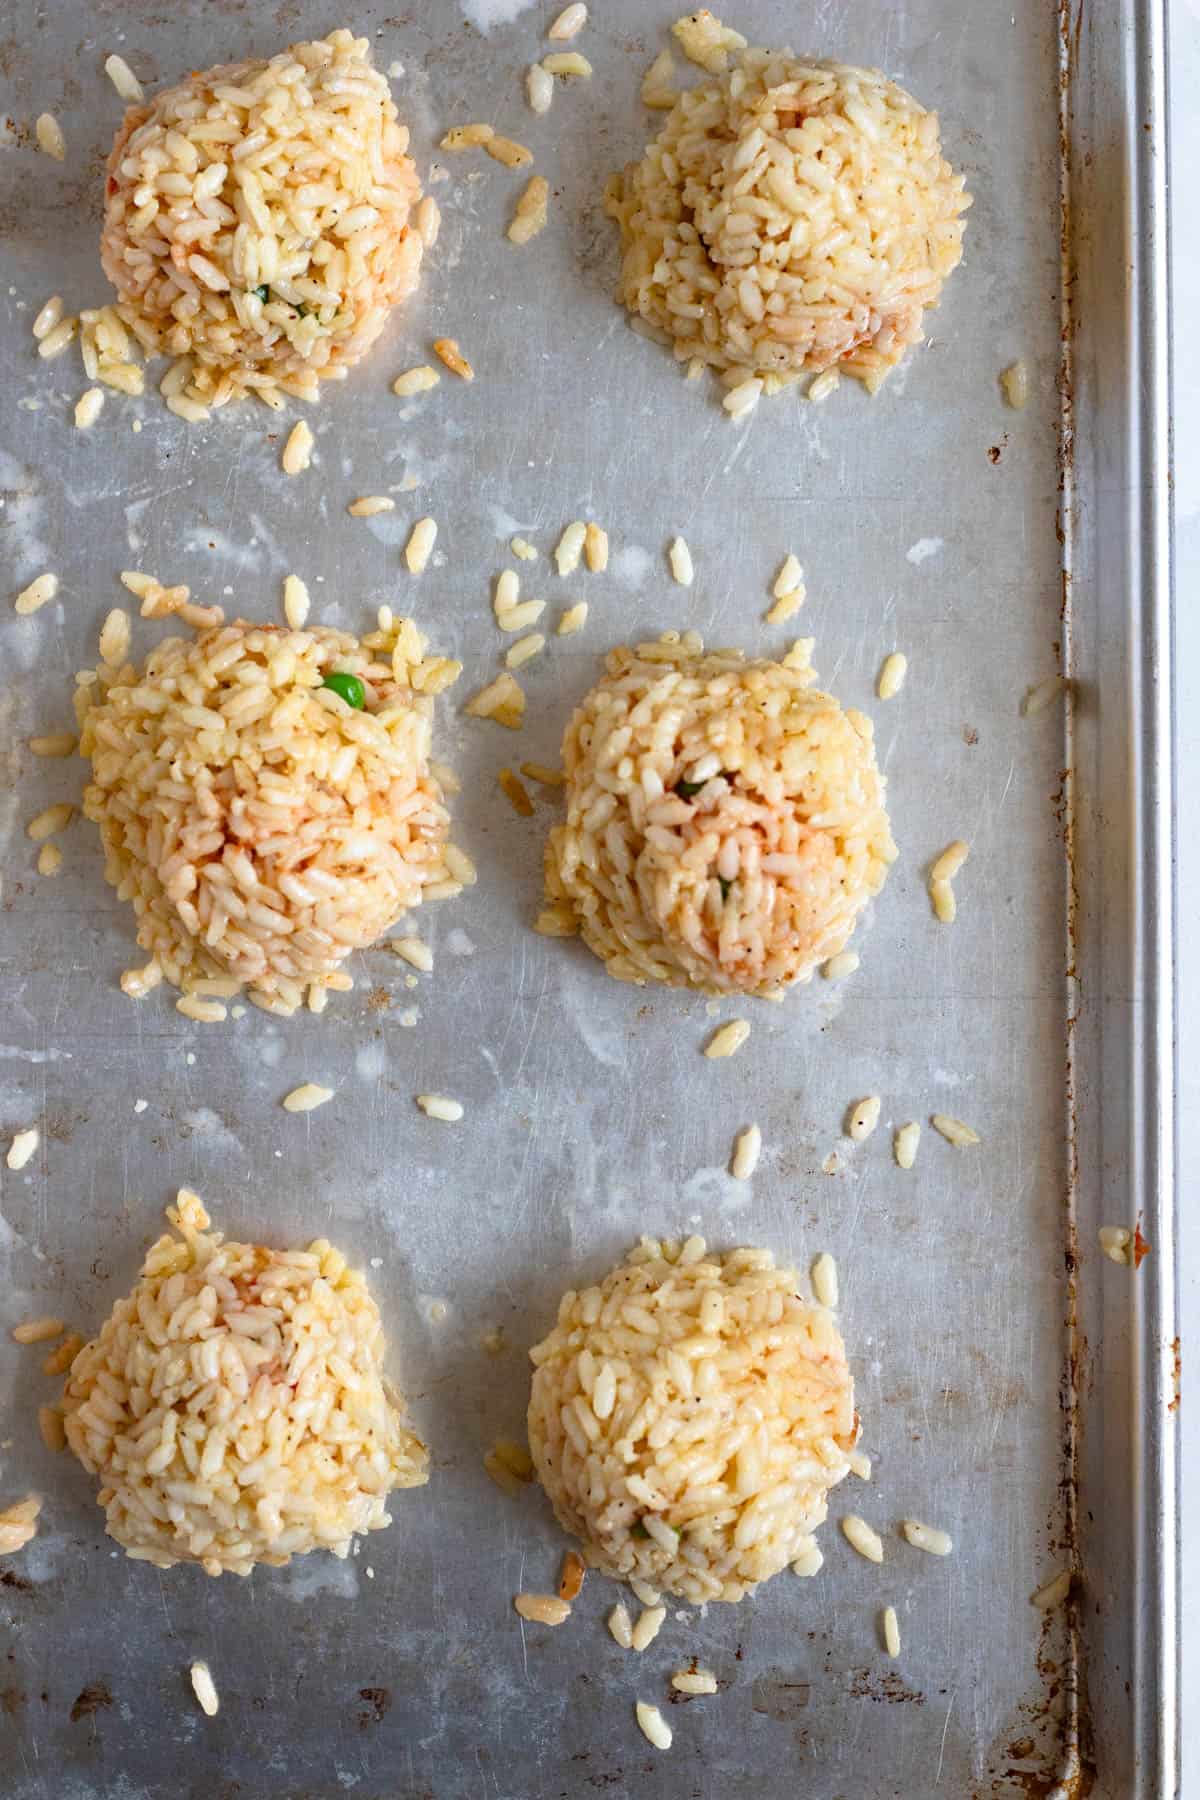
Step 6: Place the shaped arancini in the refrigerator for at least 30 minutes to firm up.
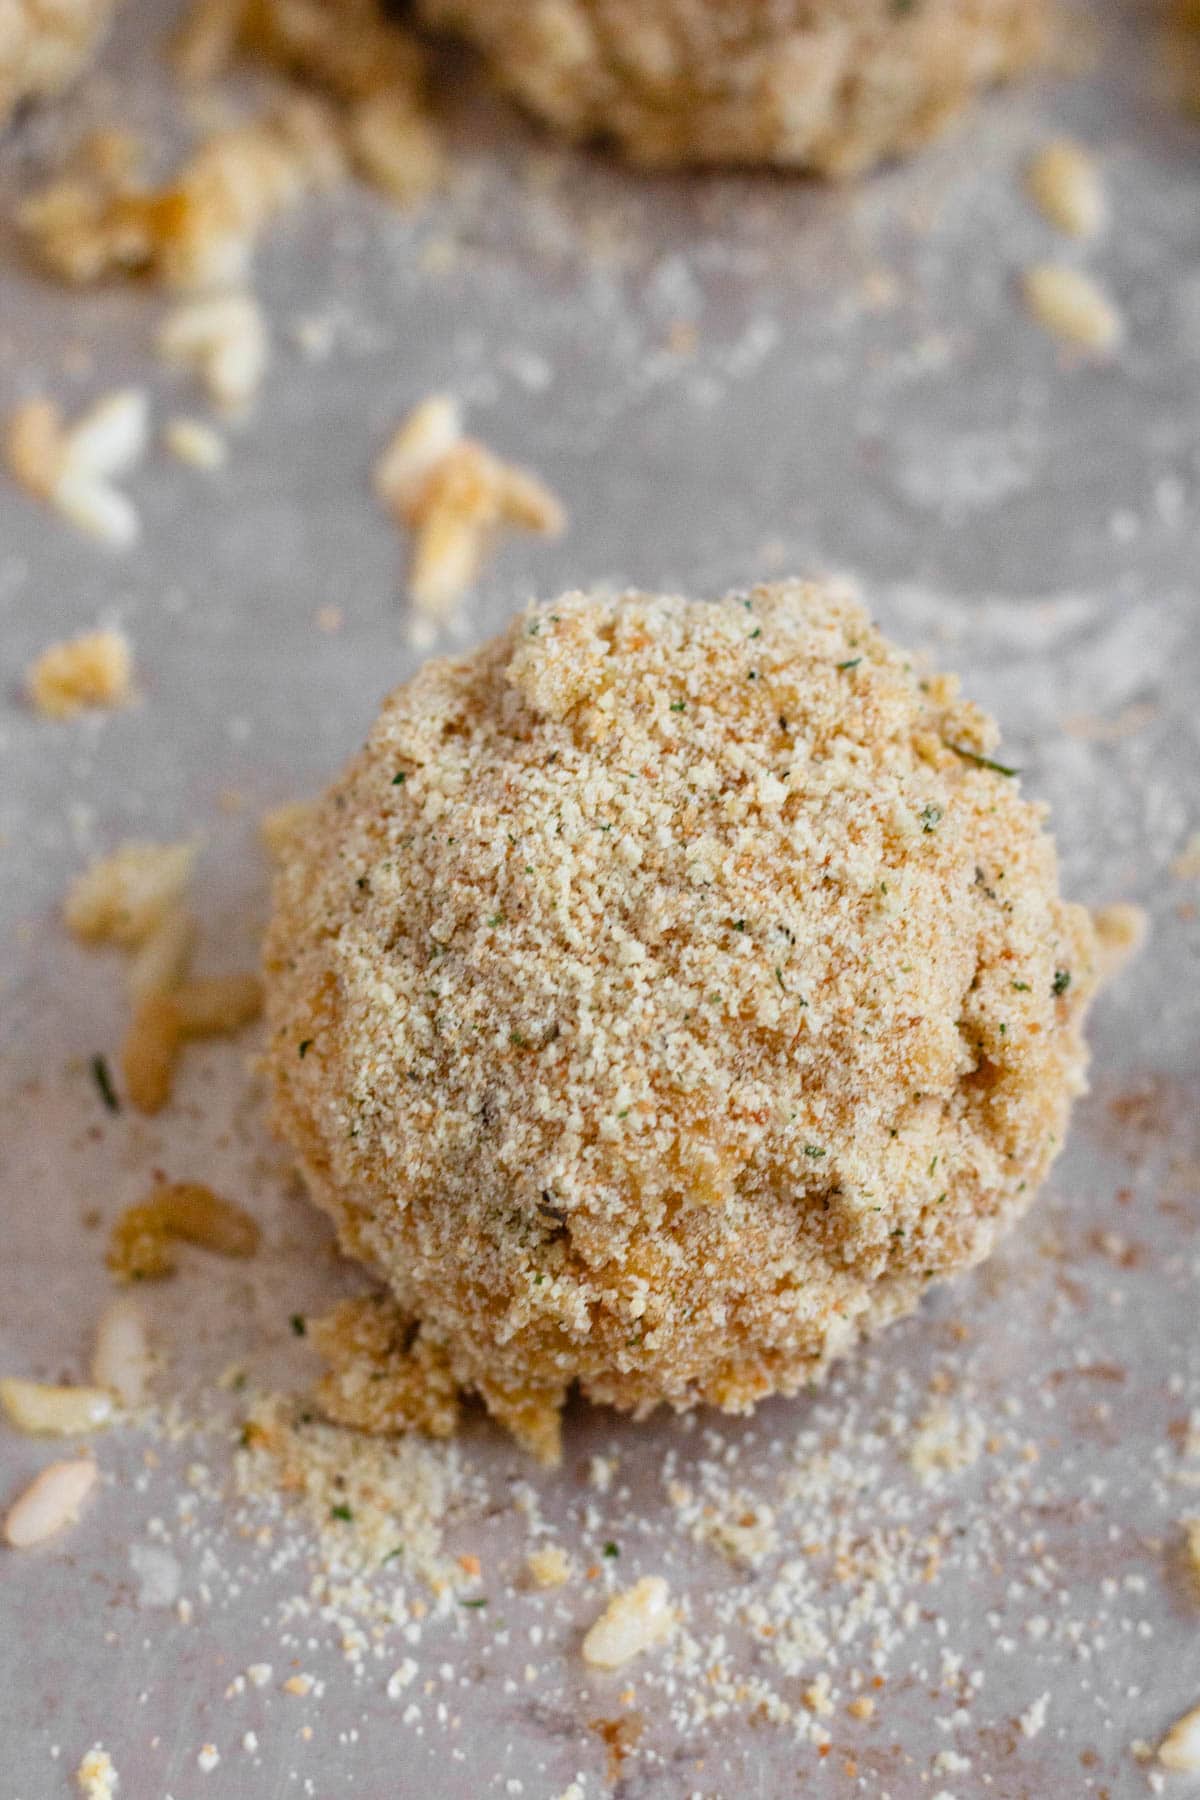
Step 7: Coat each arancino in beaten eggs, then breadcrumbs, then allow them to rest again for 30 minutes.
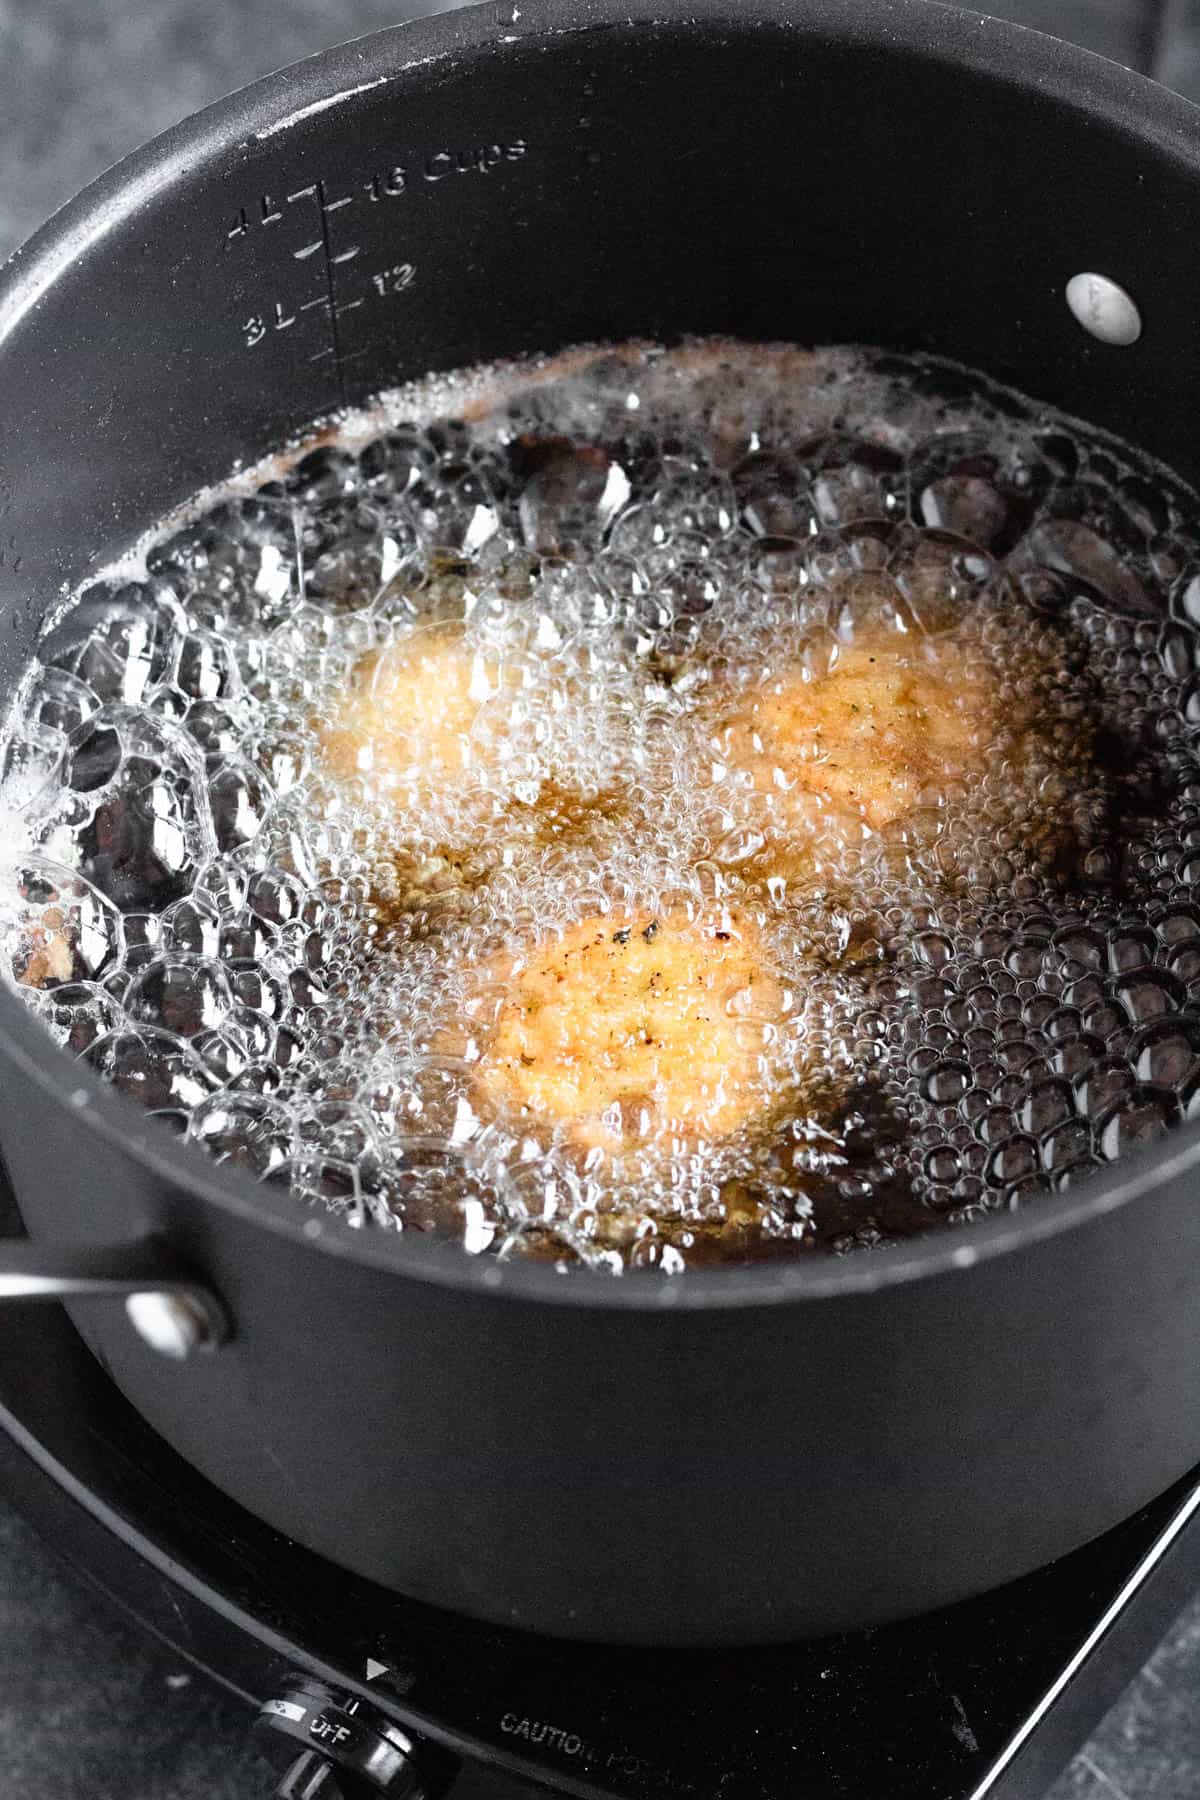
Step 8: Fry the arancini in batches for 3–5 minutes, turning until golden brown and crispy.
Step 9: Drain and Serve.
Shaping Your Arancini
This is the toughest part of this recipe, and can be very hard to get right. Follow these tips and tricks and you’ll be just fine!
- The type of rice you use will play a big part in making your balls stick together. Arborio rice is a short grain rice that is stickier than white long-grain rice and will work perfectly for this recipe. If you find that your rice is too wet, try letting it dry a little longer on the baking sheet before you begin working.
- It may also be a good idea to test the consistency of your rice with just two eggs if you find three is too wet.
- Do not skip the chilling steps. I don’t care how much of a rush you are in, this step is VITAL. I tried dipping my rice balls in eggs + breadcrumbs before chilling and was left with a complete mess on my hands. As soon as I chilled them, the exact same rice balls became so much easier to dip.
- Keep your hands damp while shaping. I keep a little bowl of water next to my work station and between every rice ball or two, I redampen my hands with a tiny bit of water. This prevents sticking, but don’t add so much water that your rice becomes slippery.
Expert Tips for the Best Arancini

- Double coat for extra crunch. A second layer of breadcrumbs creates a crispier shell, if desired.
- Try traditional variations. Add saffron to the rice for a classic golden color or experiment with fillings like pesto, spinach and cheese or ham.
- Consider a flour paste coating. Some traditional methods, including most Italian great-grandmother methods, use a flour-and-water paste instead of eggs before breadcrumbs. It is equal parts flour and water (usually 1 cup of each)
- Before frying, make sure your oil is hot but not too hot. 350 degrees Fahrenheit is perfect. Too cool and the oil will absorb into the ball. Too hot and it will scorch the outside without melting the cheese on the inside.
Recipe FAQs
Yes, though they won’t be as crispy. Bake at 400°F until golden, turning halfway through. An even better idea may be to try this recipe in an air fryer!
Yes. You can prepare and shape them ahead, then refrigerate and fry just before serving. I would not recommend frying and storing as you’ll love the crispy texture that comes from a fresh fry!
Yes. Freeze them before frying, then fry directly from frozen, adding a few extra minutes to the cooking time.
This usually happens if the rice isn’t cold enough or if they weren’t chilled long enough before frying. Don’t skip the cooling time!
Arancini are traditionally a street food but when you’re making them at home they can be served as an appetizer or as part of a larger meal. Serve them along with Ravioli and a fresh salad (along with thisItalian salad Dressing). You can even try them as the carb next to your Authentic Italian Sausage and Peppers!
Did you like this Arancini Recipe from Sicily? If so, you may like these other Italian dishes I picked out just for you:
If you tried this Homemade Arancini Recipe or any other recipe on my website, please leave a 🌟 star rating and let me know how it went in the 📝 comments below!

Arancini (Italian Fried Rice Balls)
Equipment
- Baking Sheet
- Small Bowl
- Pot(s)
Ingredients
Rice Ingredients
- 2 tablespoons olive oil
- 2 cups Arborio rice
- ½ tsp salt
- ¼ tsp black pepper
- 2 cups chicken stock or water
- ½ cup grated Pecorino Romano or Parmesan
- 3 eggs
Arancini Ingredients
- 1 cup ragù or Bolognese
- ½ cup peas
- 6 oz low-moisture mozzarella, cut into small cubes
- 3-4 eggs
- 2 cups seasoned breadcrumbs
- Vegetable oil, for frying
Instructions
- In a medium pot, heat 2 tablespoons olive oil over medium heat.
- Add 2 cups Arborio rice and stir for 1–2 minutes to lightly toast. Season with ½ tsp salt and ¼ tsp black pepper, then pour in 2 cups chicken stock or water.
- Bring to a boil, cover, and reduce to a simmer. Cook for about 15 minutes, or until the liquid is absorbed and the rice is al dente. Do not stir while it cooks.
- Remove the cooked rice from the heat and stir in ½ cup grated Pecorino Romano or Parmesan while the rice is still hot.
- Spread the rice thinly onto a baking sheet to stop the cooking process and allow it to cool for about 15 minutes at room temperature. Then transfer the baking sheet to the refrigerator and chill until completely cold.
- Place the cold rice in a large bowl and mix in the 3 eggs until fully combined.
- With damp hands, take about 2 tablespoons of rice and flatten it slightly in your palm. Add a small spoonful of ragù, a few peas, and a cube of mozzarella. Cover with 2 more tablespoons of rice and shape into a ball or a cone, making sure the filling is completely enclosed. Repeat with the remaining rice and filling.
- Arrange the shaped arancini on a tray and refrigerate for at least 30 minutes, or until firm.
- Prepare a coating by whisking 3-4 eggs.
- Dip each arancino into the eggs, then roll in 2 cups seasoned breadcrumbs until evenly covered. For a thicker crust, repeat the coating and breadcrumb step a second time. Return to the refrigerator for another 30–60 minutes.
- Add enough vegetable oil to a deep pot to cover the arancini, and heat it to 350°F. Fry the arancini in batches for 3–5 minutes, turning as needed, until golden brown and crisp on all sides. The centers should be heated through and the cheese melted (an internal temperature of about 150 degrees Fahrenheit) .
- Remove with a slotted spoon and drain on a paper towel-lined plate. Serve warm.
Video
Notes
- Arborio rice: A short-grain rice works best for shaping into a ball. It’s also deliciously chewy! Arborio rice should be used, but it is cooked in a different way than risotto to make the correct texture for forming the ball.
- Chicken stock: You can use water.
- Pecorino Romano (or Parmesan): Brings salty, savory depth and also holds the ball together. Pecorino tastes a little tangier while parmesan is a little saltier. I personally used parmesan because it has a more mild flavor that I prefer.
- Ragù or Bolognese: You can make your own or use store-bought, though of course I’d recommend you make your own if you have the time 😉
- Peas: I used frozen peas that I left out at room temperature to thaw for a bit and they worked perfectly.
- Low-moisture mozzarella: It’s rare for me to recommend, but in this case, a packaged mozzarella will work better.
- Eggs & breadcrumbs: You can use seasoned breadcrumbs, plain breadcrumbs, or add a bit of Italian seasoning TO your plain breadcrumbs! It all works fine. I have also seen some recipes call for panko breadcrumbs, though that is not a typically authentic choice.
- Double coat for extra crunch. A second layer of breadcrumbs creates a crispier shell, if desired.
- Try traditional variations. Add saffron to the rice for a classic golden color or experiment with fillings like pesto, spinach and cheese or ham.
- Consider a flour paste coating. Some traditional methods, including most Italian great-grandmother methods, use a flour-and-water paste instead of eggs before breadcrumbs. It is equal parts flour and water (usually 1 cup of each)
- Before frying, make sure your oil is hot but not too hot. 350 degrees Fahrenheit is perfect. Too cool and the oil will absorb into the ball. Too hot and it will scorch the outside without melting the cheese on the inside.


Holly says
Delicious! I’ve been missing aracini since we haven’t been able to go out to eat. This recipe hit the spot! I can’t wait to make them again.
The Foreign Fork says
Hurray!! I am so glad that you decided to make them and that you loved them 🙂 I’m all about making restaurant favorites at home these days. Thanks for leaving a comment!
Amanda @ Midwest Nice says
I have yet to make arancini – it’s always in my mind when I make risotto…but then the risotto never lasts! Gorgeous shots Alexandria!
The Foreign Fork says
Haha I had to make an extra batch of risotto just to make sure I had enough left over for arancini! Lol! If you can ever make your risotto last long enough to make arancini, I know you’ll love it 🙂